Photoshop Tutorial - Creating Web 2.0 Styled Custom Buttons for Your Website

Page content
Step #1
- Create a new page by pressing the [Control + N] keys on your keyboard. Press the [Ctrl + Shift + N] keys to create a new layer.
- Select the background layer. Double click on the layer and then press OK on the popup menu to unlock the layer. Delete the layer.
- Draw a circular selection using Elliptical Marquee tool. Hold down the Shift key while drawing to make it a circle. Fill the selection using white color.
Step #2
- Without canceling selection, add a new layer .
- Contract the selection by 9 pixels [Select > Modify > Contract].
- Fill the new selection with white color.
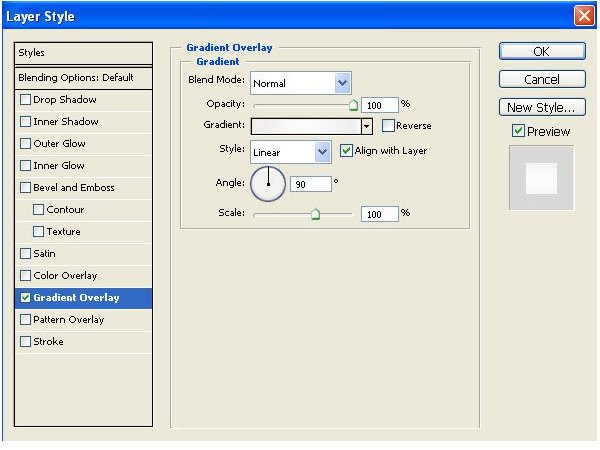
- Select the first layer and then open Layer Styles.
- Check the Gradient Overlay and set the values as shown in the image
Step #3
- Check the Bevel and Emboss option.
- Set the values as shown in the image

Step #4
- Select the second layer. Open the Layer Styles.
- Check the Gradient Overlay and the Bevel and Emboss options.
- Set the values as in the previous layer.
Step #5
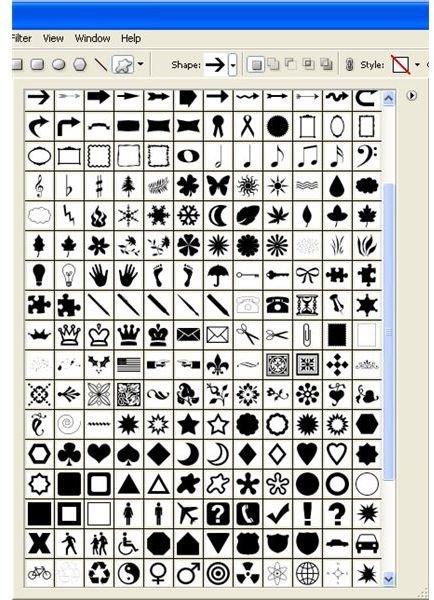
- Add a new layer [Ctrl + Shift + N].
- Draw the shape and then make it a selection [Ctrl + Enter].
Step #6
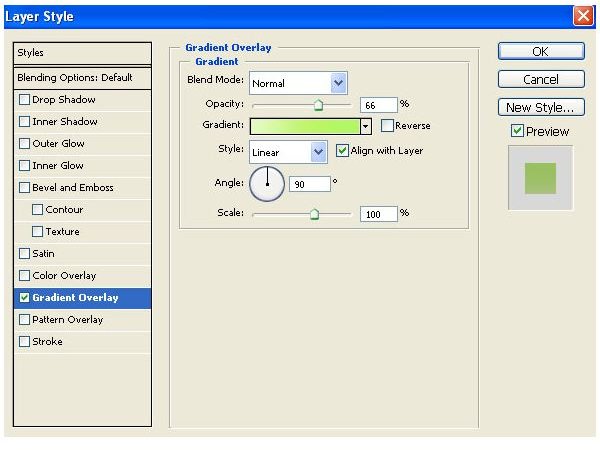
- Open Layer Styles and then select Gradient Overlay.
- Set the values as shown in the image below.
Step #7
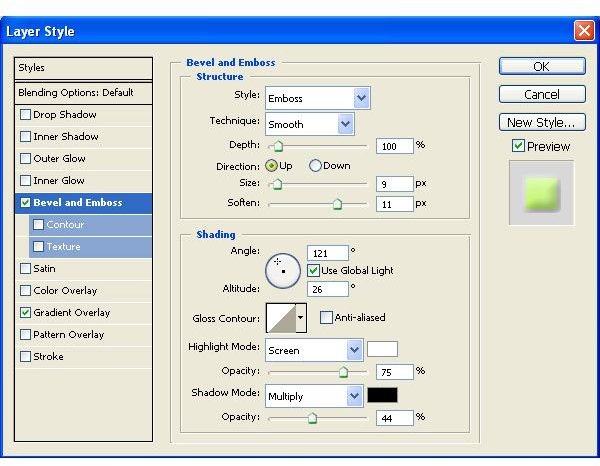
- Select Bevel and Emboss from the left-hand pane.
- Set the values as shown in the image.
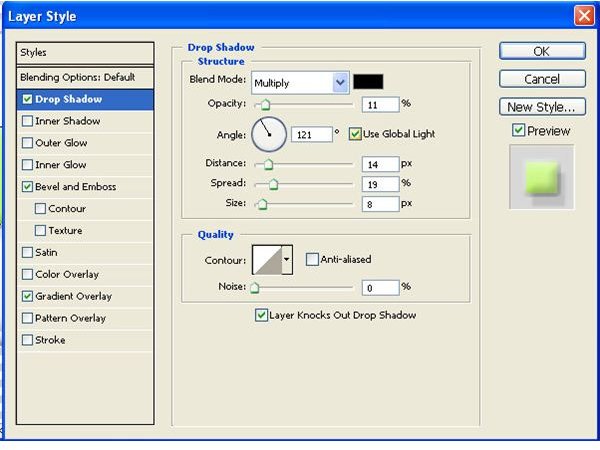
Step #8
- Add a Drop Shadow from the left-hand pane.
- Set the values as shown in the image.
Step #9
- Merge all layers by selecting all layers then pressing the [Control + E].
- Select all [Control + A] and then copy [Control + C].
- Paste it into the same layer [Control + V].
- Transform it vertical [Edit > Transform > Vertical].
- Position it as shown in the image below.

Step #10
- Click on the Erase tool, with the size at 200 and hardness at 10.
- Use it to erase the lower layer as shown in the image below.
- Save the file. And your Forward button is now done!
Step #11
- Merge all the layers together [Control + Shift + E].
- Select all [Control + A] and then copy [Control + C].
- Open a new page and paste the image here.
- Flip it horizontally [Edit > Transform > Horizontal].
- Save the file. And your Backward button is now done!