How to Design a Cake with Edible Digital Photos?
Personalized Cake with a Photo
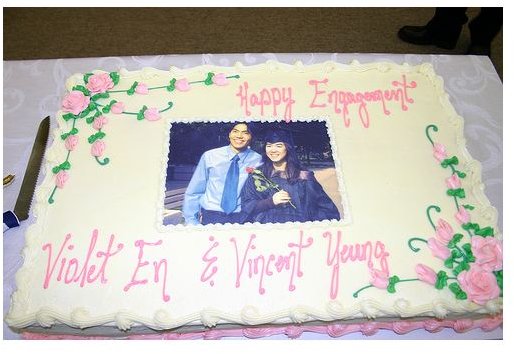
There is nothing more special than being able to personalize a gift meant for a loved one. The gift becomes a product of the giver’s imagination, it provides the chance to showcase creativity and most importantly, it comes across as more than being thoughtful. Since time immemorial, cakes had been ever-present in all occasions – from birthdays to weddings and to almost every event in mind that warrants a celebration. It is a welcome change when the option to be able to personalize cakes, with photos placed directly on the cake itself, was made available to consumers. With the help of a printer, special ink and paper, copying a photo onto a cake is made relatively easier.
Materials Needed
Personalizing cakes by copying photos on it has once been considered very expensive. However, certain advancement in technology has enabled regular office photo printers and ink cartridges to be used in decorating cakes. This has made the whole business of cake photo printing less expensive and more affordable.
It is important to remember that to produce an output of excellent quality, the materials and equipments that are used must be of excellent quality as well. For starters, a good photo printer is needed to come up with superior images. One specific brand in mind would be a Canon Pixma photo printer as this is compatible with replacement cartridges. A photo scanner or negative scanner, printer ink cartridges with edible ink in it and rice paper or edible paper are also required to complete the job.
How to Copy a Photo onto a Cake
Here are the steps to follow in making your personalized cake with a photo:
-
With the use of the scanner, scan the image you would like to print on your cake. Another thing, you may also choose from the digital photos stored in your computer. You can edit the photo using any photo editing software, and you may add a text into it.
-
If you have the complete set up of the materials needed, you may then proceed with the printing of your chosen image. If you do not have the required materials, there may be bakeries in your area that will do the printing for you. Just in case you cannot find any bakeries that offer such services, there are websites you can find that will help you with the printing like TastyFotoArt.com which also provides the materials needed for sale. All you have to do is send your photo via email and then they will have the photo printed on an icing sheet delivered right to your doorstep. Be sure to specify the size and shape of the photo that you want since you will be pasting this on the cake that you will bake.
-
After you have finished printing, or upon receiving your printed image, slowly and carefully peel off the back portion of the edible sheet.
-
Carefully place the photo on the top of cake that you have baked (or ordered). Make sure that the edges are wrinkle free so that it will not alter the image of the finished product.
-
You may then proceed to decorate your cake as desired.
Conclusion
When you design your own cake, you can save a lot of money or you may spend it to other needed add-ons for your party. Later, when you master these steps, you can also put up your own business by accepting orders from friends and family. Simply invest for the needed materials, have a party and advertise it your guests for a start. If you can do it for yourself, you can do it for others.