Creating a Custom Photoshop Brush: Raining Effects for Digital Photos
Have you ever taken a picture and thought it would look a little better if it had been raining? Fortunately, it’s not terribly hard to fake a very realistic rain effect by creating a custom Photoshop brush! Raining effects are just a few clicks away, as you’ll learn how to make a great rain drop brush that can be used to create anything from a light spring shower to a torrential downpour, while still managing to look quite realistic. On top of that, you’ll even learn the best way to use this brush on your images by utilizing Photoshop’s layer blending mode settings. This tutorial will work great for beginners and seasoned Photoshop users alike, and should work perfectly fine for all versions of Photoshop from 7.0 through current.
Creating a Raindrop
First and foremost, we’re going to create a rain brush. This is incredibly easy, even if you’ve never created a brush before. We’re going to assume that the rain is falling straight down in this method, and the brush can be used for anything from a rain storm to a light, spring drizzle. Besides, by learning to create your own Photoshop brush, raining, snowing, and even starry sky effects are never more than a few seconds away!
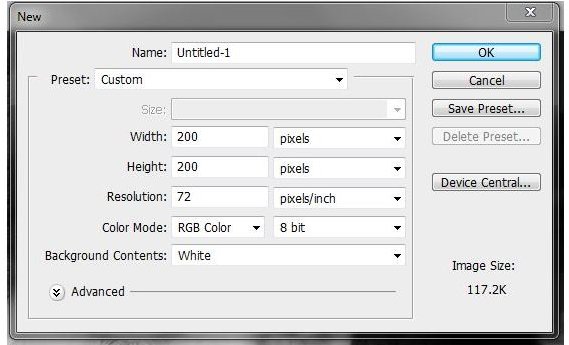
Open up Photoshop and create a new document. You’re going to want something around 200 by 200 pixels, which is a good size for a rain drop brush. Make sure your background color is set to white!
Tap D on your keyboard, which is the Photoshop shortcut to set your foreground and background colors to their default black and white.

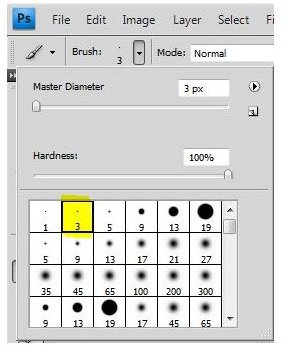
Tap B on your keyboard, which selects the brush tool. Go into your brush panel and select a round, hard edged brush, about 3-5 pixels, depending on how long and thick you want your raindrop to be. I’m just going to use a 3 pixel brush here, though.
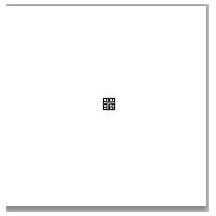
Create a new layer and place a black dot in the center of it with your paint brush.

Now press CTRL+T (Mac users, you’ll press CMD+D) - this will bring up your free transform box which looks like this:
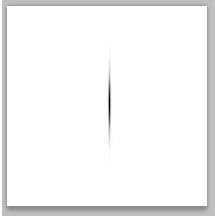
Holding down ALT and SHIFT, grab the top of your free transform box and pull your raindrop into a more elongated shape, like I’ve done. You do this by simply pulling straight up!
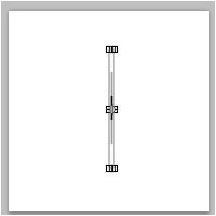
Press enter when you’re finished, and here’s what your result will look like:
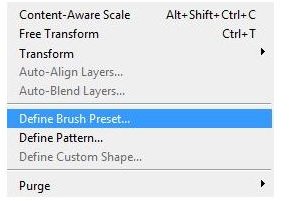
Now simply save your rain drop brush as “rain” or “raindrop” by going into Edit > Define Brush Preset and entering the name into the box.
Creating a Realistic Rain Effect
If you try to use this brush to create a rain effect as is, you’ll find that it actually creates a very strange blurry effect. Don’t worry, though, as this can easily be changed by Photoshop’s Brush settings. These nifty little settings allow you to set everything from scattering and spacing to texture, noise, and more! Not to mention, this panel is very easy to navigate, and I’ll show you exactly what settings to change to get the most realistic effect!
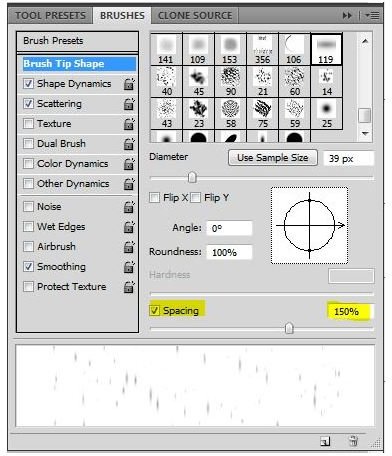
Tap F5 on your keyboard which will open up your Brushes panel. At the bottom it will say “Spacing” - move this slider to 150%
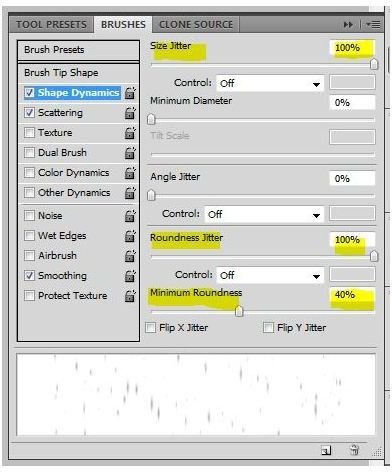
Now, because we don’t want our raindrops to appear all the same size, we’re going to change the shape dynamics a little bit. Click on your Shape Dynamics menu item and change these following settings:
Size Jitter: 100%
Control: Off
Minimum Diameter: 0%
Roundness Jitter: 100%
Control: Off
Minimum Roundness: 40%
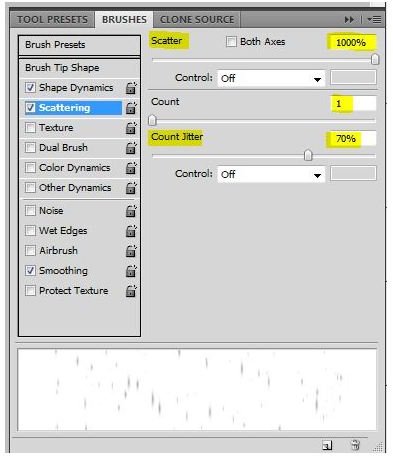
Now we’re going to want to make sure our raindrops fall realistically across our photograph, and to do this, we’re going to change a few settings in Scattering. Click on your Scattering menu item and change these settings:
Scatter: 1000%
Control: Off
Count: 1
Count Jitter: 70%
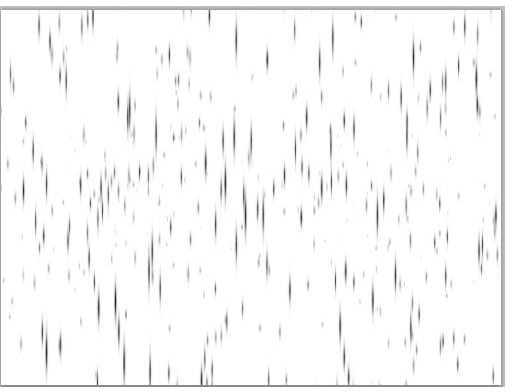
Here’s what the rain brush currently looks like if you were to draw with it on a plain white canvas!
Applying Your Rain Effect
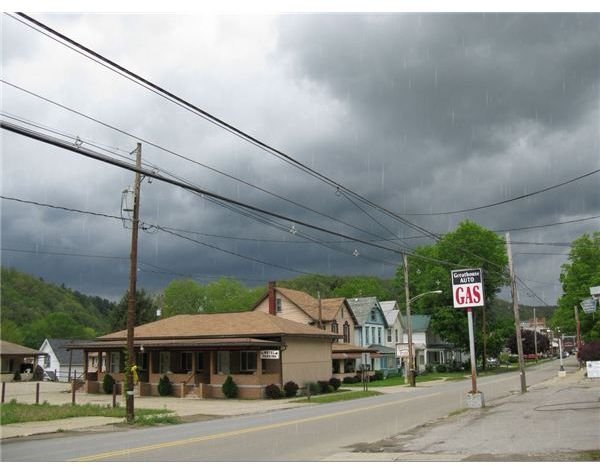
Now you can finally open up your image that you would like to add rain to. Keep in mind that you’re going to want to find a picture that feels fitting. Don’t use a picture of a bright sunny day, or a picture taken indoors. Here’s a picture I took a few years ago of a storm rolling into town, shortly before it actually started raining:

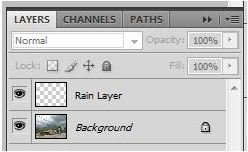
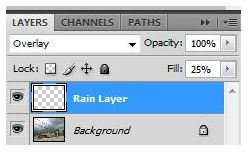
First and foremost, create a new layer above your image. If it helps in terms of organization, go ahead and name it “Rain Layer.”
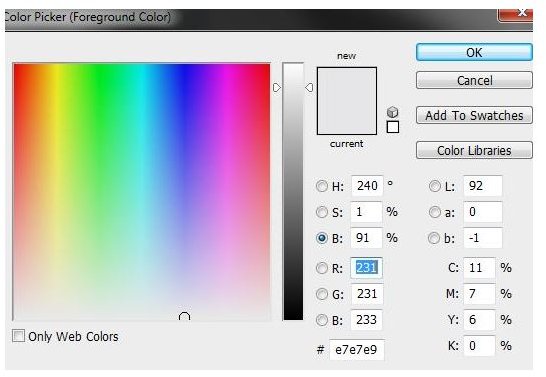
Depending on the time of day and brightness of your picture, the color you select for your rain drop brush might vary a little. However, I find that a light grey usually produces a fantastic and realistic effect! The color I’m using here is #e7e7e9.
Using your rain brush that you had created in earlier steps, go ahead and begin to swipe it back and forth across your canvas. How much rain you put on your photo is entirely up to you, but I like a light drizzle or medium summery rain more than a downpour. It just feels more realistic. You might want to change the size of your brush to give a little more depth to your rain storm. Here’s what mine looks like!
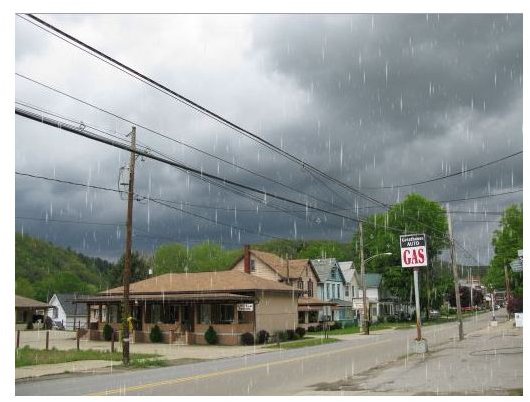
Now, I know you’re probably thinking that it doesn’t look terribly realistic yet. Hold on, though, because it will! Now all you have to do is go to your layer panel and change your blending mode from “normal” to “overlay” and change your Layer Fill to about 25% - though your results might be a little different. Don’t be afraid to play around with your blending mode settings until you find something you like
Here’s the finished effect (click to enlarge!):
References
- All images and information are provided by Amber Neely, who has over a decade experience with Photoshop, and seven years professional experience in graphic design.