How to Mat a Photo With Professional Results
Supplies You Will Need
Of course, you will need a photo, a frame and a piece of mat board or heavy-duty, acid-free paper. When selecting a frame, choose one that is one standard size larger than the photo you want to mat and display in it. This provides ample room for the mat without hiding any of the photo. Ideally, the mat should be the same size as the picture frame. For instance, if you want to mat and frame a 5"x7" photo, select an 8"x10" frame and a mat in that size as well. You may also choose to purchase a full sheet of mat board that you can cut and use for several pictures. If so, simply be prepared to cut a section to size.
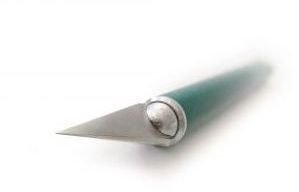
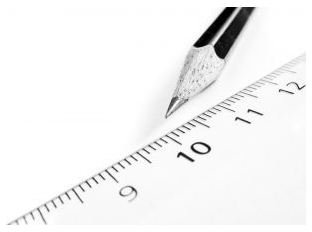
Aside from that, though, there are other supplies that will make the process go much more smoothly. Fortunately, these added supplies are affordable and you can use them repeatedly to mat more photos. Make sure you have a nicely sharpened pencil at the ready as well as a craft knife, such as an X-Acto tool. Finally, a straight edge ruler will help ensure that your mat does not have crooked or uneven lines.
Work in the Right Area
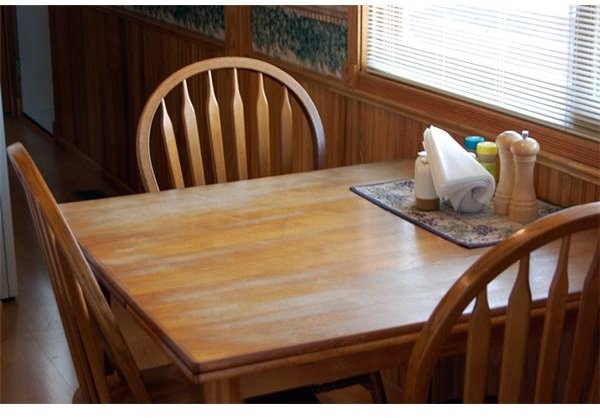
Once you have gathered the materials you need, set up in a functional work area. This can be anywhere from a bench in your workshop to a crafting counter to your dining room table. Make sure you have a level surface that is large enough to spread out your mat and supplies while still allowing sufficient room for measuring, cutting and moving things around. The surface must be clean to avoid marring or damaging the photo, mat or frame. You might wish to place something on the surface to avoid cutting or scratching it, as well. A large piece of cardboard or Plexiglas will work nicely.
Measure Twice, Cut Once
You have everything ready and are situated at the ideal workspace, but before you start slicing the mat, you need to take proper measurements and make legible markings.
The first thing to measure is the mat to the picture frame. If you purchased a mat the same size as the frame, place it in the frame to make sure it fits properly, trimming any edges as needed. On the other hand, if you are using a full sheet of mat board, measure a section the size of the frame using the straight edge ruler and pencil. Taking these measurements twice is advisable, just in case you measured incorrectly the first time.
When the outer edge of the mat is trimmed to fit the frame, you can prepare to cut out the center. Determine how much space you want to fill between the photo and the frame and then draw a rectangle in the center to fit. For example purposes, we will say that you want the mat to be one-inch wide between the frame and the photo. Use the ruler to measure one inch in from the side of the mat and make a mark. Repeat this measurement in increments around the frame and then use the straight edge to draw a rectangle an inch in from the borders of the mat. Measure a second time, just to be safe.
Cut out the rectangle with your craft knife. Alternatively, you may wish to invest in a mat cutter if you plan to mat and frame a great deal of photos. Place the mat in the frame and then frame the picture. Using acid-free tape to adhere the photo to the mat allows you to frame it more precisely. Replace the backing on the frame and enjoy your custom photo.
References and Resources
Iowa State University: Photo Mat Directions, https://www.extension.iastate.edu/NR/rdonlyres/9C8C49DA-2262-475C-857D-5BCC6D7B5D6D/144076/PhotoMatDirections.pdf
Images:
X-Acto Knife: sxc.hu/Hannah Gleghorn
Kitchen Table: morguefile.com/Ladyheart
Pencil and Ruler: sxc.hu/Zsuzsanna Kilian