Paranormal Photography: How to Spot True Paranormal Appearances
Paranormal investigations is an exciting and technology laden field. Investigators use a wide variety of equipment to either debunk or prove the existence of spirits, apparitions and ghosts. Paranormal photography remains the best way to document the presence of the supernatural, but it does have its drawbacks and limitations.
What Sort of Camera Should You Use?
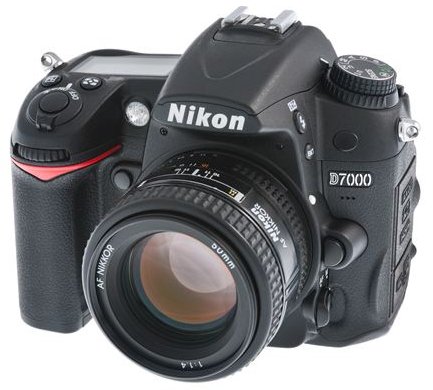
Before you can take pictures of the paranormal, you need to get the right photographic equipment. Bear in mind, the majority of investigators do not make any money at all from their hunts, so you might have to be a bit thrifty in the choice of camera. If you are starting out on a new hobby, it is possible to simply use a regular digital camera with a high pixel count. I would recommend at least a 6 mega pixel camera, and even better a 12 mega pixel camera. The more pixels your camera has, the sharper your image is going to be. If you are a fan of film cameras, a good 35 mm SLR camera - or a camera you can change lenses on, is recommended.
If you are using film, you need to make sure the speed is at least 400, if not higher for low lighting situations. Higher end digital SLR cameras, and some regular digital cameras have low lighting settings, infrared or nightshot settings, so make sure you adjust the camera or else your shots will come out black. If possible, attach an infrared illuminator to the camera or camcorder to help with exposure.
Image Credit: Wilder Kaiser on Wikimedia Commons February 7, 2010, License Creative Commons
How to Capture the Paranormal
The fact of it is you never know if you will actually capture a spirit or ghost on film. It is possible you might catch a dust particle, fog, mist, insects or smoke floating by your camera. The best practice however is to set your camera on a tripod or sturdy table - check the table’s legs for wobbling, and use a remote control to take the picture. Not all cameras are wireless capable, but if yours is, this is a good idea to prevent the camera from being moved and giving false images.
If you are holding the camera while you take pictures, keep your hand as steady as possible. If you can, lean on something stable while you shoot. People tend to shake slightly while adjusting their camera, so even if you have to hold your breath while taking it, the shot will come out smoother. Take casual shots; shoot the room at random, especially if you feel you aren’t alone.
Take several shots of the same area before turning to a different position. This determines that if the camera does capture an image, it can prove whether it was there in subsequent shots. Do not smoke while performing paranormal photography as this could easily be mistaken for a supernatural mist.
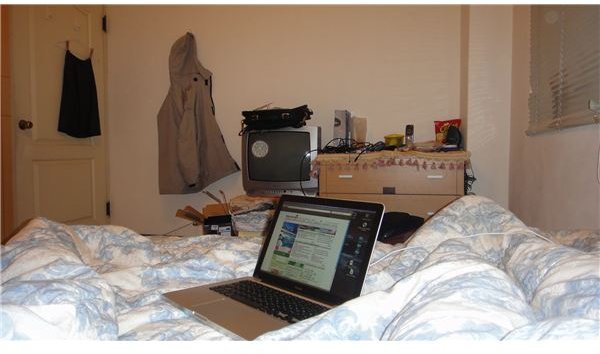
Image Credit: Kav on Wikimedia Commons, February 2010
Common Mistakes
Primarily most of the paranormal evidence you will capture will be orbs. Unfortunately, dust particles look an awful lot like them. How to tell an orb from a dust particle? A dust particle will look completely round and white, with no real border to it. An orb will look more like a molecule does when observing it from under a microscope. A moisture orb is very easy to pick out. An orb made up of moisture, like rain, will appear angular and have no border around the rim.
A true paranormal orb is a solid ball that looks like it emits its own light. It will appear like a small white ping pong ball, and quite possibly have motion blur associated with it. Motion blur gives evidence that the orb is moving, kind of like watching a ball being thrown in front of the camera. The color of the orb generally is pure white, blue or green; any other color tends to be dust particles, reflection of light or even a processing error.