How to Take Model-Like Pictures: Shoot Like the Pros
Taking Model Shots Like The Pros
Ever put your snapshots next to the images in magazines like Vogue and Cosmopolitan? No doubt the professionally-shot magazine pictures look a lot more polished and accomplished. There’s no reason for this to bother you: magazine pictures are shot by highly trained professionals with thousand-dollar equipment, and no doubt they still can’t capture the warmth that you feel from a candid pic of a loved one. However, if you’re wondering how to take model-like pictures to promote a business, build a portfolio or give a friend and glamorous gift, a few pointers can help you get your shots looking more like those of the professionals.
Location
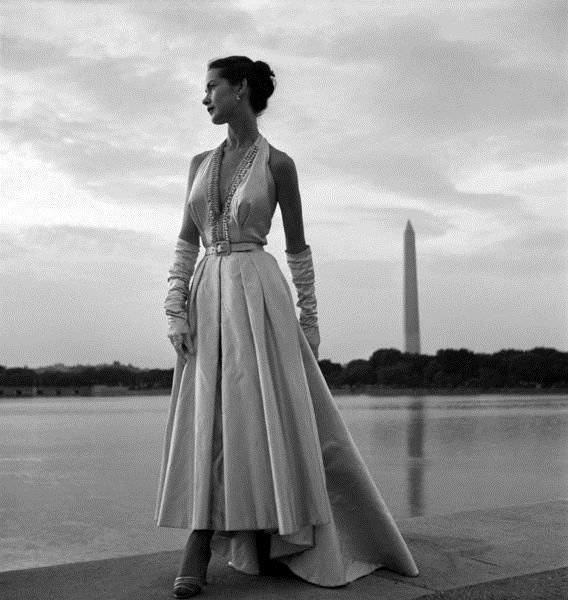
With the focus of modelled photoshoots being the models themselves, it’s easy to overlook just how much of a role the shoot’s location plays in establishing the character of a photoseries. Look at a few well-shot photoseries and you’ll find pictures shot in caves, churches, service stations, gardens and plenty more besides. Think about the personality of your model and the character you want the images to have. Don’t be afraid of a location overshadowing your model or pictures. Deciding to learn how to take model like pictures takes creativity and a sense of adventure, which you demonstrate in just embarking on such a project. Any environment that will bring out the best in you and your model is one to explore.
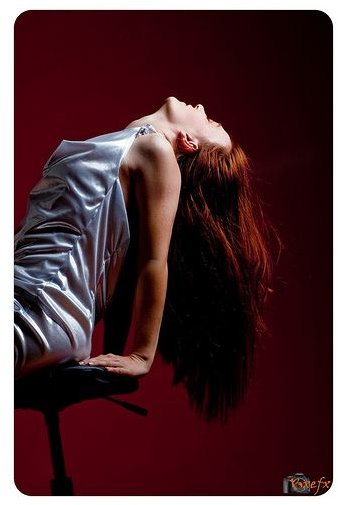
Lighting
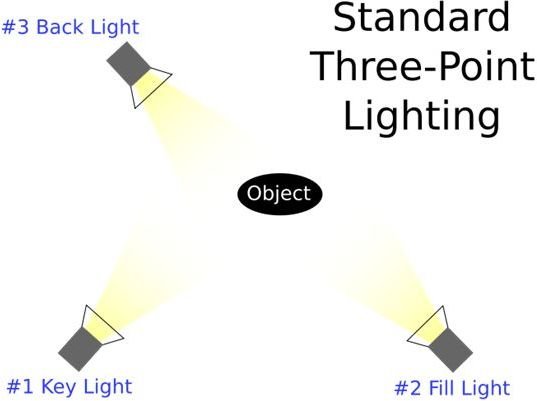
Looking at the work of artists you admire, you may say, “these aren’t lit - they look totally natural.” That’s exactly what makes them so good. A huge factor in the ability to take model-like pictures is lighting the model and environment to convey as much style and glamor as possible, and the best lighting looks like no lighting at all. A flash mounted to your camera won’t do: direct light flattens the image and washes out the model’s skin. Set up your model in the classic three-point style: key, fill and backlight. The key is the strong light, typically on a 45-degree angle, that highlights the model’s “good side” and draws the viewer’s eye. Offsetting this is the fill: a dimmer light on the other side of the model, filling in the details of areas not covered by the key and minimizing unflattering shadows. Finally the backlight subtly illuminates the edges of the subject. A skillful backlight can create a “halo” effect that really brings out your model from the backdrop.
Once you’ve placed your lights, think about color and texture. A warm tungsten bulb can bring out the fleshtones of your model, whereas cooler halogen lighting resembles natural sunlight. Color can be warmed and cooled using blue and orange “gels” or cellophane strips. The other issue to consider is the texture of the light: whether to apply harsh directional light or smooth the illumination with a diffusing effect. Diffuse light with a “diff gel” or thin paper screed. Diffused light gives a softer, gentler tone that removes harsh shadows. For this reason it’s particularly appropriate for the strong key-light so as to allow a smooth transition into the softer fill-light.
Posing and Shooting
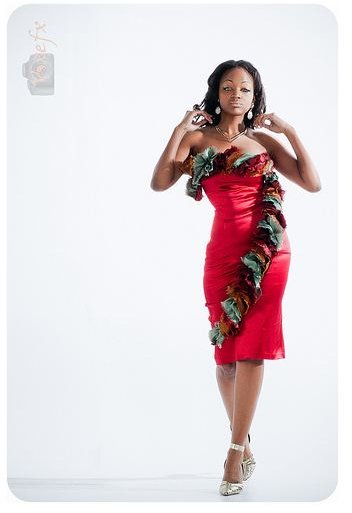
Whether you want your images to have a brash, attention-grabbing style or soft, glamorous character, it’s important to put your model at ease. Whether the model is a friend or someone you’ve just met, anyone who knows how to take model-like pictures will learn the skills of talking with the model and listening to her or his ideas for the shoot. Let the model know what you’re doing in terms of lighting and angle so as to help them generate ideas for the shoot and keep them aware of where they can and can’t move within the location. Keep up communication during the shoot to make sure the model is comfortable with what you’re asking, but remember also that if there’s a pose or angle you want to see, you need to be comfortable saying so. Take plenty of pictures: you’re far more likely to get that one perfect shot if you let yourself take ten or twenty misfires first. Don’t be egotistical about the process: if an idea can improve the finished product, it doesn’t matter which one of you thought of it.
Post-Production
It’s not cheating to “punch up” a picture in post-production. In the days before Photoshop and image editing, a thorough array of darkroom techniques were an important part of the photographer’s art. Now that we have digital technology, many choices that once had to be made in the shoot can now be made and undone at the click of a mouse, making how to take model-like pictures less of a mystery - but the principles remain the same. Image editing programs can be used to pump up the contrast of an image, making it more eye-catching, and tweak the colors to warm up the skin-tone or deepen the coloring of a model’s eyes or clothing. Color and black-and-white can be quickly switched, and filters such as a soft-focus overlay can give a retro-style glamor to shots. Many image-editing programs also include tools for removing minor imperfections or skin problems that can be captured by a high-definition lens, smoothing the model’s skin and adding to the professional sheen of the picture.