Change or Update Website Links in Your Web Pages with the Site Map View in Dreamweaver
Set Up a Site Map
Dreamweaver CS4 by default includes a panel on the right side of the screen with the files that are part of the site listed. If you click on the tiny icon with a down pointing arrow at the top right of the panel and then choose “View,” “Expand Files Panel” you get to the expanded windows. In this view there are three icons in the top row that control the type of view. You can see expanded information about the files: names, size, type, and date; the files on the testing server; or a map view, either a diagram only or a diagram with accompanying file names. An alternate way to get to the map view is to click on the down arrow on the “Local View” tab in the Files panel. The drop down menu includes choices for Remote View, Testing Server, and Map View. This opens a vertical rather than horizontal view of the Site Map. The best way to incorporate a Site Map in your Web pages is to start the design from that point, select a Home Page, create prototype Web pages, which only contain links to other pages, and then generate the site navigation map. This is a more structured approach to web design.
Updating Links Using a Site Map
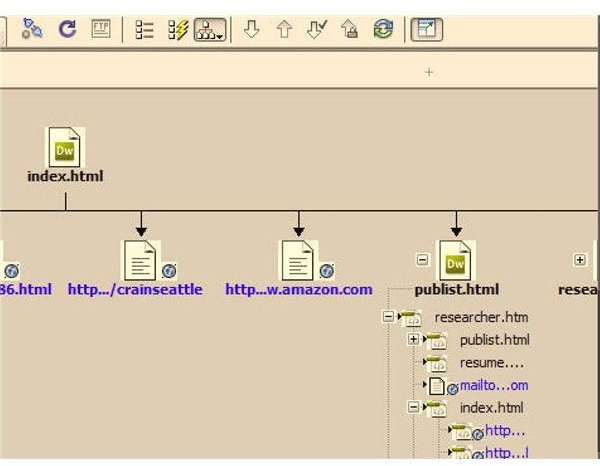
When website links change , you can either open one file at a time through the Files panel, or use the Site Map view to save time. Open the Site View by one of the methods outlined above. The Home Page selected should be at the top. Find the icon for the page containing links that need changing. If you click on the “+” sign next to the icon, you get a list of pages linked to that page. If you right click the page icon itself, one of the options in the pop-up menu is “Change Link.” Clicking on this brings up a “Select HTML File” screen where you can choose another page. There are other helpful options on that pop-up menu such as “Remove Link,” “Link to New File,” or “Link to Existing File.” When you have selected the new link, Dreamweaver will prompt you with an “Update links” screen. Choose OK if everything appears correct. The included image illustrates part of the view of one Web page with all the files linked to it. You can modify links on each of these pages using the method described.
Change Links Sitewide
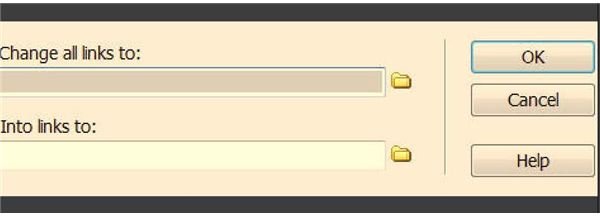
There is one other quick way to deal with a Link that needs changing on the entire site. To do this, click on “Site” in the top Dreamweaver CS4 menu and then select “Change Link Site Wide.” This opens a window where you select a specific URL to change and choose the new file. Both these boxes have a folder icon where instead of typing the information, you can find them through a browsing approach (see image). After entering the choices, click “OK.” An Update Files dialog box opens and you can verify the operation. If you have set the Preferences to update links automatically, Dreamweaver skips this step. Use caution in this blanket approach, because it is a search and replace operation and if something is wrong, going back to fix it can be time consuming.