A dome camera is a nice tool to keep a watch over the area where security is very important. If you are wondering how to install one of these in your dropped ceiling, the whole task can be completed through a few simple steps.
The installation of dome camera in a dropped ceiling is not very complicated. The task is somewhat similar to the installation of any camera onto a ceiling. There are a number of tools you will need to install the camera. You can find most of these at your local hardware store. However, proper use of these tools during the installation is also very important. If you have had practiced with these common electrical instruments, you should feel at ease with the following tasks.
Tools Required for the Installation
- Ladder
- Grease pencil
- Utility knife
- Flat-edged screwdriver
- Eye protection glasses
- Drill
- Hole Saw
Find the Location of Junction Box
The first step is to find the junction box present beneath the dropped ceiling**.** You can find the approximate location through following ways.
- Get the blueprints of the building, and search for the location.
- You can get the information from the contractor who put in the dropped ceiling.
- Lift the ceiling tiles and look around inside.
Now, it’s time to install the dome camera. There are two basic types of dome camera installations, The first one is a surface mount and the second is a flush mount. Today, most of the cameras in the market are surface mount. However, both the installations are described here.
Remove the Ceiling Tile
Now, remove the ceiling tile, which is located below the junction box. Removing the ceiling tile to work on the ground is a lot more convenient than working on a ladder. Remember, the use of eye protection glasses and a steady ladder is very important. This step is common for both the installations. The working steps for both are slightly different, and they are described below.
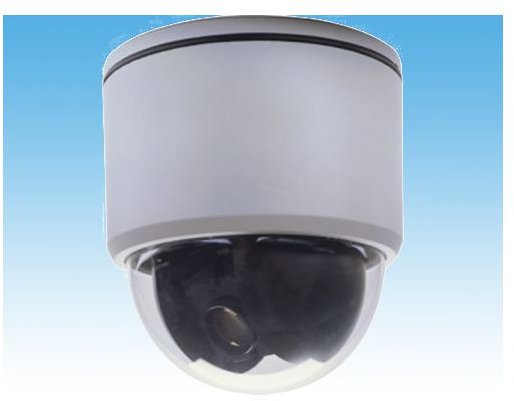
Surface Mount Installation of the Dome Camera
Use Backing for Additional Support
These days, dome cameras are made up of light weight high-tech materials. Therefore, it can be directly mounted to the ceiling tile
without any additional support. However, you can use rectangular plywood as backing for additional support to the dome camera. It would evenly distribute the weight of the camera over the ceiling tile. This technique is specially used for heavy cameras.
Now, put the backing on a table and put the ceiling tile over it. The base of the dome camera will be put at the top, i.e., on the ceiling tile. All of them must be aligned because the next step is to drill holes through them.
Screw the Base of the Camera in the Ceiling
Now, you will need to attach the base of the dome camera in the ceiling. There are four screw holes on the base of the camera. You just screw the ceiling tile, backing, and base of the dome by drill through the screw holes present on the base of the dome.
You will need to drill one more hole at the centre of the base, which will be used for passing cables (video and power cables) from the junction box.
Fix the Ceiling Tile in its Place
After completing the work, fix the ceiling tile in its place. Draw the cables from the junction box though the center hole before fixing it.
Connect the Cables
Now, connect the cables of the junction box and the dome camera.
Attach the Camera to the base
After connecting the cables, attach the camera itself to the base of the dome. You should use flat-edged screwdriver to screw the camera to avoid any crush on the base of the dome.
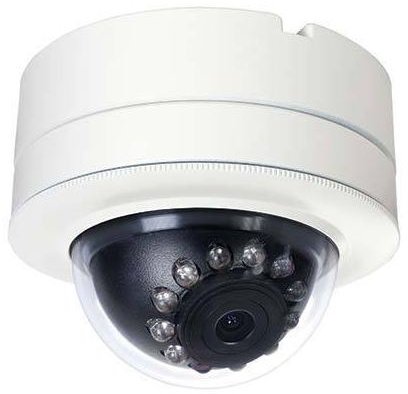
Flush Mount Installation of the Dome Camera
The process starts after the removal of the ceiling tile.
Make a Hole in the Ceiling Tile
For the installation of flush mount dome camera, the first thing is to make a hole in the ceiling tile. You should use a drill and hole saw the same diameter as the back of the dome camera. However, if you don’t have these instruments, mark a hole on the ceiling tile with a grease pencil via dome camera. Remember, the size of the hole must be equal to the back diameter of the camera.
Now, cut the hole accurately using a utility knife.
Install the Camera into the hole
Now, you will need to install the camera into the hole of the ceiling tile. Use screwdriver to perform this job.
Fix the Ceiling tile in its Place
Now, attach the video and power cables of the dome camera to the junction box. After attaching these cables fix the ceiling tile in its place.
Apply the Dome of the Camera
This is common for both installation processes. However, you should keep a couple of precautions in your mind before applying the dome. These precautions will help you to complete the task when concerning how to install the dome camera in dropped ceiling.
- Make sure that the blinders of the dome camera are lying correctly so that the lance has a complete field of view.
- Use screwdriver smoothly to avoid any damage.
References
Reference- security.honeywell
Image- Surface Mount Dome Camera-minrray.en.made-in-china
Image- Flush Mount Dome Camera- domesurvillancecameras


