Optimize Blog Posts with Windows Live Writer
The Blogosphere
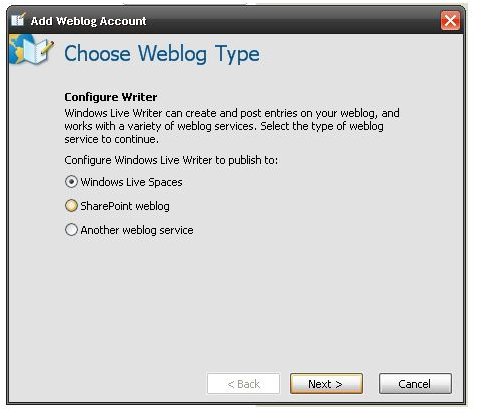
Microsoft Windows Live Writer is a good alternative to publishing blog posts. It also allows you to fully customize your posts by adding many different features. It provides you with a way to insert tables, pictures, and streaming video, amongst others. While you don’t get complete control of your blog from here, such as editing the layout, you are still given a good portion of options. Windows Live Writer is great if you post at multiple blogs; you will be able to maintain them all with this application.
Getting Started
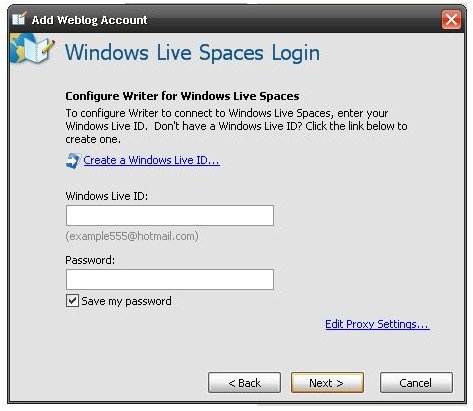
For this guide, we’ll be using Windows Live Spaces as an example. You’ll have to enter your Windows Live ID and password so that Windows Live Writer can access the blog. If you don’t have a Windows Live ID, the option for you to create one is there, and will take a few moments to set up.
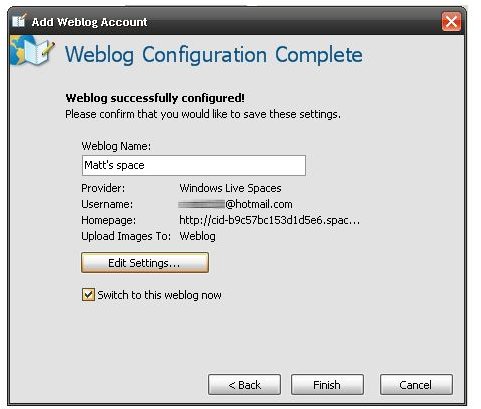
Afterwards, it gives you a default name for your blog, which you can change if desired. You can even change settings as to where you want images to save. I recommend the default, which is to have them stored directly on the blog, but if you want images to be saved elsewhere, all you have to do is click on “Edit Settings…”
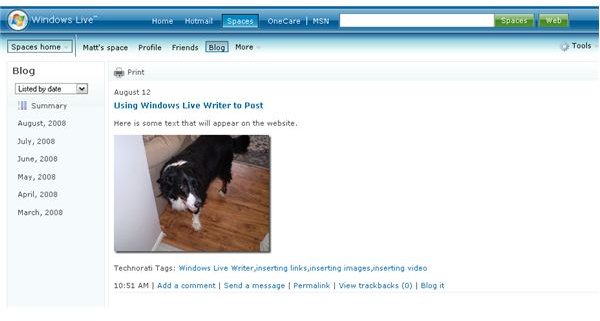
You are now ready to start blogging! There’s a block of text at the top of the post that you can change at any time: this is the title of your blog post. Just click on it to access the title of the post, and type in whatever you wish. Afterwards, click underneath the blocked text to start writing your blog post. Be creative; write about anything you wish. Be mindful of what you’re writing; anybody with Internet access can stumble across your blog at any point in time.
Inserting Images
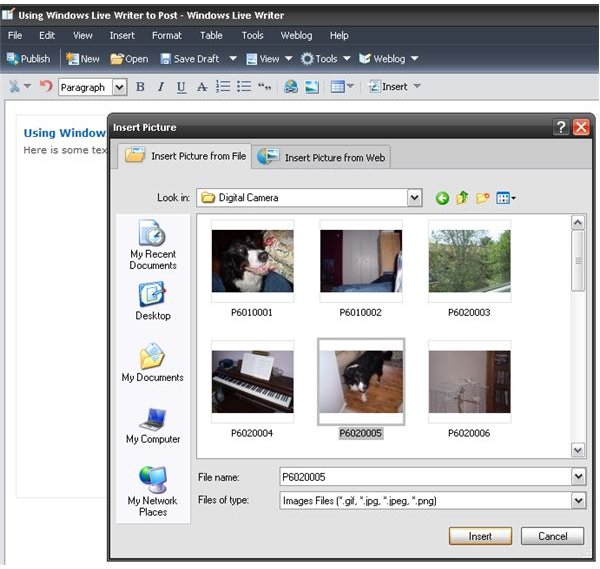
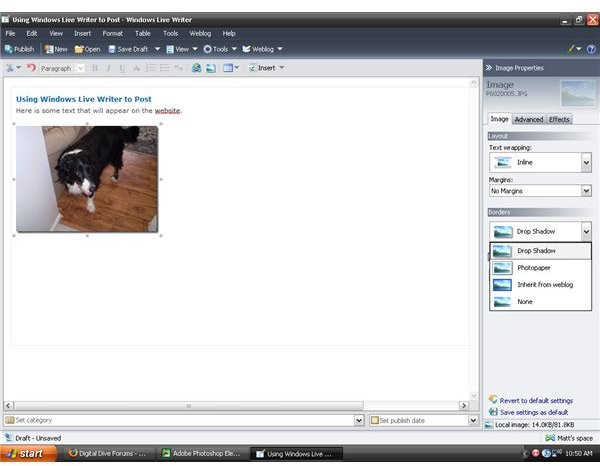
On the toolbar to the right of your post, click on “Insert Picture…” You can upload an image that you would like to insert into your blog post, or if there is an image elsewhere on the Internet that you would like to share, click on “Insert Picture from Web”. All you have to do is copy the URL of the picture into where you’re prompted to do so.
After your image is inserted, you have some editing features that you can use. By clicking on “Borders” you can change the appearance of the border around the image. If you don’t want a border, simply choose “None” and have your picture displayed as is. If you want text to appear around the image, choose one of the options from the “Text wrapping” option just above where you can change the border of the image. Finally, if you want to make some more changes to the appearance of your picture, click “Advanced” to change the dimensions of the picture, rotate it or adjust the contrast. In “Effects” you can make further manipulations to the photo.
Keep in mind that for an image that you insert that is linking from a website, your options are limited to resizing the picture without adding any borders or effects. For an image that you upload yourself, you can have full access to all of these different effects.
The next page will explore how to insert tables, video, tags and links.
Further optimization
Windows Live Writer also allows you to insert tables, video, links and tags. Take a look.
Inserting Tables
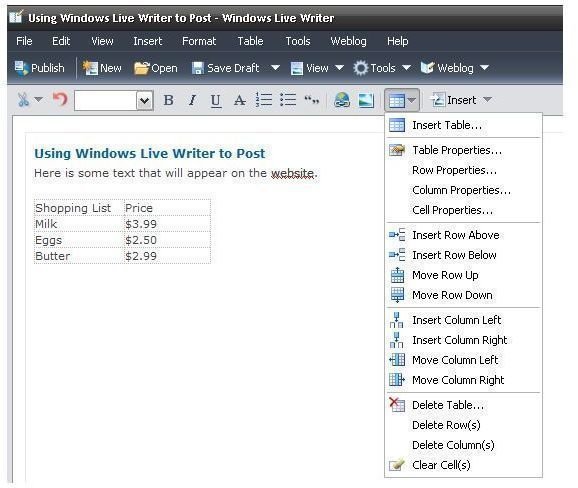
By clicking on the table icon in the toolbar above the text box, you can insert a standard table into your blog post. You can adjust the size of the individual bars by clicking on the separating lines from one cell to another. By returning to the table toolbar, you can edit certain areas of your table in any way you need to. It is the best and fastest way of organizing your content within it.
Inserting Hyperlinks
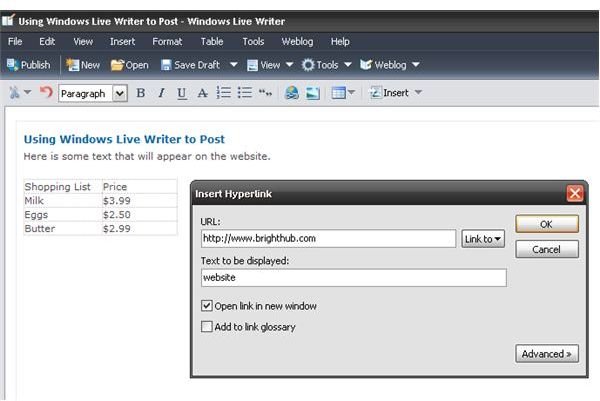
To insert a hyperlink, you can highlight a portion of text that you want to link to an external website. Or, you can insert the text afterwards. By clicking on “Insert Hyperlink” (the icon looks like a chain right underneath a globe), you will be prompted to insert the URL of the website you want to link to. To remove a link, simply highlight the text that has the hyperlink enabled, go back to “Insert Hyperlink” and click “Remove Link.”
Inserting Streaming Video
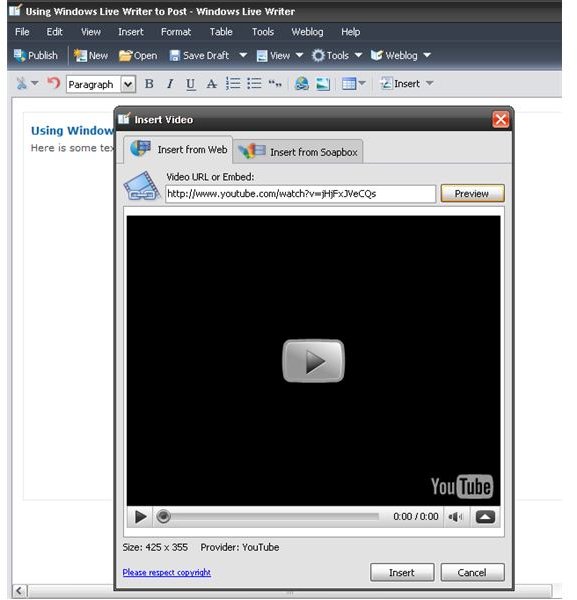
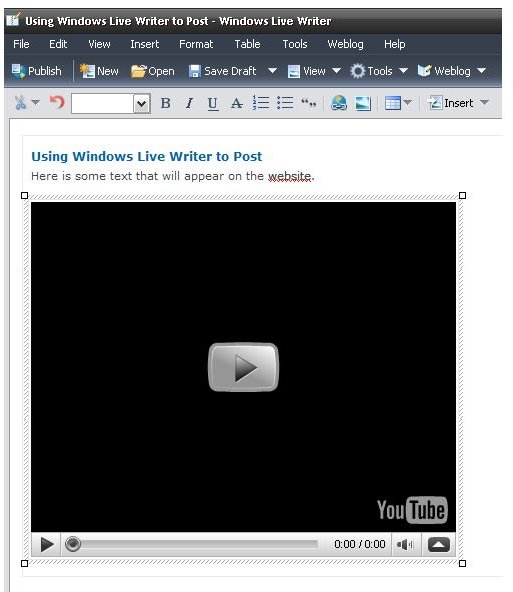
After selecting “Insert Video” you have the option of linking to a video from another website, or using SoapBox. For example, if you wish to insert a video from YouTube, find its URL, and paste it where prompted. It will give you a preview, then click “Insert”.
Inserting Tags
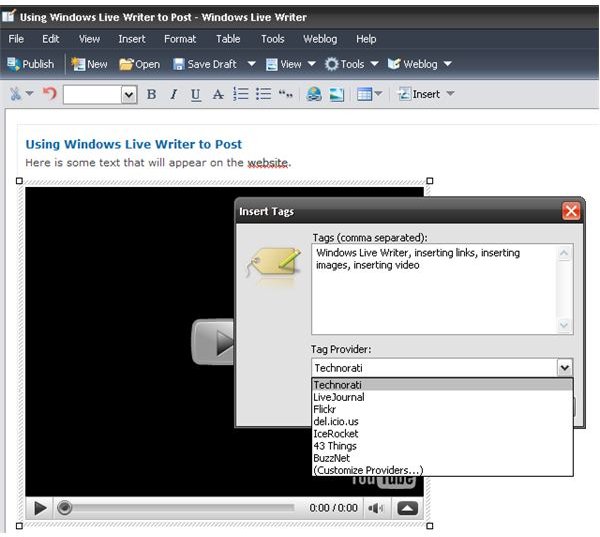
If you want to generate traffic to your blog, tags are a great way to do this. For tags, you have to insert certain keywords about your blog post. This way, it will allow users who are looking for anything related to those keywords to find your blog. Technorati is the default tag provider, but if your blog is with a different service, or you wish to generate tags from another provider, you may do so.
Be careful that you don’t insert too many tags. If you are not careful, it can be listed in search engines as a spamming site.
Publishing your blog post
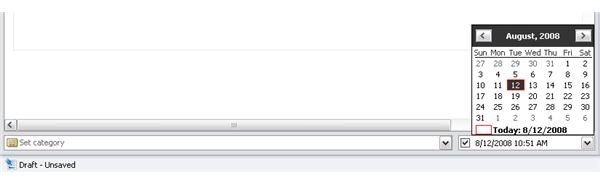
If you don’t want your post to appear until a certain time, you can choose when you want it published. At the bottom of your posting text, click on “Set Publish Date”. From there you can choose which day you want it to appear on your blog. If you want to publish immediately, all you have to do is click on “Publish”, which is the left-most option above the text-box toolbar.
If you do not wish to publish a post and wish to return to it later, click on “Save Draft”. Then, when you’re ready to publish it at a later time, you can do so.
Happy blogging!
Related Reading
- Windows Live Writer Review
- MacJournal Makes Blogging a Little Easier
- Firefox 3 Extensions: Social Media and Blogging
- Gabcast - Annotate your blog