Changing a Windows 8.1 Network From Private to Public (or Vice Versa)
Despite the nomenclature, Private networks are less secure than Public networks, because sharing and device discovery are enabled, which potentially exposes your data on untrusted networks. Therefore, if you’re connected to a public hotspot or have no need for device discovery and content sharing, it’s safer to designate the network as “Public.”
However, there is one other scenario that is worth considering. If you use a VPN to create a secure connection, you might need a particular program to only connect to the Internet through the VPN. In that case, you’ll need the home and VPN networks to have different designations, so the Windows Firewall rules can tell them apart. This will be discussed further in an upcoming article, entitled How to Force a Program to Only Use Your VPN.
Viewing Your Network Type
To view your connections, open the Control Panel (Win-I > Control Panel), click “Network and Internet” and select “Network and Sharing Center. You can also conduct a Windows search for “Network and Sharing Center” to quickly find the option.
In the above red box, you can see there are two networks, one Private and one Public. Looking to the right of the box, you can see the Private network uses a Wi-Fi connection, whereas the Public one is unidentified, which is how VPNs like this one might appear.
Changing Your User Account Control Settings
If you changed the default User Account Control settings to “Always Notify,” then you’ll have to drop it down a notch to change a network to Private. Otherwise, the option to Find Devices and Share Content won’t even appear.
Open the Control Panel, click “System and Security” and select “Change User Account Control Settings” in the Action Center section. Drag the slider down to the second option (shown in the red box above) and click “OK.”
Changing the Network Type
1. Open the “Settings” charm bar (Win-I) and select “Change PC Settings.”
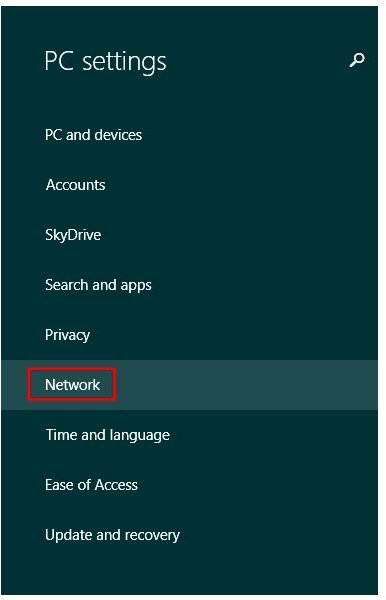
2. Select “Network” from the PC Settings sidebar.
3. Click “Connections” from the Network sidebar and choose your primary network connection. If you have a VPN that uses non-native software, it won’t appear in the list; however, you don’t want to change its “Public” designation anyway.
4. Drag the “Find Devices and Content” slider to the right “On” position to change the network to “Private” or drag it to the left “Off” position to change it to “Public.” If you re-open the Network and Sharing Center, you’ll see the change is immediately recognized.