Top Ten Things to Do after you've installed Ubuntu - networking and updates
Assumptions…
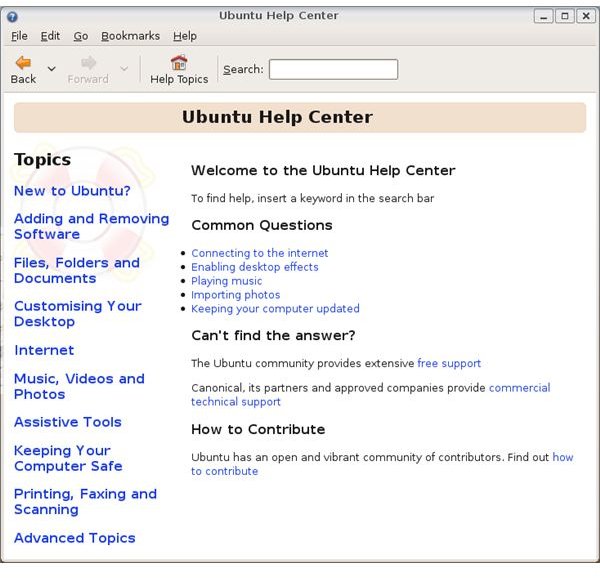
I’m going to assume that you’re a Windows convert with some knowledge of graphic interfaces but little or no experience of Linux, and you’ve just installed a standard version of Ubuntu 8.10 (Intrepid Ibex). I also assume you have access of one kind or another to a Windows system. If you’re already familiar with Linux then you can skip the bits about getting to know your system. If you have some variant version like Kubuntu or Xubuntu, you may find you need different menu commands to run the same applications. They should all be there somewhere, however. If you need more detailed help with anything, the Ubuntu home site has a very useful set of instructions for immigrants from the Windows world. Another good place to look is the built-in Help system available under the System menu:
1. Write down your username and password!
If you have created a username and password during your Ubuntu installation, then write it down! and store it somewhere safe – in several safe places, if possible. Nobody ever thinks they’ll forget their username and password – until they do.
2. Set up cable networking and an Internet connection
The most important step is to get a cable-based Internet connection up and running. Luckily, it’s also usually one of the easiest. If you have a router set up then Ubuntu should recognize it immediately – to test it, just fire up a web browser program like Firefox (which should have been installed by default) and type in a URL. If you are using a direct Broadband connection to the Internet, you will need to make a note of your username, password and connection type (usually PPPoE), while for dial-up networking you will also need to know the phone number to call. You should be able to read these from the existing settings in Windows or obtain them directly from your service provider. When you first boot up into Ubuntu it should detect the dial-up or broadband connection and activate a wizard which allows you to enter the relevant information.
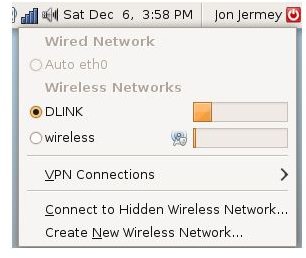
If this doesn’t work for any reason you will need to tinker. Look for the Network Manager icon in the top right panel (the Notification Area). It will appear either as a series of steps (for wireless) or a PC monitor. Click on it to open a menu and change the settings as necessary. You may need to select ‘Manual Configuration…’ to go further.
3. Install system updates
Now you have a working Internet connection you can download automatic updates – improvements and bug fixes made since the official release. These are accumulating all the time, so the longer you leave installing a distribution after it is released, the more of these you need to download to bring your system up to date. If you see a down-pointing red arrow in the Notification Area, click on it and this will begin an automatic download and installation. Be warned: this can take some time! Occasionally a new upgrade will break a working application and you will need to install a new copy of that too – see below for how.
4. Add Windows shares and bookmarks
Ubuntu uses a system called Samba to connect to Windows networks. This is installed by default and normally works fairly well; once your network hardware is up and running, you should be able to go to ‘Network’ under the Places menu and see the names of the other PCs on the same network (‘servers’). Depending on your access privileges and the network settings, you should also be able to open these, view some of the folders they contain (‘shared folders’) and work with the files in those folders. If a PC name is showing up but you can’t see the shared folders in it, check the firewall at each end – although Ubuntu should be installed without a firewall by default. The Windows native firewall is pretty good at sharing with Ubuntu systems, but there are other proprietary firewalls that don’t play so nicely.
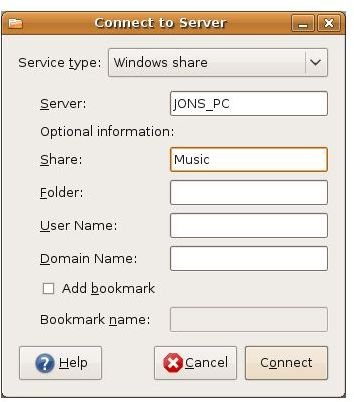
For your Ubuntu programs to modify and save files in shared Windows folders you will need to set up a connection through the Places menu and the ‘Connect to Server…’ dialog box. Change the Service Type to ‘Windows Share’ and put the name of the computer as the server and the name of the folder as the share. The rest of the fields are optional, but if you select ‘Add bookmark’ and give it a name, the folder will be added to the Places menu, and will then appear in File Open and File Save dialog boxes within your applications.
You can also treat Windows shares like websites: open your web browser and type ‘smb://’ (without the quotes) followed by the name of the server, another slash, and the name of the folder: e.g. ‘smb://JONS_PC/Music’. The contents should appear as a list in the browser window. This may help with identifying shares and debugging.
5. Install printers

Ubuntu is pretty good at picking up installed printers, and a wide range of printer drivers can now be installed from the Ubuntu site, so your printer will need to be pretty new (or pretty old) if it fails to install automatically. New local or network printers can be added from the System / Administration / Printing dialog box. Printers on a Windows network can be located with the ‘Windows printers via Samba’, while network printers attached to a router can usually be found with the ‘IPP (Internet printing protocol)’ method. There is an option specifically for (notoriously temperamental) Hewlett-Packard printers. Printers that include fax machines will need to be installed twice, once for each function.
6. Set up email
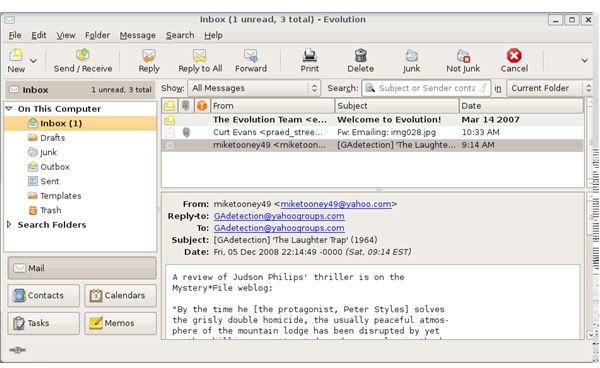
Ubuntu comes with a standard email program called Evolution, which also includes a calendar and a contact manager. It’s found under ‘Internet’ in the Applications menu. The first time you open it, it will prompt you for the details of your email address, mail server names and connection preferences. If you are just trialling Ubuntu, you may want to check the ‘Leave mail on server’ option so that new mail goes to both this account and your old one(s).
Many Linux users now use the Mozilla Thunderbird email program, which is available as a free download for both Linux and Windows. It’s slightly more powerful than Evolution and it allows for the installation of extensions or add-ins which provide some extra functions. It needs to be set up in the same way as Evolution, and either program can block or redirect junk mail.
7. Download and install or remove software
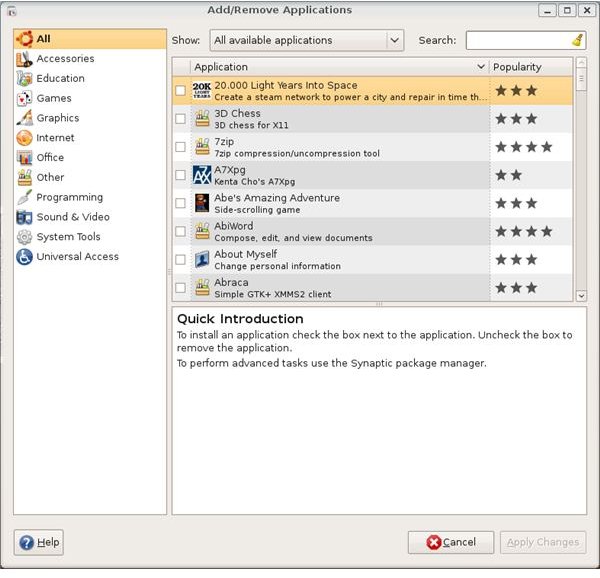
There are three applications involved with getting new software in Ubuntu. First is the ‘Add / Remove Applications’ applet available from the bottom of the Applications menu. Selecting ‘All available applications’ from the drop-down menu at the top will display a comprehensive list of all the officially recognized applications that can currently be downloaded and installed on your Ubuntu system. You can type some text – e.g. ‘MP3’ – in the filter box to show those applications which include the text in their title or description. The Popularity column gives a good idea of which are likely to be useful, and clicking on the name of an application will display its description in the bottom panel. To select an application just click on the check box to the left of its name.
To remove an installed application change the category at the top to ‘Installed Applications’ and uncheck the applications you want to remove. When you have selected and deselected all you want, click ‘Apply changes’ at the bottom right to proceed.
The Synaptic Package Manager (under System / Administration) is a more powerful program which can install system files as well as applications. It can also sometimes resolve conflicts between applications and other problems. Both the Synaptic Package Manager and the Add / Remove Applications applet will download updated lists automatically when they run.
Finally, the Software Sources panel under System / Administration allows users to add or remove more download sites (‘repositories’) for software. This determines where the Synaptic Package Manager and the Add / Remove Applications applet look for their content.
8. Set up a music player
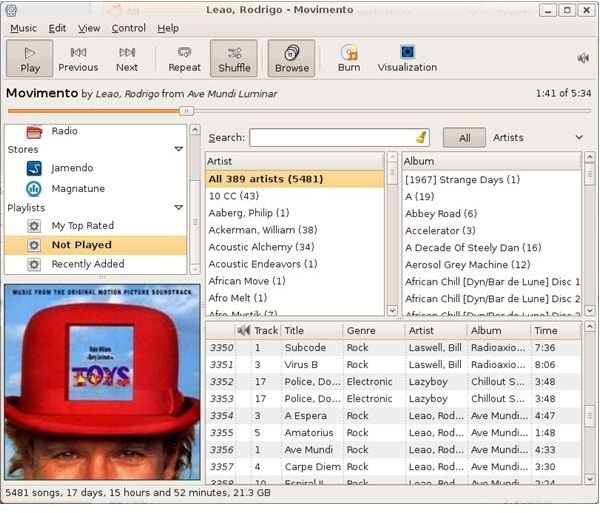
There are many good music playing programs available under Ubuntu, but the two most popular are RhythmBox – which comes pre-installed – and Amarok, available as a free download. Amarok is a little more glossy, but if you need to play music files stored on Windows shared folders, RhythmBox makes this easier. Both play music CDs and support playlists, both can be used to access Internet radio stations and download podcasts, and both will display funky ‘visualisations’ on the screen that you can trip out to while your music is playing.
Both RhythmBox and Amarok can also connect up to, play from and exchange music files with portable MP3 players, but because MP3 is not an open-source system, it is not supported directly by Ubuntu. To play MP3 files, Ubuntu will need to download new codecs from a restricted repository; instructions on how to do this will appear the first time you attempt to play an MP3 file in RhythmBox.
Once RhythmBox (or Amarok) is running you can use the Import option to bring details of your music files in from their locations on the disk or network. In RhythmBox, Windows shares which you’ve set up with ‘Connect to Server…’ (as described above) appear at the bottom of the Places menu in the Import dialog box.
9. Set up an image browser
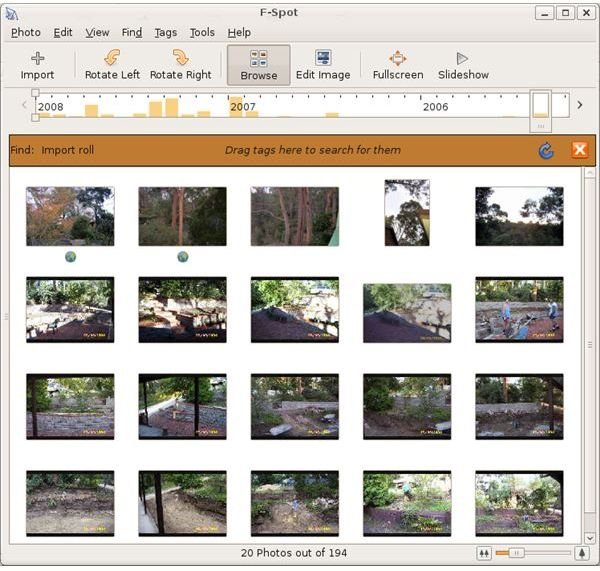
F-Spot Photo Manager (installed by default) is a simple image organizer which allows you to browse through your picture collection and import pictures from a digital camera. You can find it under the ‘Applications / Graphics’ submenu. Images can be imported into F-Spot, tagged for retrieval and sorted by date or size. There is an ‘Edit Image’ option but this is just for rotation and sharpening of the image. Full-scale graphics editing is available through the powerful Gimp application, which is also pre-installed and available through the same submenu.
GQView is another popular bare-bones browser. For an image browser with slightly more editing power, users can download and install Google Picasa. Unfortunately, none of the image browsers I tested were able to recognize shared Windows folders.
10. Establish a backup regime
Now to make sure that all this hard work isn’t lost from fire, flood, theft or a disk crash. Download and install a backup tool from the ‘Add / Remove Applications’ list. All of them should allow you to save your important files – most of which will be in your home folder – to another location. This could be a plug-in hard drive, a USB memory stick, or a networked computer. Simple Backup is the most popular but Home User Backup is good for writing directly to DVD. Simple Backup will run a backup at regular timed intervals, and can recognize and write to Windows shares. You may even want to use both.
Once installed the backup application will appear in the System / Administration menu.
What next?
So far so good; by now you should have a stable, user-friendly, backed up Ubuntu system, connected by cable to the Internet and other PCs on your system. The things you may want to look into from here will include:
- Wireless networking – very useful for laptops but can take a lot of work to set up. If possible check with the official list of Ubuntu-supported wifi hardware before you buy a laptop or a wifi stick or card.
- The Terminal window – how to operate Linux via a command-line interface.
- The Ubuntu filing system – what goes where, and why?
- Adding extra desktops.
- Beautification – modifying the look of the desktops, window display and screen savers.
- Redesigning the menu system to suit your requirements.
So you’ve lots to do. Welcome to the Linux community. Don’t just sit there, tweak something!