It’s never been easier to start sharing home videos on the web. Best of all, you can do it with a copy of Windows 7, Windows Movie Maker, your movies and one of several free video hosting websites. This article will walk you through the high level steps of uploading and sharing your home videos.
Overview
There’s never been a better time to start sharing your family videos online – computer prices are at all-time lows, broadband availability is widespread and sites are offering free storage and hosting for videos. There’s no excuse not to start sharing home videos. This guide will give you some pointers on sharing home videos and will walk you through using Windows Movie Maker to convert and upload your videos.
Although there are many different options to convert videos and post them to the web, I chose Windows Movie Maker due to its simple to use interface and built-in support for uploading to popular sharing sites like YouTube, Facebook and Windows Live SkyDrive. Take a look at this article on creating your own videos with Adobe Premier Elements for an alternative method.
As each site has their own limits, consider carefully what you will be uploading and how you want others to view it.
YouTube offers hosting of files up to 2GB in size or up to 15 minutes in length. Video resolutions can be up to 1080p resolution. YouTube allows you to specify up to 50 users who can watch your video when marked private. The other option is to open it up to the public.
Facebook has similar rules in that uploaded files need to be under 1GB and no longer than 20 minutes. The nice thing with Facebook is that permissions for viewing videos are tied to your Friends already in Facebook so it makes restricting permissions a snap.
Preparing Your Video
First, start off by downloading Windows Movie Maker . Windows Live Movie Maker will allow you to properly format your videos for web sharing. When you run setup, you can install the full Windows Live Essentials package or pick and choose which components to install. At the very least, you’ll need to install the “Photo Gallery and Movie Maker” component. Check out the following link for more detailed instructions on setting up Windows Live Movie Maker .
Windows Movie Maker supports many different popular video formats including wmv, avi, mpg, flv, vob, mov, mp4 as well as several other less popular formats. Keep in mind that the quality of the video or pictures you use in Movie Maker will dictate the file size and quality of the shared videos. Since you are more likely to run into run-time limits (eg, 15 vs. 20 minute), I’d recommend recording at the highest possible quality setting.
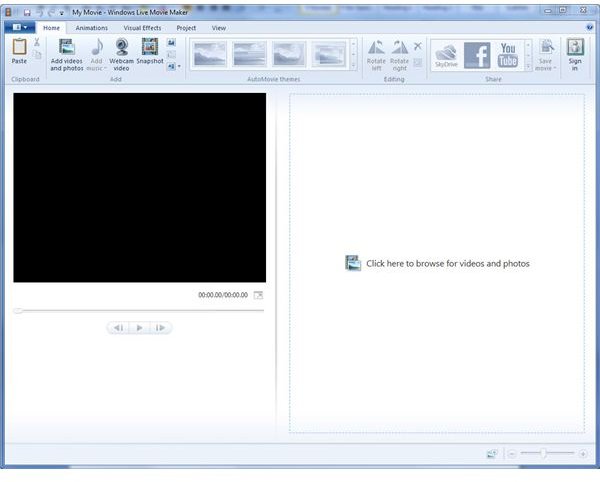
- After installation is complete, start the Windows Live Movie Maker (Figure 1).
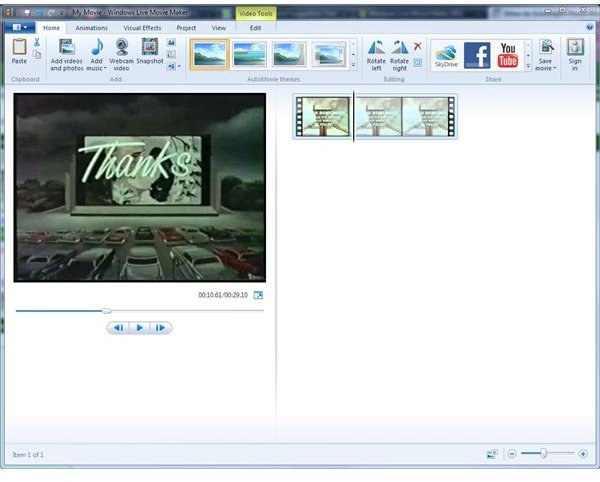
- Click the “Add videos and photos” button and browse to the video you want to upload. Next, select the video(s) you wish to upload and click the Open button. The videos will now appear in the right side of the window (Figure 2).
- You can now edit the movie as you desire or even add in still pictures to incorporate them into the final video.
Uploading Your Video
In this section, we’ll upload your video and set the proper permissions to restrict viewing to only allowed individuals.
- When you are ready to publish the video, you’ll want to consider the few things listed above. Since our video is under the 15 minute mark, we’ll use Facebook. Click the Facebook icon in the toolbar.
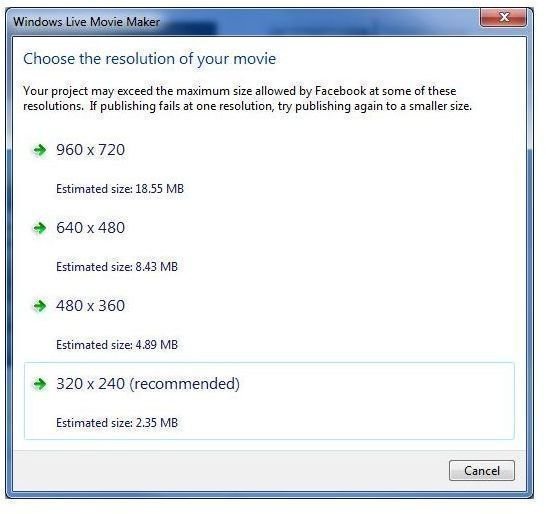
- Windows Movie Maker will now let you choose the resolution. Feel free to pick a high resolution as long as you are under the file size limit for the site you are uploading to.
- Windows Movie Maker will now prompt you to enter your Windows Live username and password. Be sure to sign up for one if you haven’t already. You will also need account information for the site you are uploading to – in this case Facebook.
- Enter your Facebook credentials when prompted. If you haven’t previously linked Windows Live to Facebook, you will be prompted to allow access. Accept the prompts and continue.
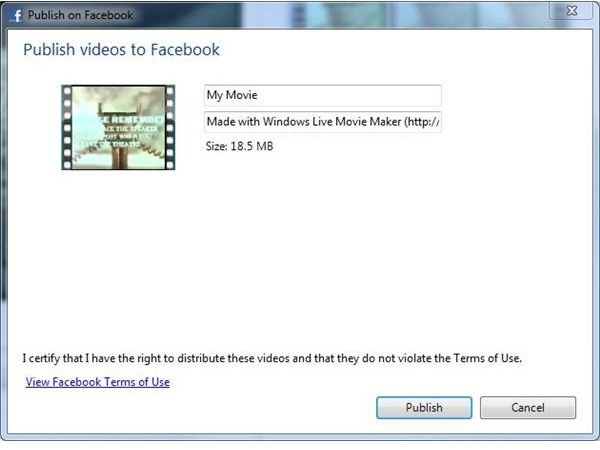
- You will be given the opportunity to give your video a title and description (Figure 4) before publishing. Click the Publish button when ready to upload your video.
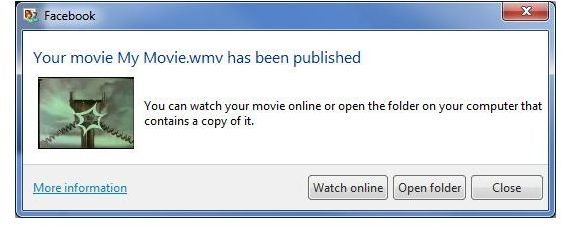
- Windows Movie Maker will inform you when the video has finished uploading (Figure 5). Depending on the site you upload to, it may take a few minutes for your video to be available for viewing.
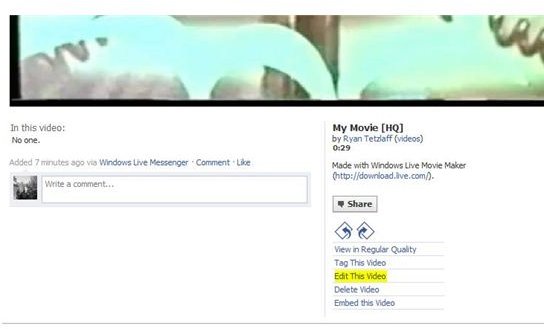
- Next you’ll need to restrict access to your video unless you want everyone to be able to view it. In Facebook, click your Profile link and then the Boxes (or Videos) tab. You should see your new video there. Click your video and on the next page, click the “Edit This Video” link (Figure 6).
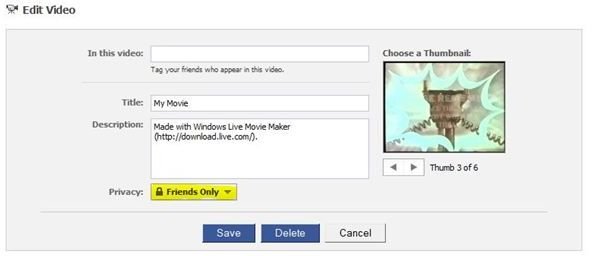
- You can now select a privacy setting. In the example shown in Figure 7, I’ve selected my Friends Only. YouTube has similar controls for restricting viewing of your videos as well.
With that you’ll be sharing home videos in no time. Although other sites are available for sharing videos, most will charge for similar services that Facebook and YouTube offer for free. Although this walk-through was focused on a Windows system uploading to a sharing site, Bright Hub has a great article using Ubuntu Linux to upload and share videos on YouTube . If you have tips on sharing home videos, feel free to leave a comment!
Credits
Screenshots taken by Ryan Tetzlaff
Still image of video from the Internet Archive “Drive-in: Goodnight-Please Remember Speakers ”


