How to Export Final Cut Pro Videos for Online Video Upload
Posting Online
The Final Cut Studio workflow is designed to bring you to almost every possible location for your film’s distribution all on your own. With Apple’s Compressor you have the ability to transfer codecs and compress videos in a way that will allow it to go where you need it to. In recent years the posting of videos onto online hosting services like Vimeo and YouTube is the most standard place for them to head to, and depending on exactly how you want this to appear you have these options right out of Final Cut Pro through Compressor. Follow this tutorial on how to compress your Final Cut Pro videos for the internet.
Exporting from Final Cut Pro
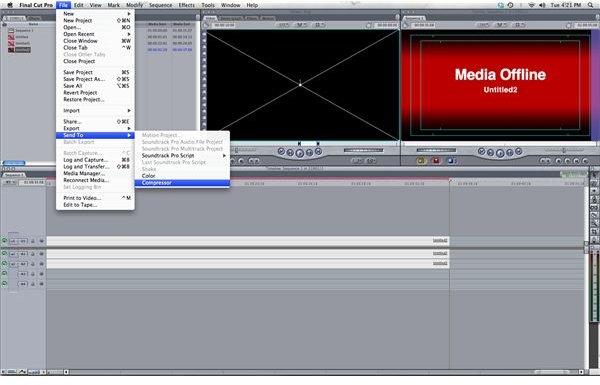
Once you have finished editing, tested your sequences, and rendered everything you will go to File. Go down to Send To and choose Compressor. This will open up Compressor with your Final Cut Pro project prompted already.
Compressing the Files
Once you are in Compressor and your project is available, you will go down to the Settings tab in the lower window and look for the codec
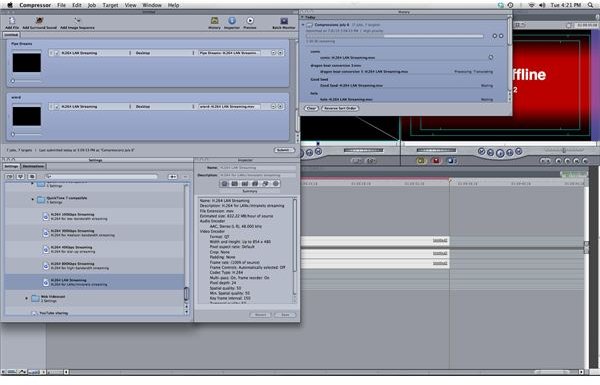
option you want. Go to the Apple folder and then select Formats. Choose the bottom option, which is Other Workflows, and then Web. Select QuickTime 7 Compatible to get the newest possible version and then you will see a series of compression options. The top option, H.264 100kpbs Streaming, is the option to make it the smallest for streaming video. The bottom option, H.264 LAN Streaming, is the option to leave it as large and high quality as you can for streaming videos. The middle options are variable in between those two extremes, so you have to make a choice as to how large and high quality you need your video to be. Once you choose one you can drag and drop it up onto your project in the top window and then set a target destination for the compressed version of the video to go.
Uploading the Video
Once Compressor has finished with the video it will spit it out as a much smaller QuickTime movie file that you can then upload. Simply go to the video hosting site that you have selected, choose to upload the video to your account, and then select your compressed QuickTime. Since it is at a much smaller size and a proper QuickTime with the video and audio still synced perfectly the website should accept it as a proper format and allow it to be hosted. The compression process for this is not just exclusive to videos that are coming directly out of Final Cut Pro project. You can select full video files, open them in Compressor, and choose to compress them to the web streaming codec all on their own.
This post is part of the series: Final Cut Pro Interface Tutorials
Here is a series of tutorials on how to work with different features in the Final Cut Pro interface.