How To Create Special Effects Rain with Adobe Premiere Elements: Making Your Gloomy Scene Work
Special Effects Rain
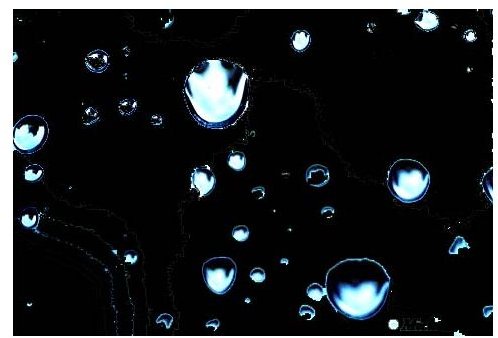
This tutorial will show you how to add rain to your existing video scene using Adobe Premiere Elements. The tools from the following Premiere tool bar will be used. The first element you should have is a prepared Rain FX video clip. This is done by animating rain silvery or light colored rain drops against a black background.
1. Place your video footage on Video Track 1. I will use a video image of a cloudy overcast day, where there is no rain. Import a Rain FX clip on Video 2 Track.
2. The background of the Rain FX is black, but we want to see our cloudy background and the rain.
3. To do this, right click on the Rain FX clip and bring up the Transparency dialogue box settings, which will be located in the Video Options.
4. Select the Screen option as the key type. There are also other options that would do the same effect,
such as Chroma Key and Green Screen. Select the black portions of the Rain FX clip, this will cause these black portions to disappear, leaving us just the raindrops which is what we want.
5. Now let’s preview our work area, by selecting the Space bar on the keyboard. We will now see the rain superimposed over the cloudy background.
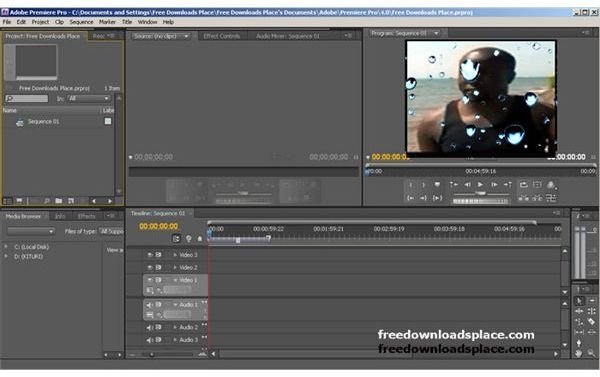
6. Now let’s preview our work area, by clicking on the spacebar on the keyboard. We will now see the rain superimposed over the cloudy background.
7. You may notice that the colors are a bit off and too cartoony and unnatural. Let’s try to make it blend a little more by making it subtle. Set the Transparency controls between 3 and 5, and reduce the transparency, to about 40%.
8. If the dark areas are still too dark for this rainy day, we must distance the rain. We would expect the image to be very foggy. This is where we use the brightness and contrast controls.
9. Open up video effects, and drag the Brightness and Contrast control on top of the Video 1 background layer, or our Rain FX layer.
10. Slide the slider to decrease the contrast and increase the brightness. Play around with the slider until you have a slightly washed out foggy look, from a far view. This is the only view where this effect is most effective.
11. It should now look very foggy and naturally rainy. Now the rain is both subtle and visually present. Make sure it represents the look that you were going for. Now we need to cover the clip, until it covers your background layer.
12. Modify this scene until you approve how the rain and background look. To increase the density of the rain, simply duplicate layers of the rain, by right clicking on the Rain FX layer and selecting Duplicate Layer. Once you duplicate the layers of rain, put them on top of each other.
13. Let’s say your footage has the rain to appear as if you are looking up at it. If you choose to simply reverse it, and have it appear as rain that is falling from an aerial perspective, or a 12 story building. Simply reverse the clip by right clicking and selecting Reverse Motion. Have fun creating your special effect rain scenes with Adobe Premiere Elements. Challenge yourself with other phases of the stormy day. Maybe you could try having a sunny day with slight subtle drip drops of rain, the sky is the limit!