The Best Resolution for iMovie Slideshow Productions
iMovie Slideshow Resolution vs iPhoto Resolution
You can create memorable presentations with iMovie slideshows. Whether you’re making a professional presentation or just using iMovie to create at home slideshows of personal photos, iMovie can create shows typically with better resolution than if you used iPhoto to make your slideshow. After creating your slideshow in iMovie, you can resize your show to make sure it shows at its best resolution. You can combine stills and video for your slideshow as well as create a soundtrack with music and you can add voice over to the mix.
iMovie even comes with a cool special effect known as the “Ken Burns” effect. Ken Burns is a famous American director and producer known for his style of using archival footage and photographs and creating memorable documentaries such as Civil War and The National Parks: America’s Best Idea. Rather than showing a bunch of stills with no movement, Burns “moves” the photos by zooming in and out, thus creating movement. This effect adds another dimension to your slideshow.
How to Make an iMovie Slideshow at Full Resolution
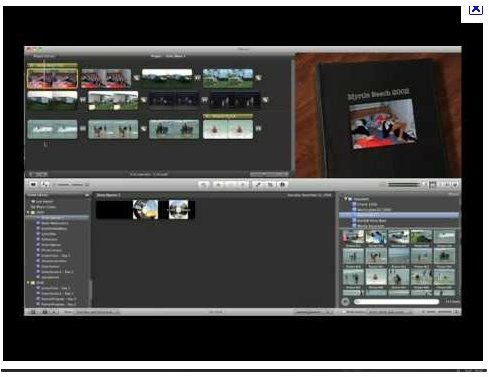
Open the iMovie program and click on the “Photos” icon. This will display your project library in iMovie. If this is the first time you’ve made a slideshow in iMovie, your library will be empty. Therefore, you have to move the photos you want in your slideshow from iPhoto to your iMovie project library. Open iPhoto in a new window. Choose the photos you need to create the slideshow by dragging each into the iMovie library. Quit iPhoto and close the window after you have the selected photos and return to iMovie.
There are several ways to add video to your slideshow. You can drag video from iDVD. You can transfer directly from your camcorder. You can import video from a CD or DVD by clicking “Import,” selecting the file you want, then “Open”.
To add the special effects you want displayed with your photos, go to the “Toolbar” menu and click on the desired effect such as “Earthquake” or “Black and White.” You can preview your photo with the effects added in the Photo Preview menu located on the right. To delete an undesired effect, click the “Reverse” button. Use the “Slider” button to adjust the size of the photo.
Once you are happy with the special effects and sizes of each photo or clip in your slideshow, you’re ready to put the photos and clips into the “Timeline” the way you want them presented in your slideshow. Drag the pictures and clips into the “Timeline” in the order you want them to appear.
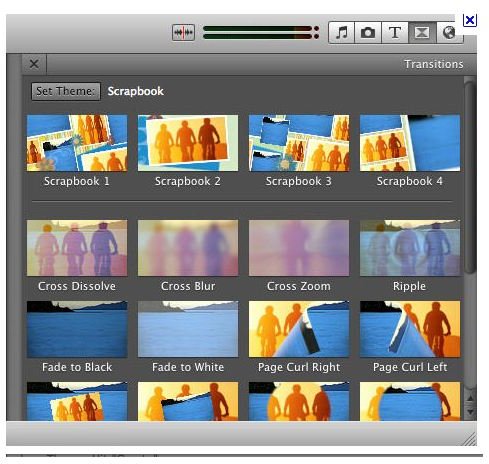
Adjust the photo or clip effects once you have entered them into the “Timeline” by clicking the clip or photo, applying the special effect and clicking “Update.” Click and drag on the edges of each clip or photo to determine how long each will display in your slideshow. Click the “Transitions” icon. Drag the “Cross Disoslve” between each photo or clip. This allows each clip to dissolve between transitions. Save your slideshow in iMovie.
To make sure your slideshow shows in its best resolution you can adjust the size of your iMovie HD window for full resolution. To resize the window click “Choose Window”, “Full Video Resolution” Note that if the menu command is dimmed, the window already is sized correctly.
References
Screenshots provided by writer