VideoSnaps make the whole video conversion process an easy one. You only have to load the media file and select the capturing tool. VideoSnaps does the rest. You can then view the captured files in a preview window. This review explores VideoSnaps features.
Overview
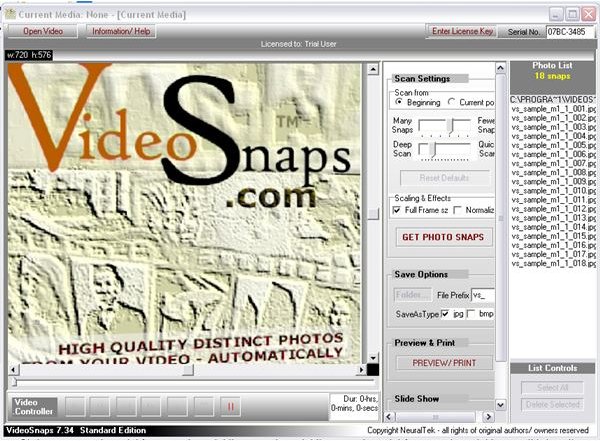
VideoSnaps is good software for capturing photo snaps from video files. You can capture photos automatically from video files. It supports most of the video formats you find in media files. The snaps can be stored in .jpg or .bmp format. You don’t have to bother about the technical aspects of image conversion when using this software.
Screenshot-1
Installation and Setup (5 out of 5)
Installation file is very light and has a size around 5MB. This can be easily downloaded from internet in seconds. There are no complex installation issues for setting up the program. You only need to show the destination folder, overwriting considerations and creation of program groups.
Screenshot-2
User Interface (5 out of 5)
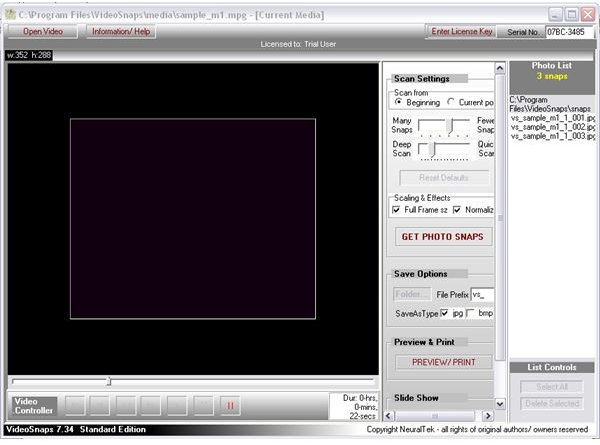
Everything can be done in a few clicks. You just have to select the video clip and click another button for getting the photo snaps. All commands are displayed in the main window itself. All command buttons are self explanatory. The command buttons are labeled with symbols that you often see in other software.
Screenshot-3
Features (5 out of 5)
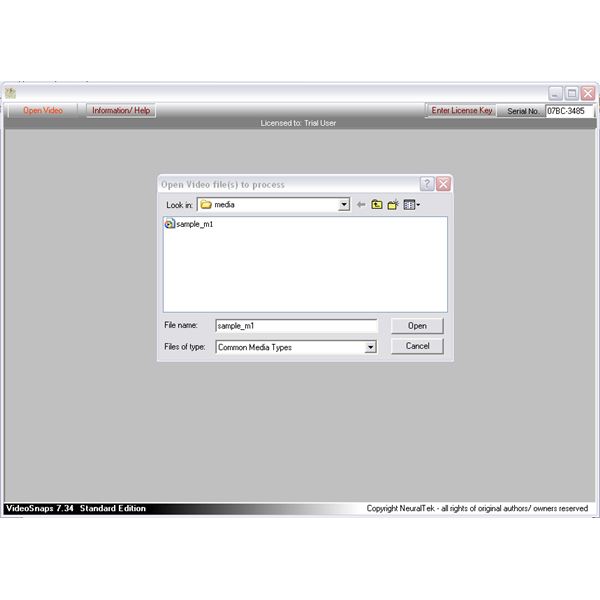
The Open Video button helps to add the media file to be converted. File can be easily chosen using the file dialog box. The video controller integrated to the software is very handy for studying the clip more carefully. There is a button in the control for capturing only the Current Video Frame. The navigation controls are used to select a frame and you can capture it by clicking the Current Video Frame.
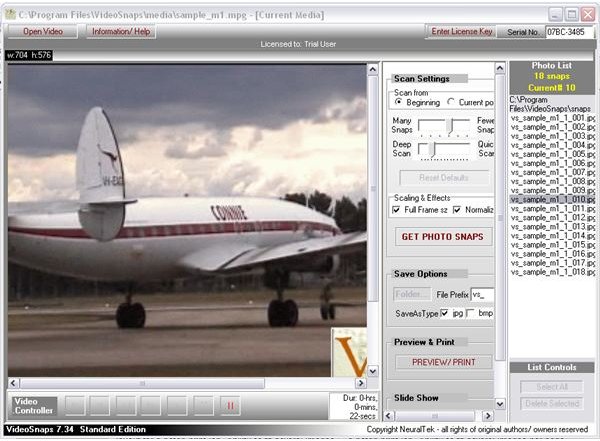
The Start from Beginning and Start from Current options are useful for deciding the positions for starting the conversion process. You may need only certain parts of the file to be captured so it is very useful. The number of snaps to be taken is controlled by options like Quick Scan, Deep Scan, Many Snaps and Fewer Snaps. But the default settings are ideal for all.
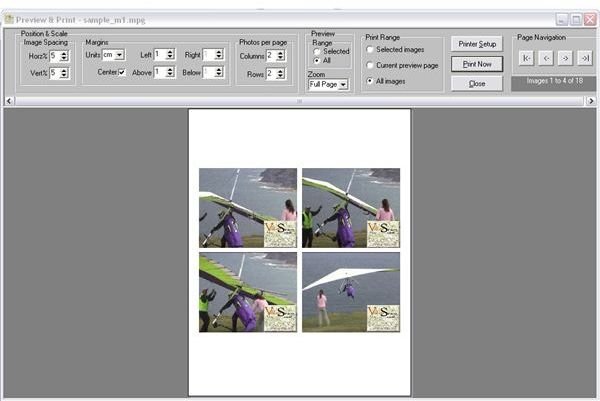
The capturing of photos is a simple process. Just click on the Get Photo Snaps button to capture snaps. The captured files are displayed in the file list window. You can directly take prints of these photos by clicking the Preview/Print button. The Print Preview button has several options for configuring the print. The preview provides options for setting the page size, margins and range. The most interesting thing is the option to number of photos to be printed in a page.
Screenshot-4
Screenshot-5
Screenshot-6
Price to Value (3 out of 5)
The full version of the software cost $69. Since there are no software available for making this type of conversion the cost is reasonable. But there is a possibility of including more features so that VideoSnaps can be used more professionally.
Performance (4 out of 5)
VideoSnap is used to convert almost all type of media files. The speed of conversion is also very fast. The quality of the snaps in the form of .jpg files is also standard. But these snaps do not have the quality of professional photos. You can optimize the performance using features like Many Snaps and Few Snaps.
Final Tag
VideoSnaps is ideal for capturing photos from home made video clips. It can be used without any previous technical knowledge. The operations are simple and understandable. The quality of the snaps does not meet professional standards, but still it may be very useful.
Screenshots