Creating Your Own Quarter Fold Printable Cards
A quarter fold card is one of the easiest at-home cards you can design. Using a standard A4 piece of paper, the kind that you are used to printing on, you can create a small cute card that can easily fit a multitude of purposes. This article will include both a link to two templates for creating the card, as well as the instructions for folding it.
To download the design created in this guide, click this link: Quarter Fold Card Template
You’ll Need:
-
8.5x11 Standard Printer Paper (If using the template)
-
A printer
-
A ruler (optional, will lend itself to crisper folds)
-
A Graphics Design Program, be it Paint, Photoshop, the Gimp, Painter, etc.
1. Design Your Card
While this isn’t a design tutorial, you can go ahead and design your card the way you would like. The important factor right here is that you keep each design element within its own box, lest you bleed it over onto an entirely separate part of the card.
2. Printing & Preparation
Print your card out. Here I’ll just be using the template to help illustrate the point a little bit better. If your design is particularly ink-heavy, make sure you let it dry for a minimum of at least ten minutes. While most inks dry within seconds, there are some differences between brands, printing resolution, and some other predetermining factors. Better to wait the ten minutes than smear ink all over the place!
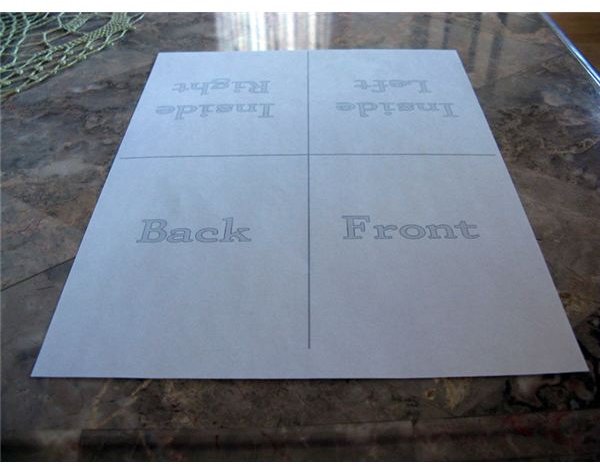
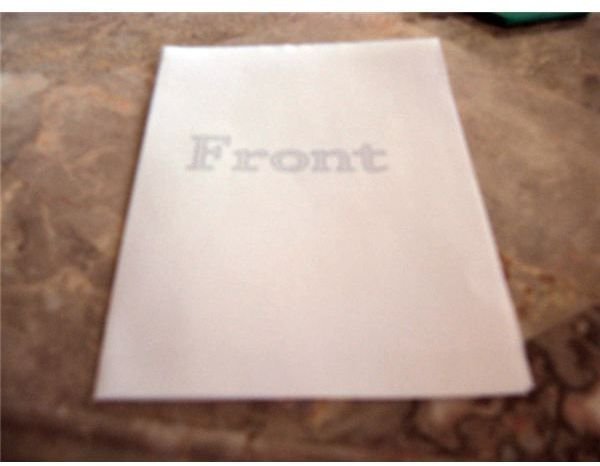
3. First Fold
Lay your piece of paper in front of you as such:
Now, fold your piece of paper in half like so:
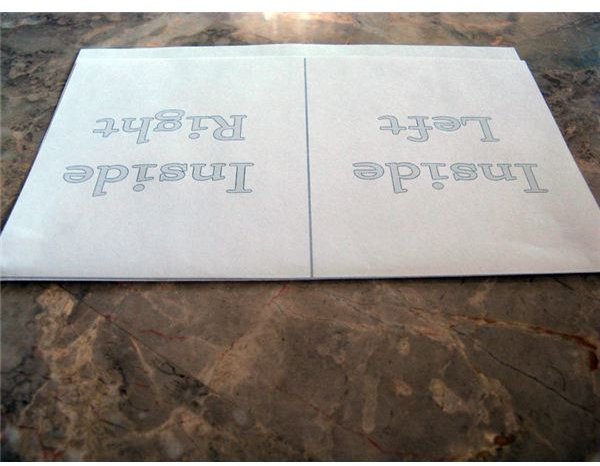
And use a ruler or a pen (or any other straight-edge, I’m using an envelope opener, for example!) to flatten the crease and make it really crisp. Go over it a few times with a solid, even pressure.
Note: If using a ruler, it’s a wise idea to make sure that it is clean. Wiping it down with rubbing alcohol before you start can help to make sure that the graphite and pen ink that may be on it are off. Just make sure it’s dry before using it!
4. Second Fold
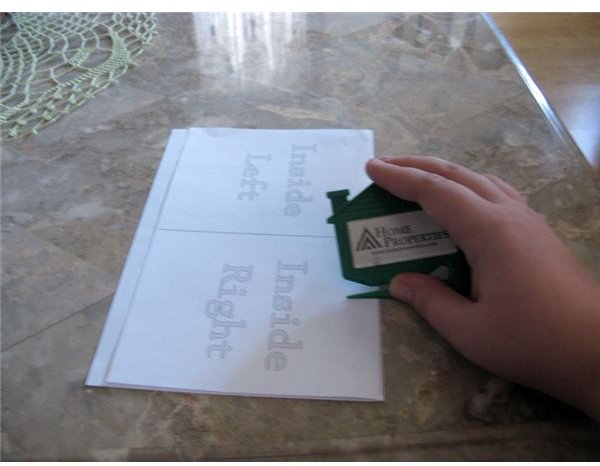
Now take your piece of paper and lay it in front of you like so:
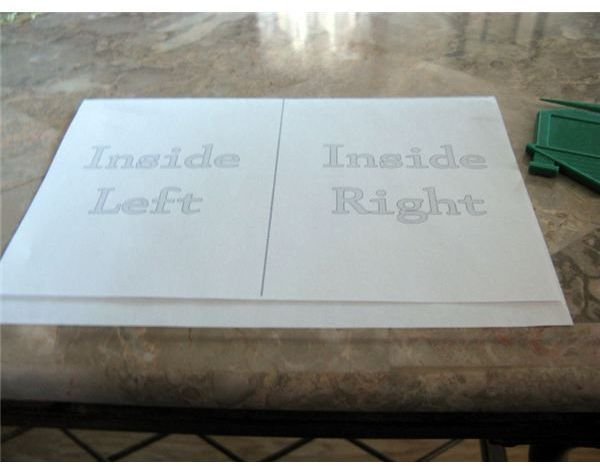
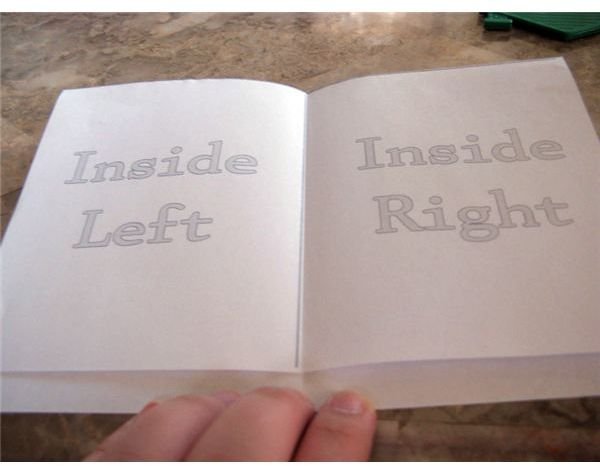
Fold the paper in half again, taking care to make sure that you keep the insides on the insides and the outsides on the outsides! It should look like this:
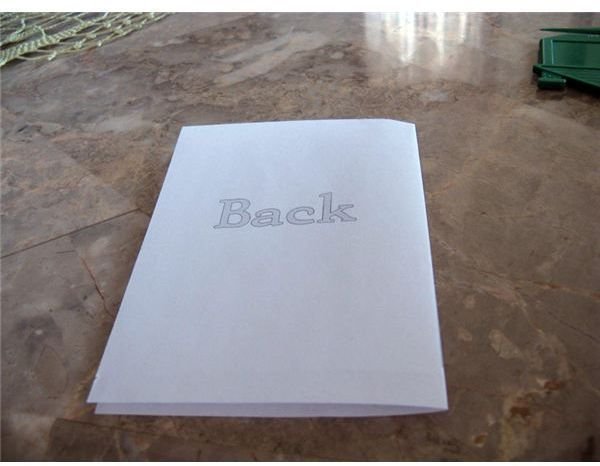
5. Crisp Up Your Creases!
Using your ruler, straight edge, pen, heavy book, fingernail, or whatever you have, go over your creases again. The flatter you get this card the nicer it looks, so even sticking it between a couple of heavy books for a few hours can yield noticeable results! Trim off any extra you might have, and you’re good to go!
Tips & Tricks
- Looking for a more durable card? Use a slightly heavier weight paper, such as matte photo-paper. Keep in mind that this will make the card harder to fold, so make sure that you do have a clean ruler to work with.
- These cards are easy to decoratively cut, just keep it to the two “open” edges and away from the folds.
- Decorating these with Photoshop brushes is easy! Not sure what brushes to use? Here are some of my favorites: Super Cute Photoshop Brushes, Photoshop Sky Brushes, and Photoshop Retro Brushes.