Learn to Draw a Christmas Tree in Photoshop
Draw a Christmas Tree Using Photoshop
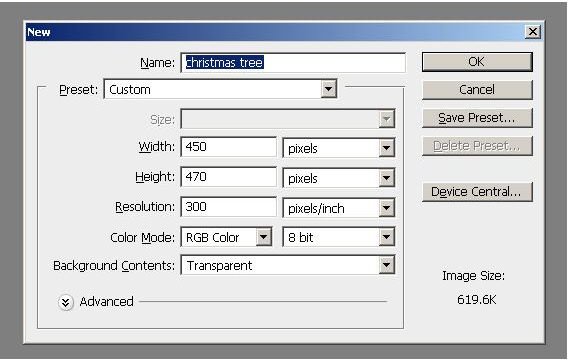
Make all your Christmas gift tags and other art in Photoshop this season! Get started with the process to draw a Christmas tree in Photoshop by opening Adobe Photoshop (version CS5 is used here) and then creating a new document. The file created here measures 450 pixels by 470 pixels, but you can create one that matches your size requirements.
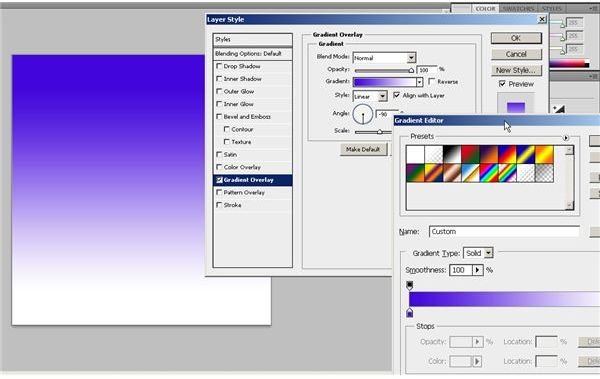
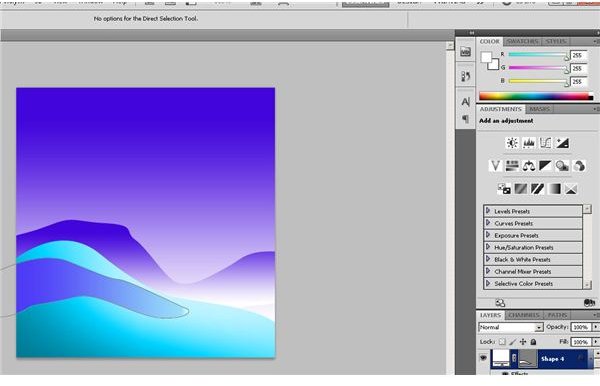
Next, create the background and set blending options as gradient by clicking the “Blending Options” choice from the layers menu (Click the icon at the top right corner of the layers palette).
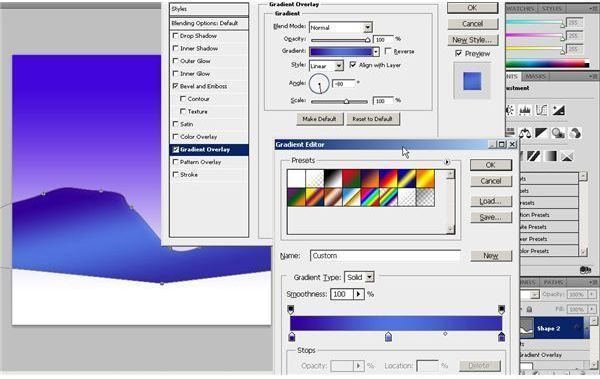
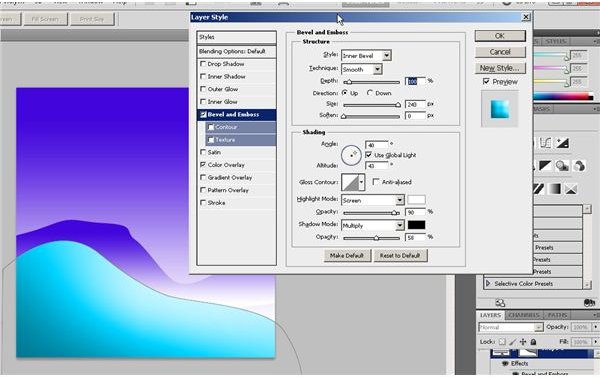
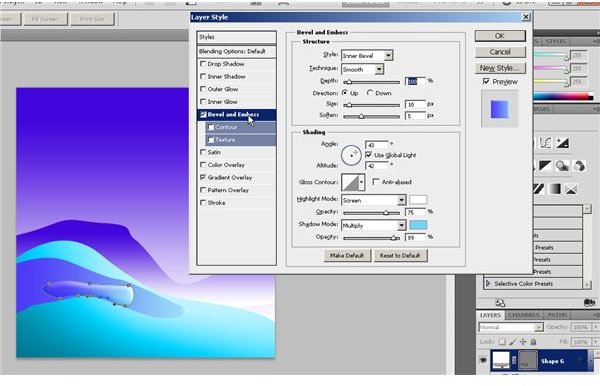
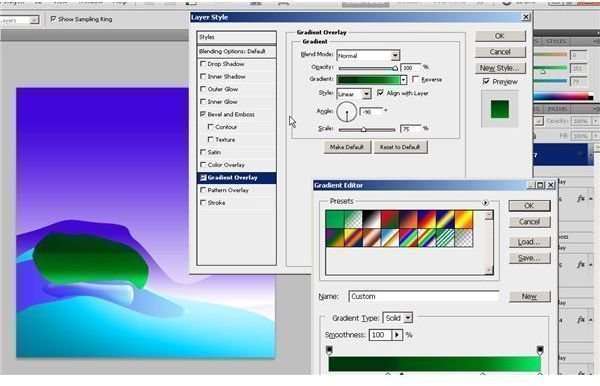
Now draw some hills in the background using the pen tool. Add a bevel style and a gradient overlay to the object and set the colors to suit your own purpose.
Now, draw the foreground using the pen tool. You can experiment with how you want this layer to look.
For the next part of this Photoshop tutorial, add some additional features to the foreground if you wish. Blend it with an outer glow.
Now that the preliminaries are done, start building up the Christmas tree itself. Just ad a little layer to use as the base.
Now we’ll add a layer of green that will actually start forming the tree.
We’ll add some snow and some more layers of green too. We’ll just keep alternating between branches and snow and cap the whole thing off with some snow.
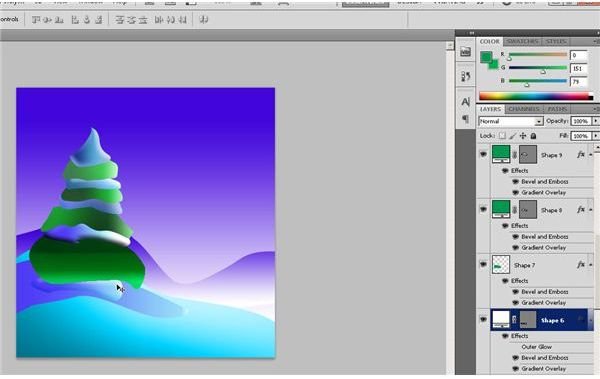
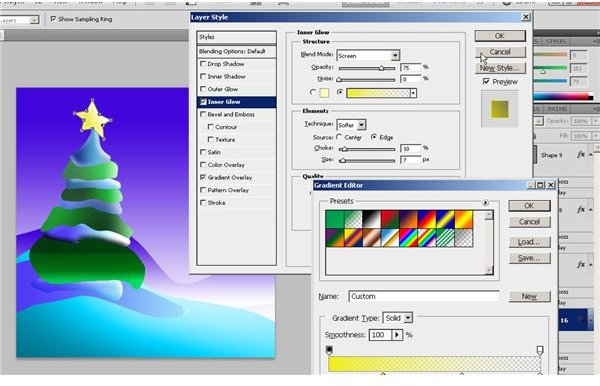
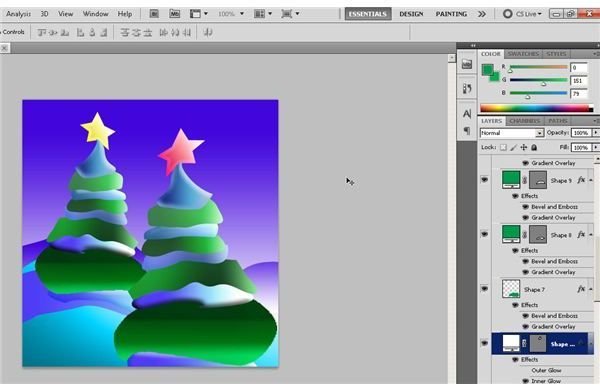
The tree should be looking pretty good by now. To add the final touch, don’t forget to put the tree topper. You could use an angel, snow flake, glitter shape, smile face, Santa hat, or any Photoshop Christmas shape you prefer. Here we’ll just stick with a traditional star so go ahead and grab the pen tool from the toolbox again and get started.
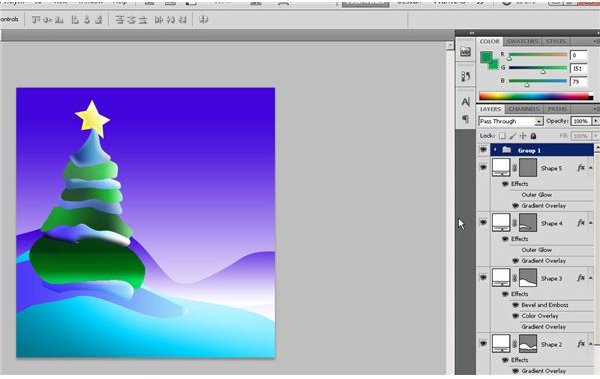
Now that you have built the tree, you can make some final adjustments. Once you are satisfied, you can join the layers of the tree together and then copy it to make as many Christmas trees as you would like. To do this, select all the layers at once and then click “Layers” on the main menu and select the “Group Layers” option. You can do the same thing by pressing
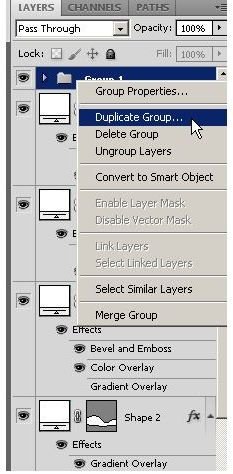
Now, right click on “Group 1” and then choose “Duplicate Group” from the context menu.
Now you have another tree that you can re-size, and modify using the “Free Transform” tool from the “Edit” menu.
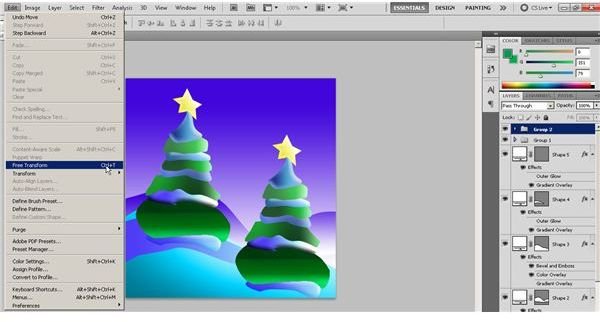
You can get as creative as you’d like and create as many trees as you’d like. You can make your tree a “Smart Object” if you’d like, and you can vary the sizes of your trees as well. Here we’ll make another one a little bit bigger so it’s closer to the viewer.
Now that you know a good way to draw Christmas trees in Photoshop, get started making your Christmas art today.
Image Credits: Screen shots taken by Bruce Tyson