Did You Take Great Halloween Photos this Year? Learn How to Make a Free Digital Halloween Scrapbook
Download Your Free Software
To get started in digital scrapbooking, you need a program to use, and Serif made a free version of their Digital
Scrapbooking Artist. A new free application from Serif, CraftArtist Compact, replaces it in 2011, and is more comprehensive, if you dont already have DSA. It contains additional tools and has many more free digikits available. The contents of this tutorial will work almost identically in the CraftArtist Compact software from Daisy Trail, along with their Spooktacular digikit, and you can get started on a Halloween scrapbook.
You will need to register with Daisy Trail, but then you will also have access to a number of different digikits with a variety of themes, also free to download. Their full version has more digikits, more elements, and more tools, including photo editing software, but I wanted to see what I could do with the free version.
Once I was registered and confirmed, the downloads were very quick.
Software comes zipped, and you need to install both the scrapbooking software and the digikit for the Halloween scrapbook. The kit now available is the one used in this article.
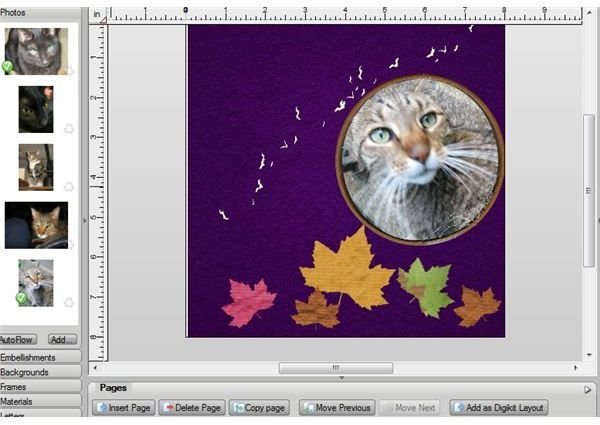
Scrapbook Work Screen
The screen which has the Spooktacular layout on it is surrounded by the elements to create your scrapbook page. The first thing I wanted to do was add a number
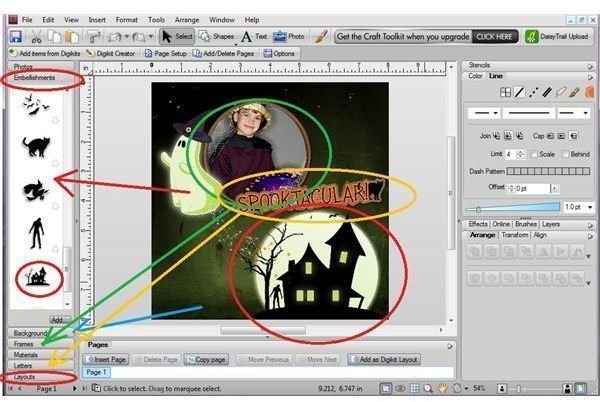
of photos and images I already had on my computer. As well as photos, there are sections for materials, embellishments, backgrounds, a frame, and
letters, all of which came with the digikit.
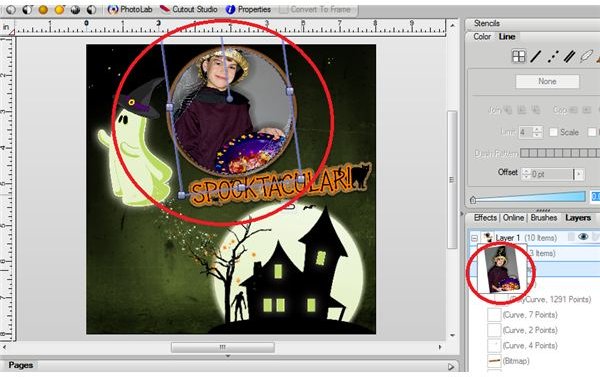
I am going to use the layout for my first page, but use one of my cat photos instead of the picture of the boy that is there.
By looking at the layers for the page, I could see where the frame element was, and the picture in it. I deleted the picture element.
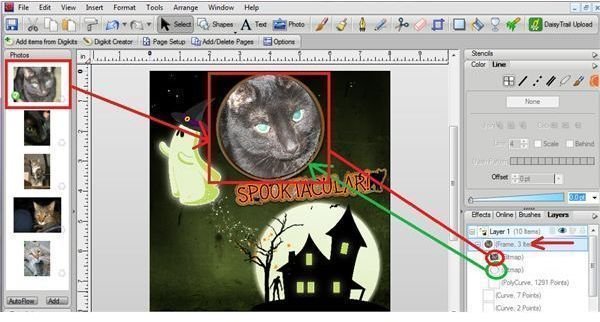
Then I pulled in a picture of my cat from the photos I had added to the scrapbook application.
Adding a New Page
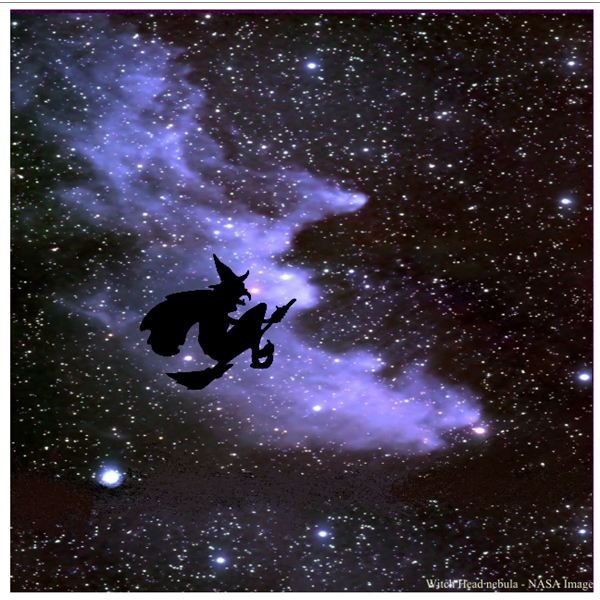
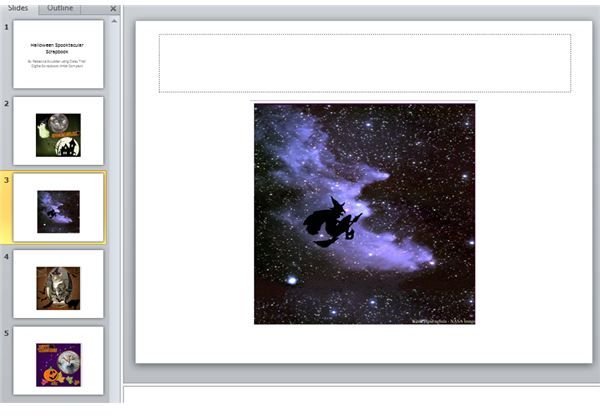
I locked the layer and saved the page I had changed, and added a new page, where I start with a blank. The first thing to do is to bring in a background. I pick the dark purple background to pull in, because I am going to put an image from NASA in, with stars on a dark ground.
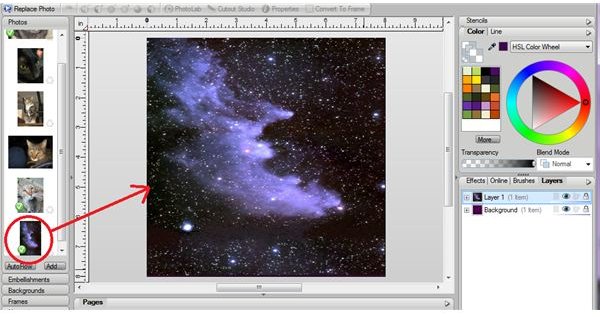
The picture I want to add is of the Witch Head Nebula, but it is smaller than the page and not square. After I pulled the photo in, I used the handles on it to make the top and bottom reach the edges of the sheet, and then pull the picture to the right. This distorts the original image, but makes the likeness to a witch even more pronounced.
I like the image a lot. I added a credit for where I got the picture at the bottom of the page, using the text option, and changing the color. I highlighted the letters I typed after they were the size I wanted, and then made them the sort of ghostly gray green of the ghost in the embellishments. Finally, I added an embellishment of a witch silhouette over the nebula. It was much larger than I wanted at first, so I used the handles on the sides to shrink it enough so it sat over the middle of the nebula. I also used the handle at the top of the picture to rotate the witch very slightly.
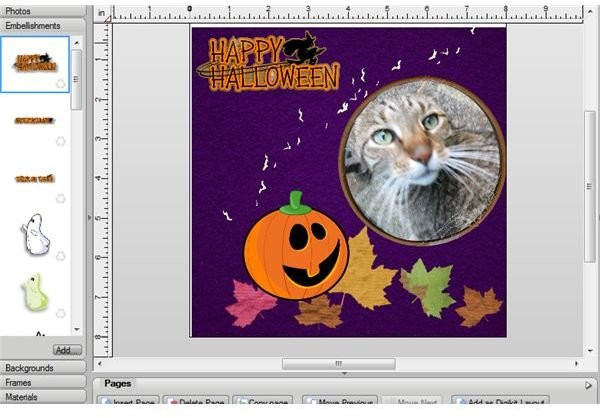
Using More Elements from the Digikit
I added a new blank page, and pulled in the brownish background. Then I added a frame- this digikit has only one, but the size and shape can be
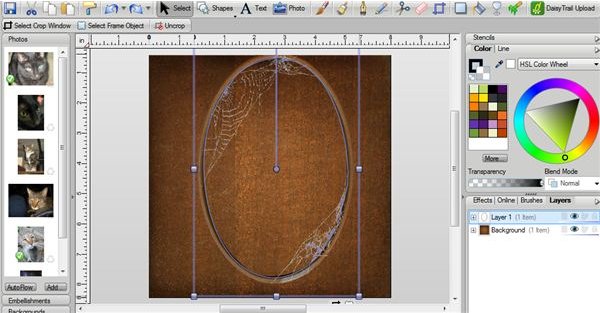
tweaked., It also is draped with a cobweb to suit the theme for the scrapbook. I pull the frame into a large oval, filling most of the middle of the page.
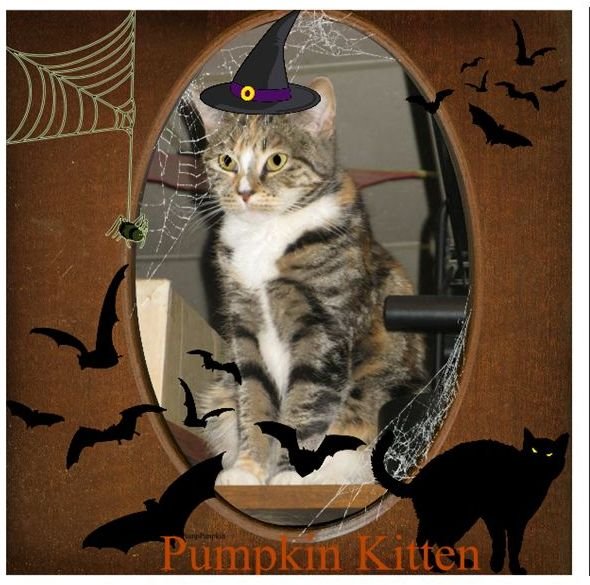
This frame is for the picture of my Halloween cat - whose name is Pumpkin. When her photo is pulled in, the image adjusts to the size and shape of the frame.
This does a nice job of adding interest to the center, but I want to make the picture more Halloweeen like. She is looking
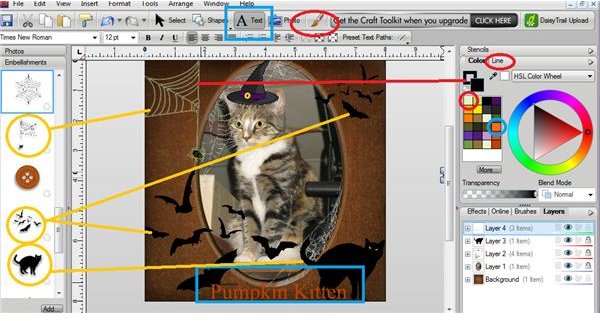
over to the side, so I pull in an embellishment of a spiderweb. This is set to fit in the top right corner, and I want it on the left side, so I open the Arrange window, and use Flip, horizontal to turn it around. I also adjust the original size of the spiderweb so that the spider seems to hang where Pumpkin is looking. I am doing quite a bit of adjusting to this page, so after I add the first couple things, I freeze the layer and add another one. The last thing I do to the spiderweb is to format the lines in it with a color that makes it stand out more than the original black.
As well, I add an embellishment of bats. The ones in the bottom right are close to the full size, and then I put a set in the top right, after flipping them and shrinking them. I add a witch’s hat to Pumpkin’s head, a black cat to the bottom right corner, and a box for text for my cat’s name. I decide this page is going to look a bit busy if I add anything else.
In the text window at the bottom of this page I adjust the text size until it just fits between some of the embellishments. After the text is in place, I change the color of the text to orange.
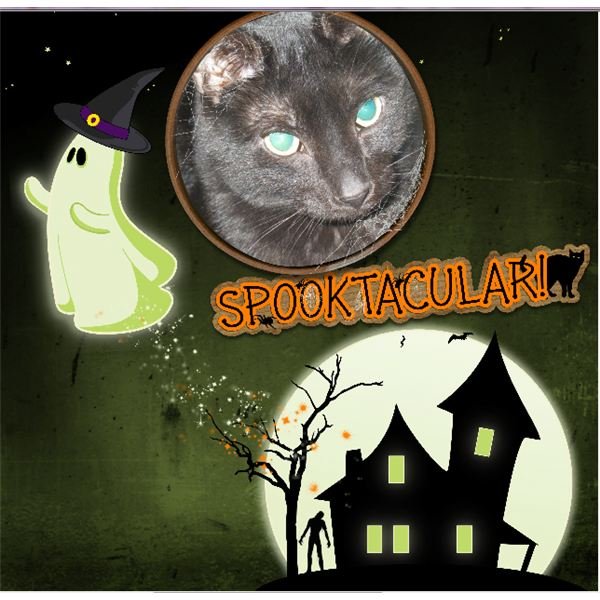
Learning to Use More Tools in the Scrapbook Application
This scrapbook is given a piece of purple material for a background, and then I decide to use the stencil. The only stencil element that goes with
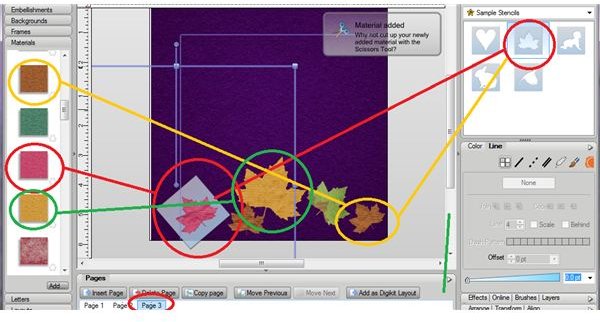
the theme is a leaf. First, I pull the stencil onto the page, and adjust the size and rotate it a little with the handle. Now, I need to fill it in. I search though the materials and colors for this kit, and from a couple other Daisy Trail free digikits, and find some colors that make me think of Autumn.
After positioning the stencil, I cover it with a piece of material, then lift the stencil. It leaves a leaf print on the page. I add a number of leaf prints in different sizes and colors, and rotate some of them as well.
I want to try using the special brushes that came with the digikit. I pick the largest one, which is tiny bats. The are black, and don’t show up well on the dark purple background. To let them show up, I change the color of the bats in the brush to a light green. I just trail a thin line diagonally across the page.
In the upper right, I add another frame, keeping it round this time. This frame has a picture of my largest cat pulled into it. I move the picture with
the cursor until he is positioned the way I want in the frame, and let go to embed it in the frame.
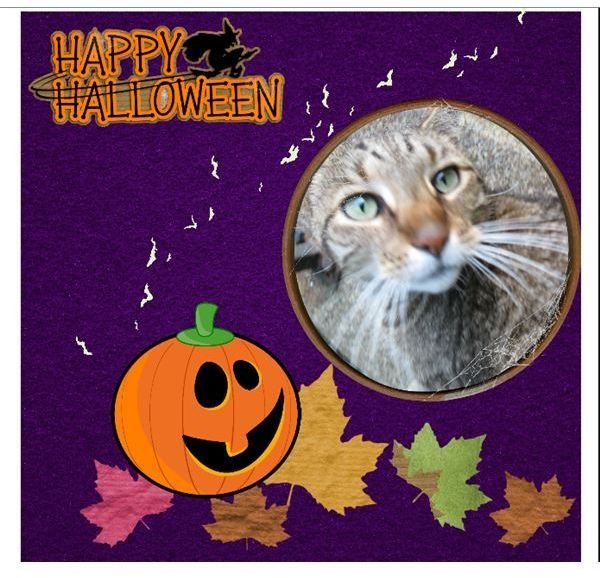
This is the final page of my four page scrapbook, and so I add a pumpkin to sit on the leaves, and then Happy Halloween in the upper left corner to end this scrapbook.
Daisy Trail Scrapbook Features
My tips for creating a Halloween scrapbook don’t even use half the features in their free digital scrapbooking application, but the comprehensive help
file will introduce many more to you. As well, Daisy Trail has many more free digikits, some seasonal, and some for weddings and baby scrapbooks. Daisy Trail also has a thriving forum with friendly users who are generous in answering novice questions.
Ta Da!
Download a PowerPoint slideshow of the Halloween scrapbook made during this article, to see how the scrapbook made with Daisy Trails’s Digital scrapbooking software can look.
Read a review of the new CraftArtist digial scrapbooking program to learn about all the material inclded in the commercial version.
I hope you were inspired by this tutorial on a Halloween scrapbook, and have fun making your own, featuring your own photos. If you think of free resources for digital scrapbooking or for Halloween themes, leave a comment.
References
- Cat photos by author
- image of Witch Head nebula by NASA: http://mm04.nasaimages.org/MediaManager/srvr?mediafile=/Size4/NVA2-4-NA/5237/witchhead_stevens_big.jpg&userid=1&username=admin&resolution=4&servertype=JVA&cid=4&iid=NVA2&vcid=NA&usergroup=NASA_Astronomy_Picture_of_the_Day_Collecti-4-Admin&profileid=16
- Daisy Trails help files for their free scrapbooking software.