Basics of Photoshop: Align Layers to Canvas, Align Text, and Using Grids for Alignment
There are a few things that are absolutely crucial when learning to use Photoshop. Aligning to layers, to your canvas, and other objects is one of the most important things you can learn. This article will walk you through a few basic ways of aligning elements and layers in Photoshop, so you’ll have no problem designing a great, well-balanced project. This tutorial uses Adobe Photoshop CS4, but it’ll work great for any version of Photoshop from 7.0 and up.
Using Grids for Alignment
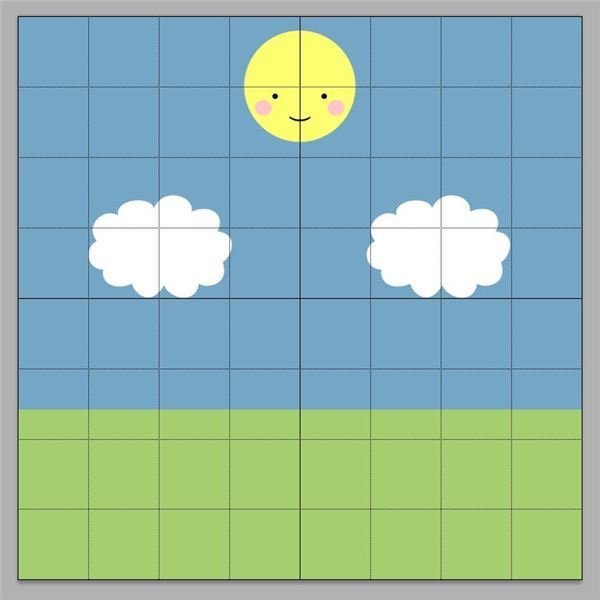
Using a grid to align objects in Photoshop is actually a pretty clever way to make sure everything is evenly spaced and placed exactly where you want it. Basically, photoshop will overlay a grid that you can see while working on your projects, but will not save in your standard image formats such as JPG, GIF, PNG, BMP and several others.
To use the grid, simply set one up and begin using the lines of the grid to align the sides and centers of individual elements where you wish. This is where an artistic eye comes in! If you’re interested in learning how to set up Photoshop grids, here’s an article that will walk you through the process quickly and easily: How to Set Up Photoshop Grids.
Aligning Text
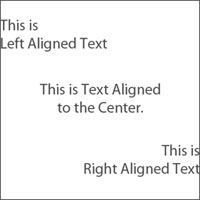
If you’re familiar with word processors such as Word, Open Office, or even something as simple as Word Pad, the text tools in Photoshop won’t be jarring to you at all. Just like all word processors, there are settings that allow you to align your text to the left, right, and center. It’s worth noting that if you click and drag your text tool on screen before creating text, you can easily create a box that can be dragged around with the move tool in Photoshop to precisely align your text where you need to within your project in Photoshop.
Align Layers to Canvas
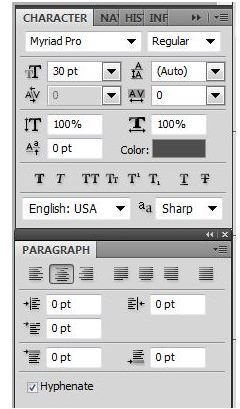
If you want to align your layers to your canvas quickly and easily, there’s a very quick fix for this! Simply click the layer you wish to align, and press CTRL+A. This will select the entirety of your canvas, and enable you to now align the whole layer with the canvas. Press V on your keyboard to select the move tool. At the top of the screen you will now see a panel that looks like this:

These are your basic alignment tools. These allow you to align your layer with the selection - in this case, the whole canvas. The options will allow you to align the vertical and horizontal edges, or the exact centers. This is by far one of the most useful features in Photoshop in terms of application to design. In the example below, the left cloud has been aligned to the left edge of the canvas, the right cloud has been aligned to the right edge of the canvas, and the sun has been aligned to the center of the canvas.

Aligning Objects with Other Objects
Similar to aligning layers with the canvas, using Photoshop to align objects with other objects isn’t difficult. However, you do need to have a minimum of three objects (or three layers) for this to work. Again, press V on your keyboard to access the move tool. There will be a panel at the top of the screen that looks like this:

Fairly similar to the panel before, isn’t it? These however, find the center and edges of the objects and space them evenly with each other. These options allow you to space from the center, left, and right edges, as well as the top and bottom edges of objects. The option on the end, however, allows you to automatically align images - such as those taken with a panoramic camera - with a simple click of a button. The image below shows the sun, and two clouds with their centers evenly spaced apart from each other.
Image Credits
All screenshots and images were created by Amber Neely.