Learn How to Make a Bezier Curve in Scribus
Getting Started with Scribus
Scribus is an open source desktop publishing program that brings unique page layout capabilities that produces press-ready documents. working in Scribus may take some getting used to, especially if you are used to Adobe InDesign or other commercial software products. Still, you will find that Scribus is a potent tool that you can use to create professional documents without the high cost of a commercial product.
In order to get ready for this Scribus bezier curve, you should have Scribus installed on your computer. If you have not done this yet, you can get the program from the Scribus Web site. This Scribus tutorial uses the Windows version of Scribus running on Windows 7 (32 bit).
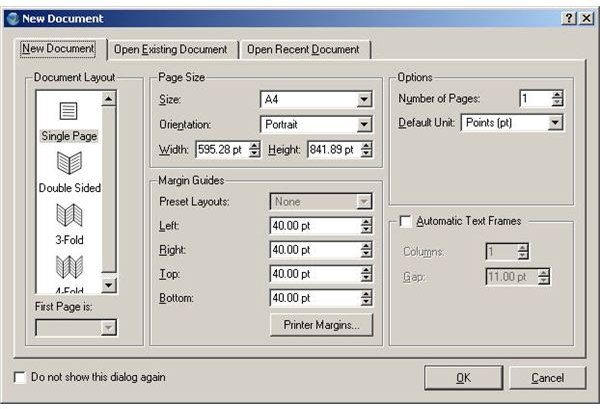
To get started, open Scribus and create a new single page document.
Image Credits: Screenshots taken by Bruce Tyson.
Drawing a Scribus Bezier Curve
You can create and edit bezier curves in Scribus by following these simple steps.
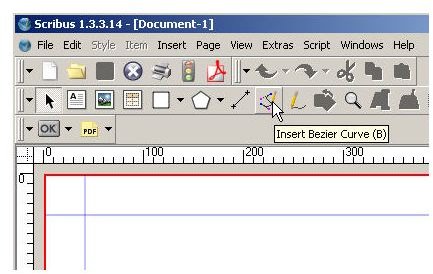
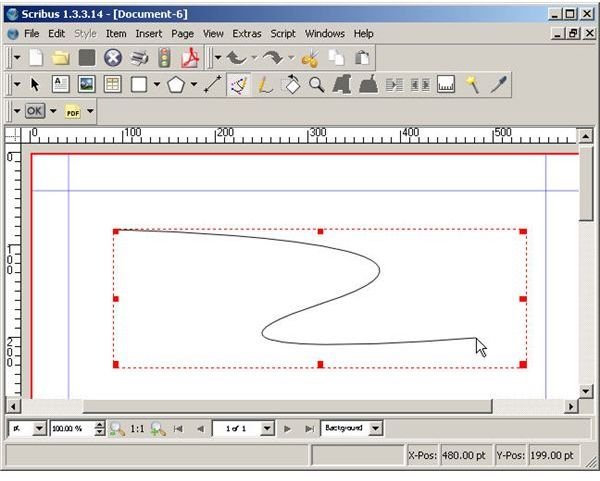
On the toolbar, find the “Insert Bezier Curve” tool and click on it to select it.
With the bezier tool, click on the work space to create the first point of your curve.
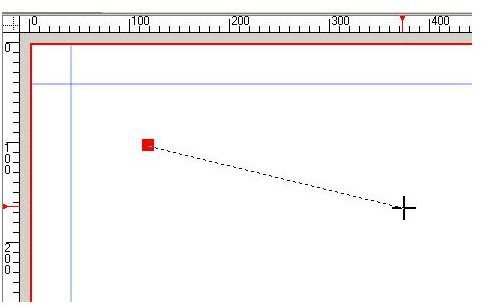
Next, move the mouse to the next point of your curve and then left-click and hold as you drag the mouse to shape your curve.
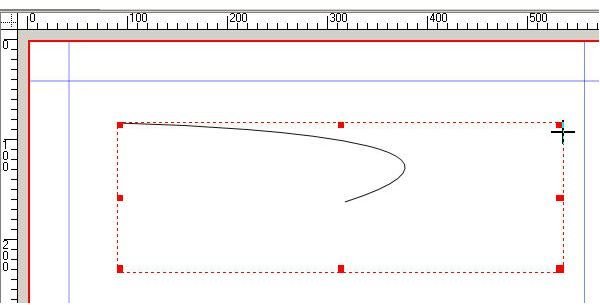
Now, move your mouse to create the final point of your Scribus bezier curve.
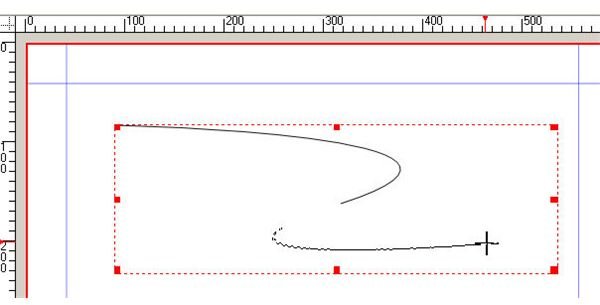
When you find your endpoint, left click the mouse to complete your bezier curve.
To remove the bezier cursor, press the
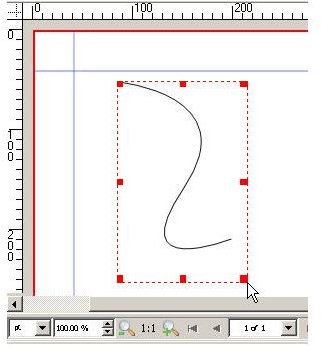
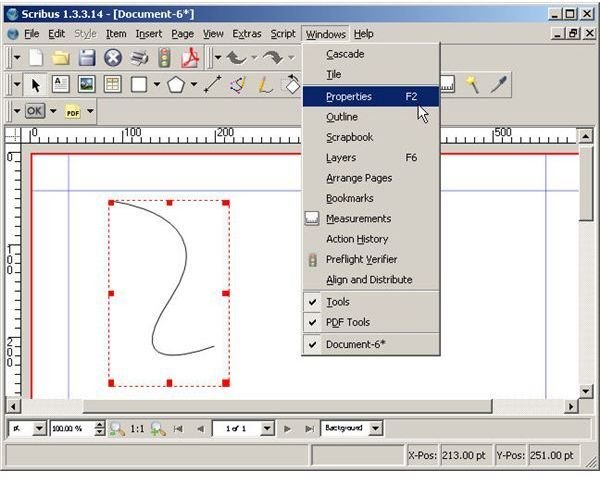
To edit your Scribus bezier curve, you have to open the “Properties” window. to do this, click “Windows” on the main menu and then select the “Properties” option. You can also pres
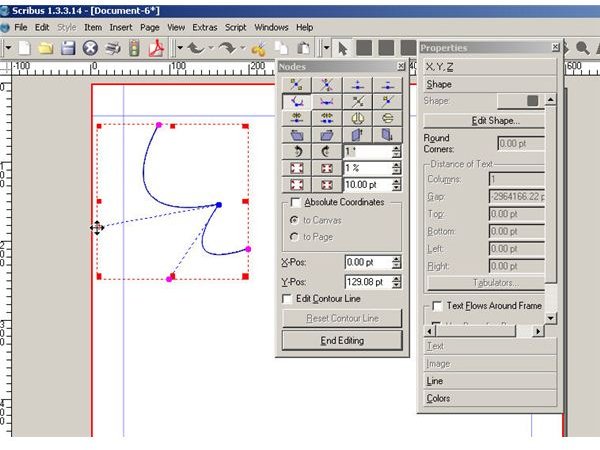
When the “Properties” window opens, click “Shape” and then click the “Edit Shape” button in the “Shape” section. When you do this, you will see the “Nodes” window open. If you want to adjust the control points of your Scribus bezier curve, click the “Move Control Points Button.”
You can now use the four-arrow cursor to grab the control points of the curve and reshape them as you see fit.
In Scribus, you can also add points to your bezier curve using the “Add Nodes” button in the “Nodes” window. Click the button and then place the node on your curve. you can now select the “Move Control Points” option to edit your new node.
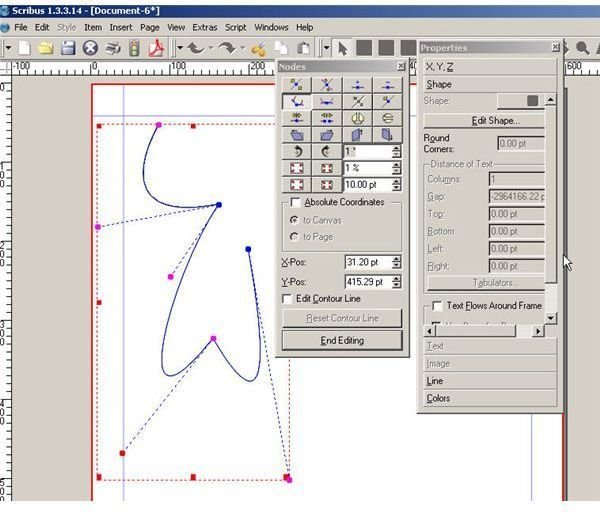
Other “Node” window options you can use to edit your Scribus bezier curve include the “Delete Node” tool, the “Reset Node” tool and the “Close this Bezier Curve” tool, tools to symmetrically move control points, and the “Open a Polygon or Cuts a Bezier Curve.”
Now you know how to create a Scribus bezier curve. You can now use this powerful tool as you create professional publications in the Scribus environment.
Image Credits: Screenshots taken by Bruce Tyson.