Designing a Photoshop Page Curl Effect is Fun and Easy
Getting Started
This Photoshop tutorial uses Adobe Photoshop CS4 running on Windows 7. Depending on your computer and software version, some of the steps in the Photoshop page curl process may be slightly different, although the principles involved remain the same.
To create a page curl effect in Adobe Photoshop, we will use layers, the rectangular marquee tool, and the the warp tool. After creating layers, we will create an image on each layer, curl the page up, and then adjust the back of the top page that is exposed by the curl.
Photoshop Page Curl
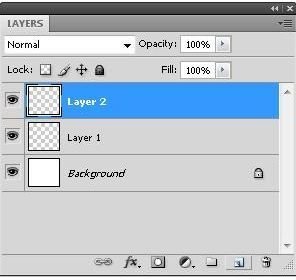
To begin the Photoshop page curl tutorial, open Adobe Photoshop and create a new composition. Using the “Layers” window, create two layers to be used for our demonstration. One layer will be the top page and the other will serve as the page below it. If you already have a Photoshop document that you would like to use while trying out the Photoshop page curl effect, go ahead and use it as you follow along.
Click any image for a larger view.
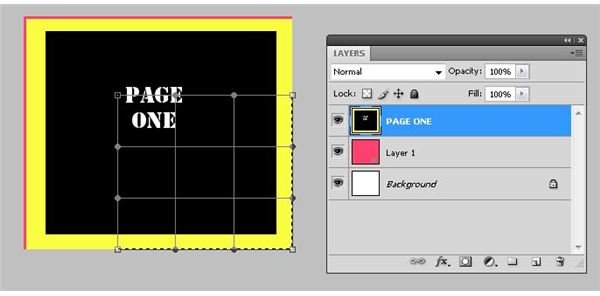
For the purposes of Adobe Photoshop tutorials, we will show you how to use Photoshop using elementary, property-rights friendly images. In actual use, you may find that the application of these techniques may require more work than it does in this demonstration. Create the layer that is to be curled. Here we use a simple yellow and black layer with the text, “Page One.”
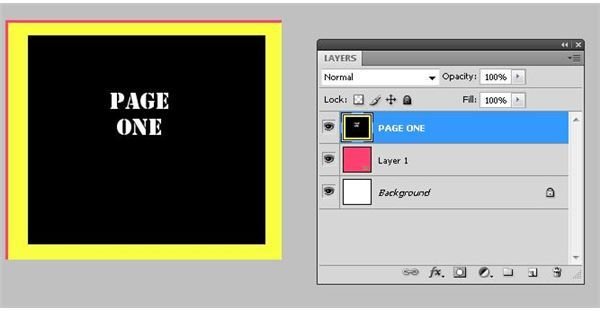
Keep in mind that in real life, the top and the bottom layer shapes do not have to be the same size. For example, you could use Photoshop page curl to draw a post it note attached to a computer screen.
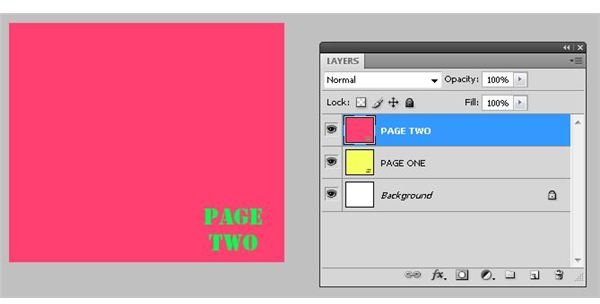
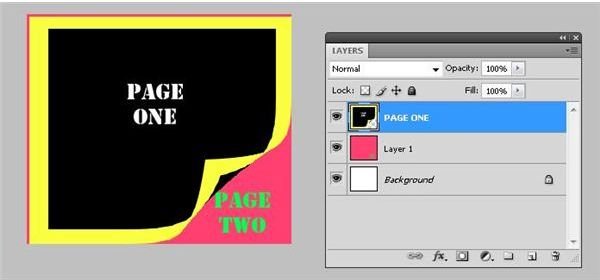
Next, create the on the second layer an image marked “Page Two.” Arrange the layers so that the “Page One” layer is on top. We will curl up the page to expose the “Page Two” layer that is below it.
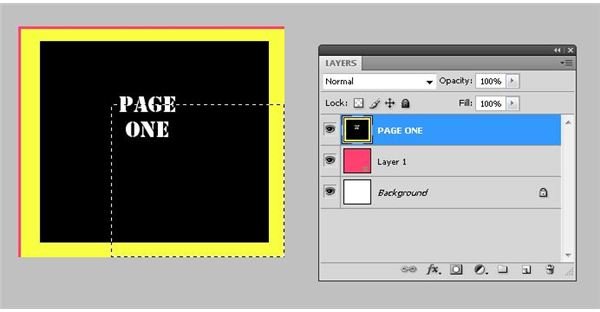
Grab the “Rectangular Marquee” tool from the Adobe Photoshop toolbox. Using that tool, highlight the lower right hand corner of the top, “Page One” layer. The size of the area you select will affect the degree of page curl you are able to achieve. Experiment with different selections to learn the different effects you can achieve.
From the Adobe Photoshop menu bar, click “Edit,” “Transform,” and then “Warp.” The warp grid appears in the lower right corner.
Grab the warp point in the lower right corner and drag it upward and to the left to form a curl.
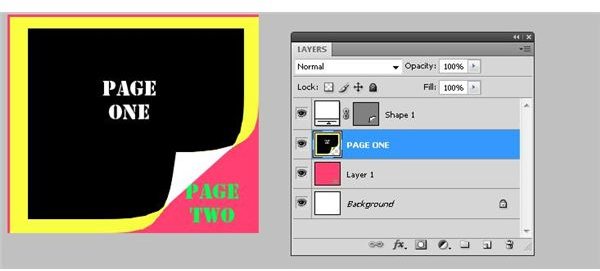
Now, use the pen tool to color in the color you want for the back of the top page.
Finally, add a drop shadow. Do this by selecting the top layer (the one containing the area coloring the back of the top page). Choose the “Layer Style” menu from the bottom of the “Layers” window and choose the “Drop Shadow” image. Accept the default settings and click OK.
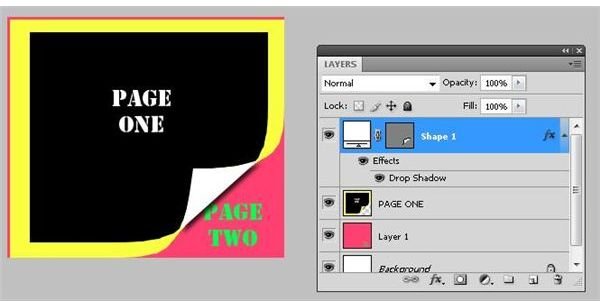
Image Credits: Screenshots taken by Bruce Tyson