GIMP How-To: Fade Effects and Blending Objects
Layers and Layer Masks
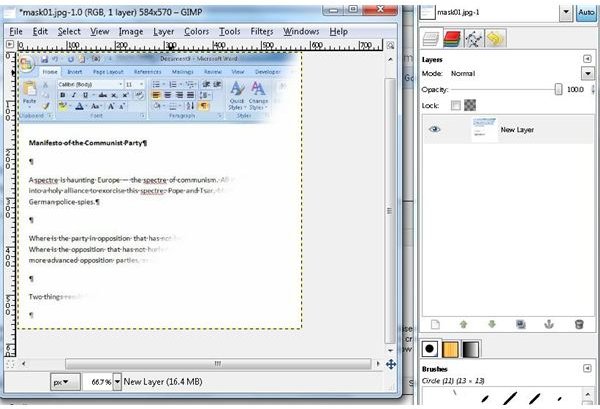
GIMP has the ability to store images as slides (or layers) that allow users to stack them on top of one another and have the layers below show through based on various opacity levels. Each layer has its own picture and contributes to the final product as it is viewed from the top of the stack. You’ll notice that, like traditional slides, these layers work based on the degree of transparency they have.
Layer masks are what control the opacity of each layer by controlling the pixels of their contents – setting pixels as “opaque” by coloring them white and setting pixels as “transparent” by coloring them black. Various grays represent different levels of transparency. As you can see, layers and layer masks form the building blocks. In GIMP, how to fade depends on this functionality.
Getting Ready to Fade
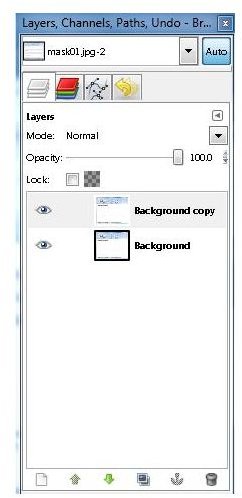
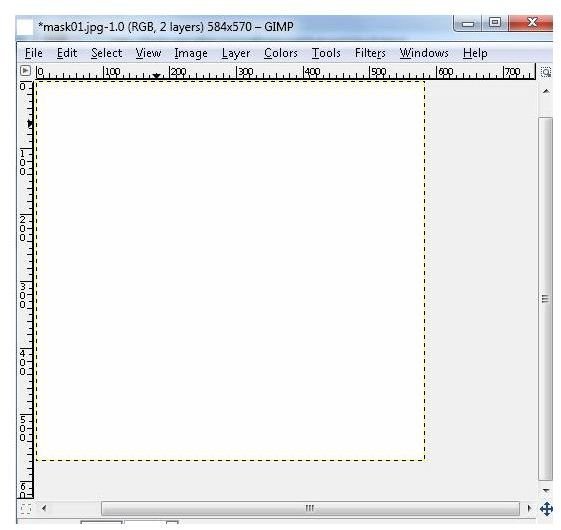
To begin the process of learning from GIMP how to fade images, you have to get the base image off of the background layer onto a layer of its own. Do this by opening the Layers dialog, selecting the background layer and then clicking the “Duplicate Layer” button. A new layer called “Background copy” appears.
Click any image for a larger view.
Next, delete the original background layer by right clicking on it and then clicking “Delete Layer” from the context menu.
Create a Fade Effect
Begin by creating a layer mask and adding it to your picture. Right click in the “Layers, Channels, & Paths” panel and choose “Add Layer Mask.” After doing this, you will not be working on the layer itself anymore, just the mask.
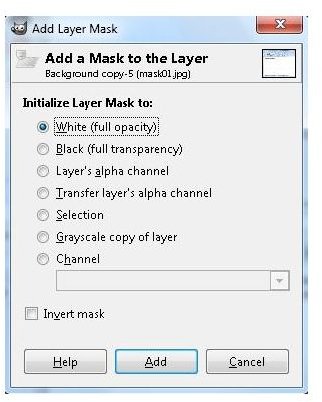
Select the option to initialize the mask as “White (Full Opacity)” and then click “Add.” You will see the white mask to the right of the layer image in the “Layers, Channels, Paths” panel.
Now that the mask has been created grab the large circle brush from the “Brushes” panel.
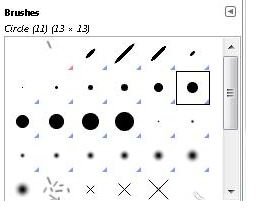
Make sure that the painting color is set to black by checking the color in the “Toolbox” panel.
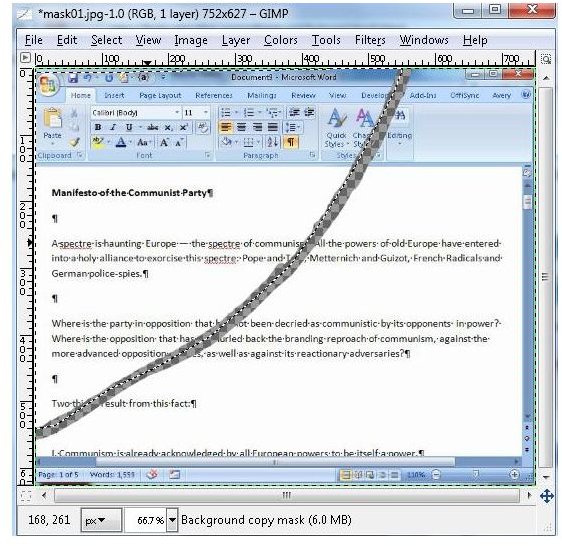
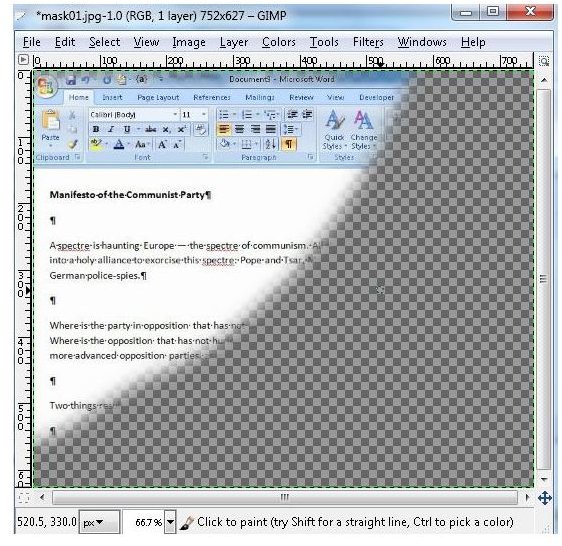
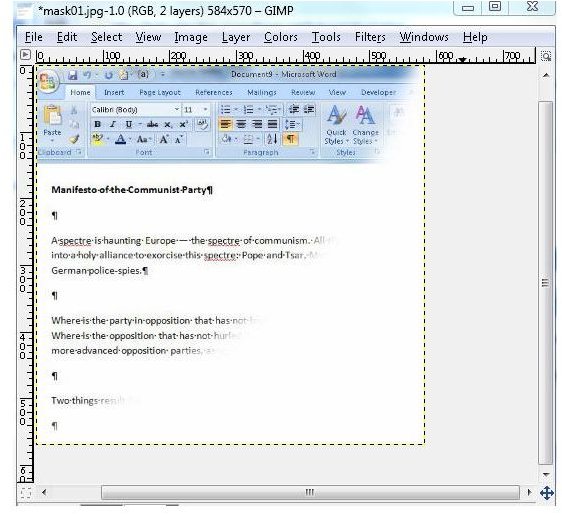
With the brush, draw a curved line that accentuates the important part of the image. Leave enough space for the fading effect. Be sure to draw with the brush from one edge of the image to another. Here’s what the screen should look like now.
If you don’t like the way it came out, you can always click “Edit” and then “Undo” (or press
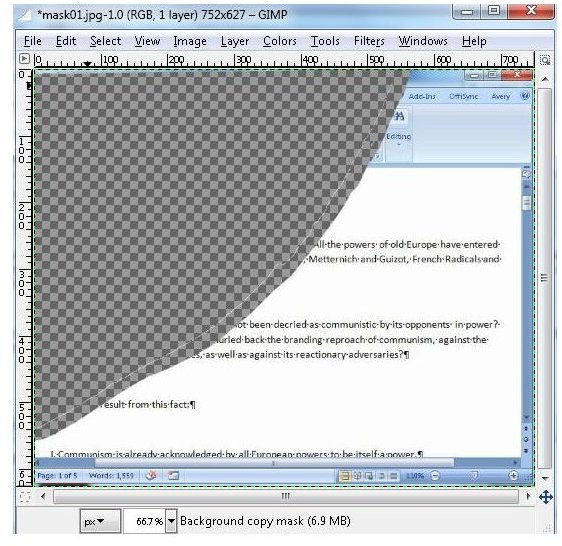
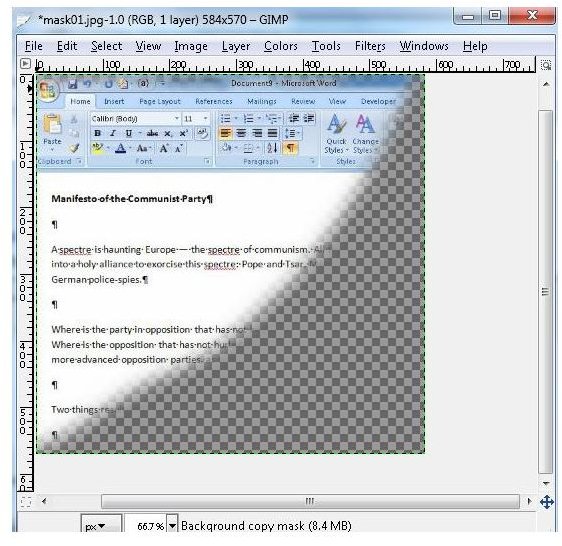
Now, using the brush, expand the width of the line you have painted to extend over the important area (the area you want to keep) of your image. If you don’t have the patience to paint over the entire area, grab the ‘Free Select" tool (it looks like a lasso), and draw an area that encompasses the entire area that you want to keep. Next, click the “Fill” tool (looks like a bucket) and fill in the area as shown below.
Continue the Fading Effect
Be sure to cancel the selection of the fill so the next operation will apply to the entire image. Do this by right clicking on the canvas, and then choosing “Select” and then “None.”
Invert the selection by right clicking on the image and then selecting “Colors” and then “Invert” from the context menu.
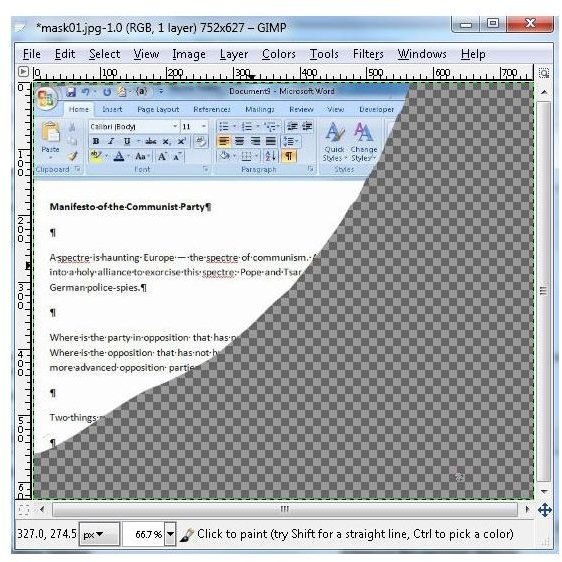
Now the important area of the image is left exposed, but there is no fading. Right click on the image, choose “Filters” and then “Blur” and then “Gaussian Blur” from the context menu. Set “Horizontal” and “Vertical” to “40” and set “Blur Method” to “IIR.”
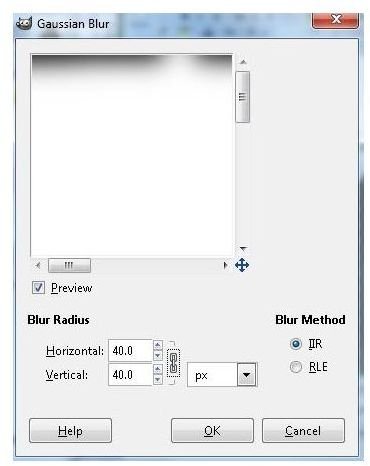
Click OK. You now have a smooth fading effect.
Cleanup the Results
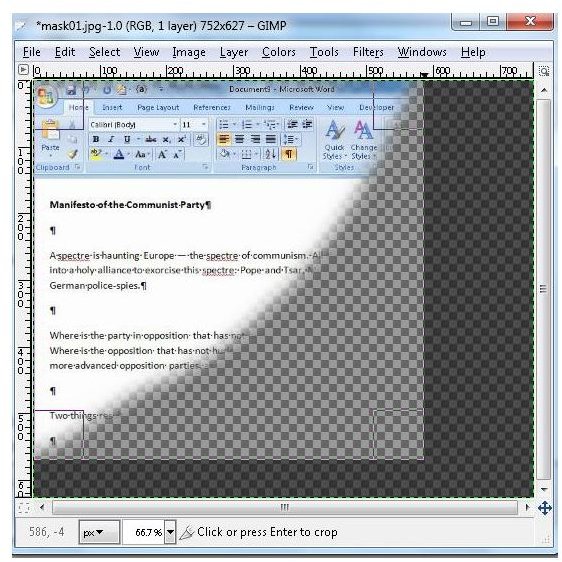
Crop the image if necessary. Select the “Crop” tool and highlight the area of the image you wish to retain.
Press
Next convert the transparent area of the image to white. Create a new layer and select the initialization to be “White.” A new layer is created on top, making your image appear to be white.
Now, move the white layer down using the arrow button on the “Layers” palette.
With GIMP, how to fade is no longer a mystery to you. Before you stop, however, there are a couple more steps to complete.
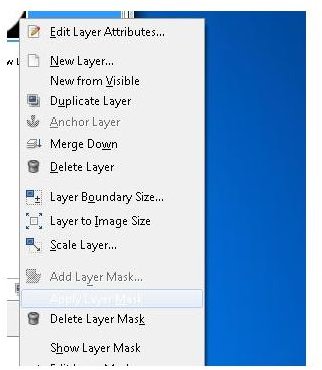
First, you need to apply the layer mask. you do this by right clicking the layer mask on th “Layers” palette and then choosing “Apply Layer Mask.”
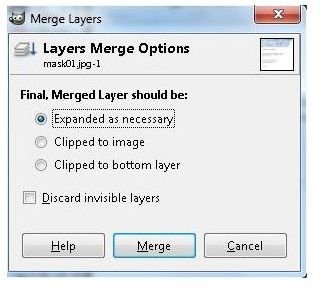
With that done, you have now permanently applied the changes you made using your layer mask. Now, merge the remaining layers together. To do this, right click on the “Layers, Channels, Paths” palette and choose “Merge Visible Layers.” In the “Merge Layers” dialog, choose “Expand as Necessary” and then click the “Merge” button.
That seems like it took forever, didn’t it? Now that you have learned how to create a fade effect in GIMP, you will be surprised at how many times you will find this technique useful. Also, with just a little more practice under your belt, you will find that you will be able to create these fade effects faster than you did this time through. Take a final look at the image in GIMP. How to fade is now something you know.