
Rope adds important texture and aesthetic components to a variety of creative situations so it is nice to have a rope brush available to you in Adobe Illustrator. In this Adobe Illustrator tutorial, you will be guided step-by-step throughout the process of creating rope and saving it as a brush.
Create a Rope
To show you how to make a rope brush in Illustrator, we will begin by creating a piece of rope and then forming a brush out of that illustration. Once you go through these steps, you can retrace your steps and create ropes of different widths, colors, and twists.
You can design rope in any style you wish, so don’t let this Adobe Illustrator tutorial limit you to the version you see here. Begin with an “S” shape that forms the braids that are the basis of the rope’s “standing part.” This example was drawn using the pen tool and six points. This particular line is 2 points and black, although you will be able to set the color to whatever you want. (Click any image for a larger view.)
Next, copy the line and drag it to the right so the top and bottom of both lines are just touching. You can do this using the “Edit” menu from the main menu bar or you can drag the image as you hold the
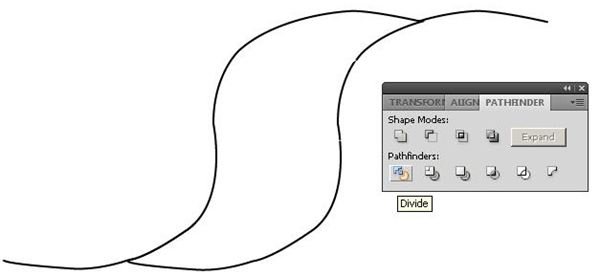
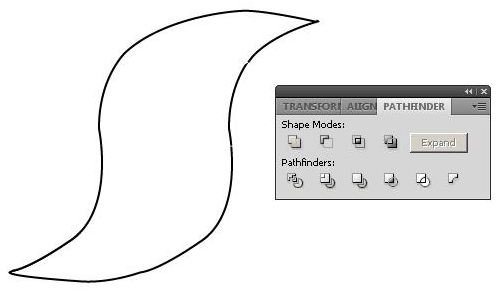
Open the “Pathfinder” window and select the “Divide Tool.” Eliminate the extraneous segments and you now have one rope twist.
Now copy the twist and drag it to the right until the left edge of the copy overlaps the right edge of the original. Repeat several times to build the rope.
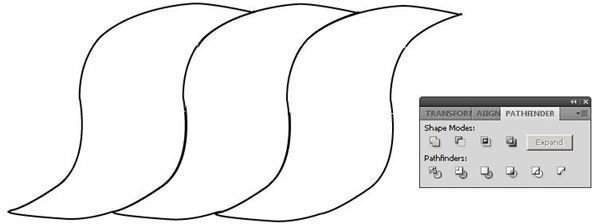
Make some more copies of the rope twists and make a longer rope section as seen below.

You can experiment with different lengths of rope, but this one with twenty twists seems to work pretty well. Later on you can see how different widths of rope and widths and styles of twists work. Your creativity is the only limit to the kinds of rope you can create. Next, we will see how to make a new brush from this rope.
Make Your Rope a Brush
The next part of this Adobe Illustrator tutorial shows you how to convert your rope artwork into an Adobe Illustrator custom brush.
To make this rope a brush, open the “Brushes” window by clicking the “Window” option on the menu bar and then “Brushes.” Select your rope segment and drag it into the “Brushes” window.
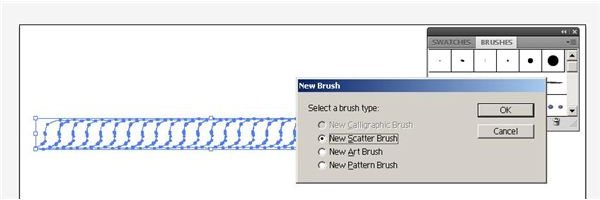
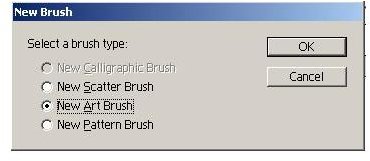
Choose “New Art Brush” from the “New Brush” window and then click the “OK” button.
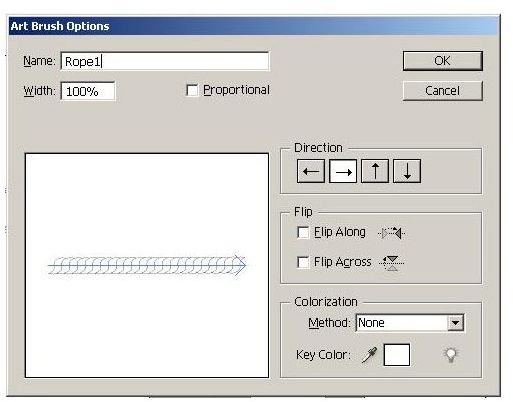
When the “Art Brush Options” window appears, set the direction of the brush, and adjust the “Colorization” options as necessary. Name your new brush and the click the “OK” button.
Test out your new brush. Grab the “Brush” tool from the Adobe Illustrator toolbox and then select your rope brush from the “Brushes” window. Draw what you want with your rope brush.

Now that you have seen how to make rope brushes in Illustrator, you can make custom ropes and brushes that fit your specific needs.


