Adobe Illustrator Tutorials: How to Create a Pyramid in Illustrator CS4
What You Need
To learn how to create a pyramid in Illustrator CS4, you will need this Adobe Illustrator tutorial and a Windows computer that meets the basic system requirements for Adobe Illustrator CS4. You will also need Adobe Illustrator CS4 for Windows. The procedure described here requires the use of Windows Explorer (Windows 7) and Adobe Illustrator CS4.
Update Bevels.ai
In this illustration of how to create a pyramid in Illustrator CS4, we will be opening the Illustrator toolbox and using the bevel tool and 3D extrusion tool. The first step is to prepare the bevel tool by adding a custom path to bevels.ai.
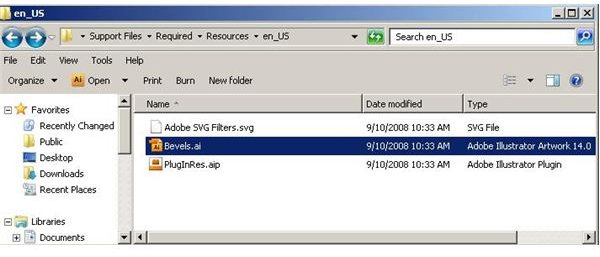
1. Open the bevels.ai file. Using Windows Explorer, browse to C:\Program Files\Adobe\Adobe Illustrator CS4\Support Files\Required\Resources\en_US.
2. Double click the bevels.ai file in the right pane. The file should open in Illustrator.
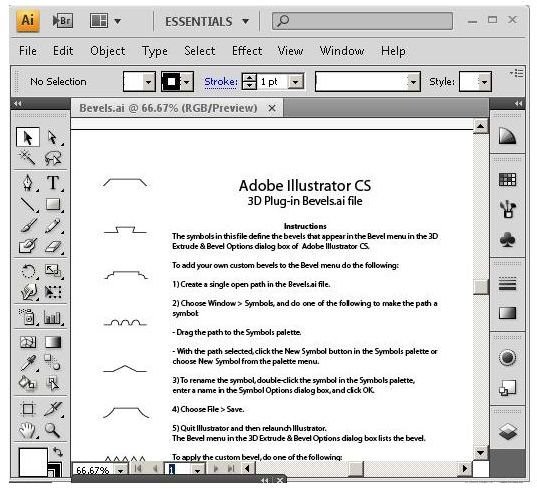
3. Create a one-inch line on the bevels.ai canvass. Using the pen tool, hold the shift key down while drawing a 1" horizontal line. Next, select the line and rotate it -45°.
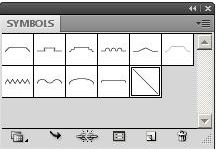
4. Add the line to the Symbols palette. With the line selected, click the new symbol button on the Symbols palette.
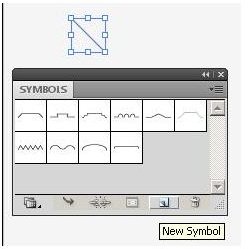
In the “Symbol Options” dialog, name the symbol “Diagonal Line”, set “Type” to “Graphic” and then click the “OK” button.
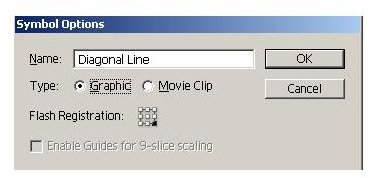
Your new symbol is visible in the Symbols palette.
5. Save the file. Click “File” and then “Save” or press to save the bevels.ai file.
6. Exit and then restart Illustrator.
Create the Pyramid
As we continue to learn how to create a pyramid in Illustrator CS4, we will create a new file and build the pyramid using the bevel we have just created.
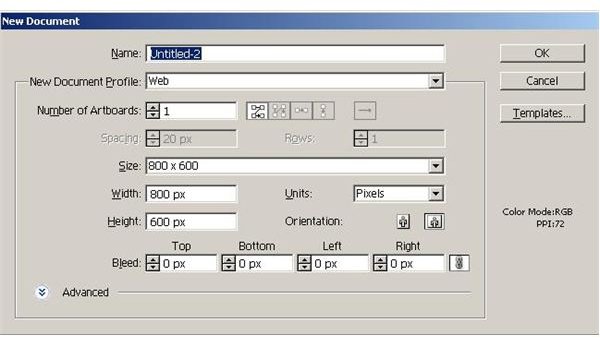
1. Create a new Adobe Illustrator file****. Do this by clicking on “File” and then “New” or by pressing
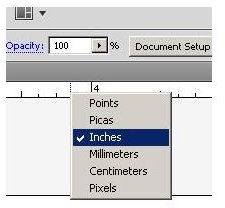
2. Change units of measure to inches. Open the ruler by pressing
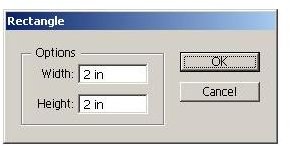
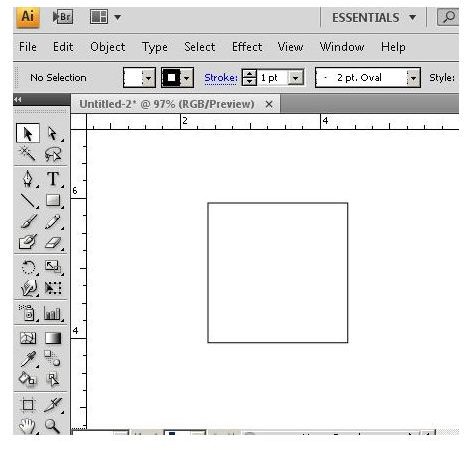
3. Create the pyramid base. Select the rectangle tool from the toolbox and create a square that is 2" x 2".
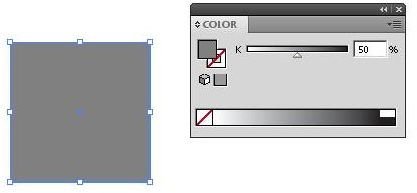
4. Add color. Fill the square with 50% and turn off the stroke.
5. Create the pyramid. With the square selected, choose “Effect” from the menu bar and then choose “3D”. Select “Extrude & Bevel”. Set rotation for X, Y, and Z axes to 0°. In the “Bevel” menu, select the diagonal line you created earlier. Enter “1 in” (72 pt) for “Extrude Depth” and “Height”. Click the “Preview” box.
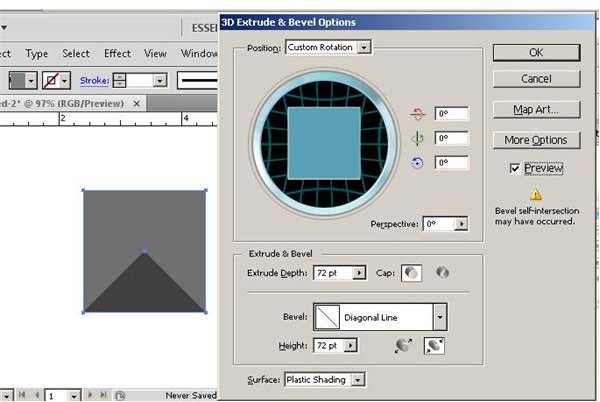
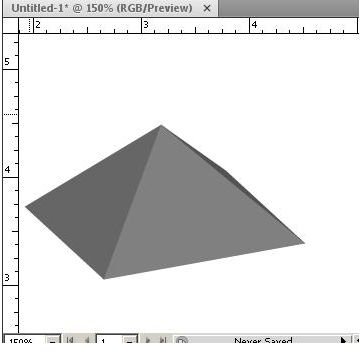
6. Rotate the pyramid and change lighting and other options as desired. Do this with the “3D Extrude & Bevels” option box. When you are done, click the “OK” button.

7. Enjoy. You now know how to create a pyramid in Illustrator CS4.