ClickBook lets you create and print multi-page or single-page posters and documents. You can use ClickBook to print graphics, spreadsheets, and create web pages by using any windows application. Find out how below.
An Easy Way to Create Posters
ClickBook can be used to print files, documents, graphics, spreadsheets, or web pages from any windows program. You can design the page you want to print using any windows application. The icon of ClickBook can be used to customize the page. The customized page can be sent directly to the printer using this poster design software. Printing a poster using click book is a simple process.
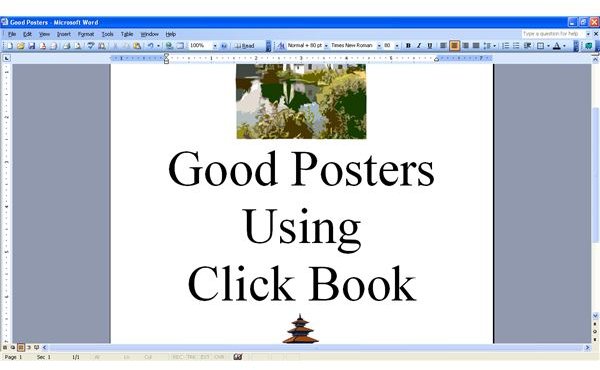
First off in this poster design how to; design the poster to be printed using any windows application. Here I used Microsoft Word to design a poster. Graphics, images, and photos can be used in creating your poster. ClickBook keeps the same formatting that is used in Microsoft Word. Only the layout for printing is changed using ClickBook.
Screenshot-1
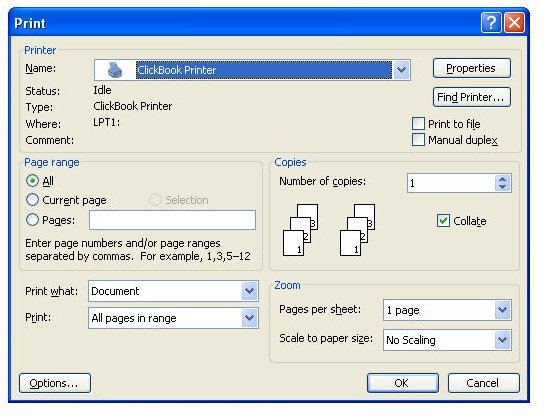
You have to first select ClickBook as the default printer. Select Print from the file menu. In the Print dialog box, select ClickBook as the default printer. When your designed page appears in ClickBook, it can be automatically directed to the default printer using the Print button.
Screenshot-2
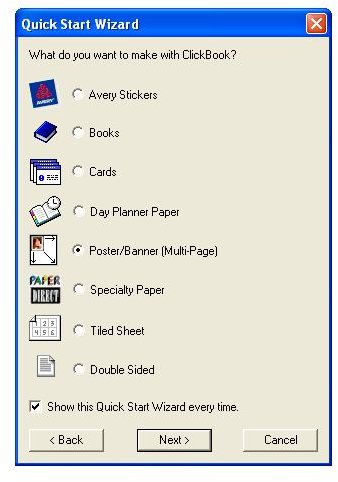
Select Print and then ClickBook as the printer from the File menu of Microsoft Word. The Quick Start Menu can be used to select the type of presentation you want to be printed. To design a poster, select Poster from the Menu.
Screenshot-3
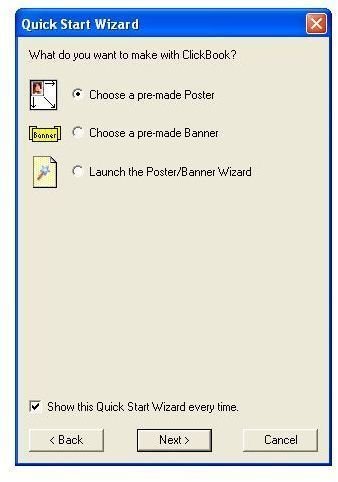
You can choose the layout of the poster from three options. The builtin poster layout can be used to select an already defined layout. To design a poster of your own layout, select the Poster Wizard.
Screenshot-4
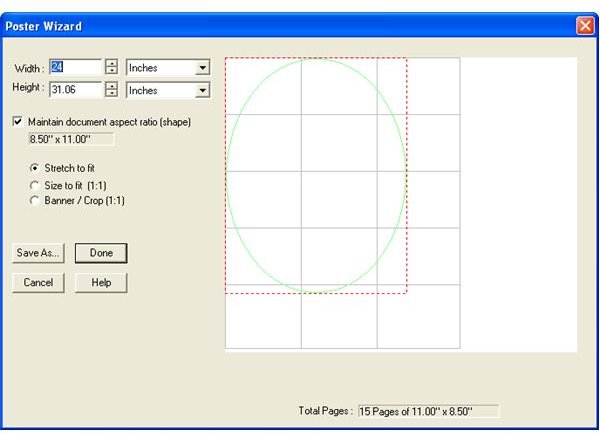
The width and height of the poster you’re going to print can be specified here. ClickBook can automatically decide the number of pages required depending on the size of the poster. The “Maintain document aspect ratio” is used to change the height or width proportional to the change. If you change the height, the width also changes proportionally. The stretch option can be used to resize your source document to fit the chosen size of the poster. The size to fit (1:1) ratio can be used to copy the source document into the middle of the poster layout. The crop option can be used to remove the excess parts of the source document if it exceeds the size. Here the stretch option is chosen to make the source document exactly as the poster layout size.
Screenshot-5
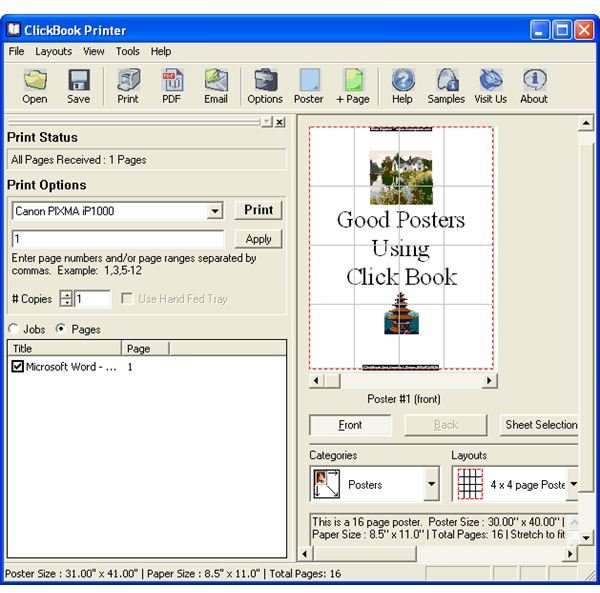
Click ‘Done’ to continue. Your poster can be seen in a small window. Any changes regarding the size and layout can be done from this window. You can also change the number of pages required from this window.
Screenshot-6
After finalizing the layout click the Print button to send the poster design to the printer. The number of pages required to print the poster will be displayed in the Status Bar. You can also print a single page or ranges of pages of the poster to be printed. The poster will be send for printing to the default printer of the ClickBook.
Images