If you’ve ever wanted to create the illusion of text floating above water, this is the tutorial for you! Here you’ll learn how to utilize the often neglected displacement map feature, as well as explore other Photoshop fundamentals to create a great project with a lot of visual interest!
Sure, everyone’s seen those nifty web 2.0 reflections, right? You know the kind, where your text or object seems to be hovering just above a very reflective, glass-like surface? Well, what if you take that very concept a step further and create text that appears to be hovering just above the surface of water? That’s the aim of the game in this quick walk-through, and you’ll find that it’s actually just as easy as other kinds of reflections!
Visualization
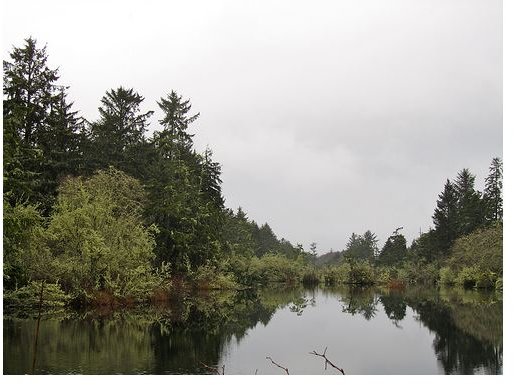
Now, first and foremost, you’re going to need to know how to visualize this a little bit. Sure, you can scroll down to the bottom of this tutorial and see the finished effect, and I actually do encourage you to do that. Why not, after all, you should always know what your end goal is supposed to look like. However, it’s not a bad time to check out an actual image of something reflecting off of the surface of water. You can click on the image to the left of this paragraph to see what I mean!
Creating the Reflection
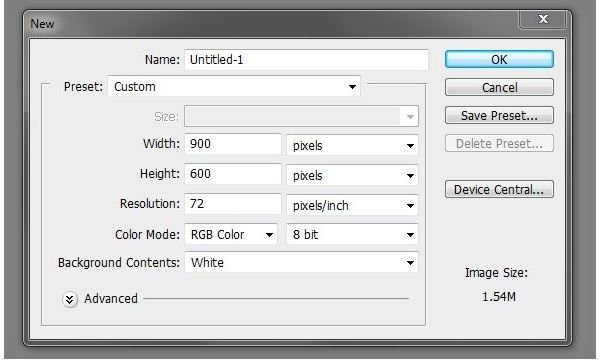
Time to get down to brass tacks. Go ahead and open Photoshop, and create a new document. For this tutorial, I’m going to go ahead and make it 900 pixels wide by 600 pixels tall.
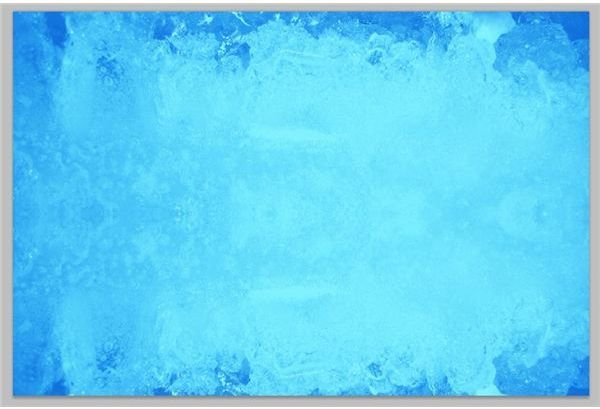
Now, fill your canvas with whatever color you’d like. I’m going to do an aquatic-blue (#4EB2EC), because it just seems fitting, doesn’t it?

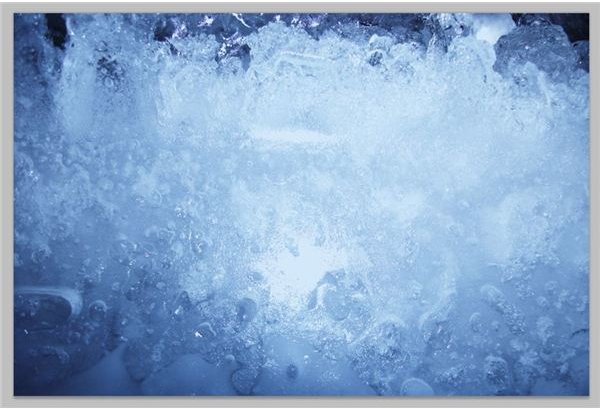
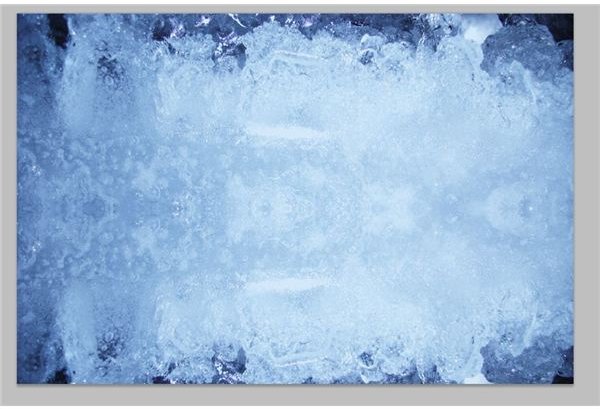
Now, to create a little more visual interest for the project, I’m going to add a texture to the background . I do this by simply grabbing a fantastic free texture from somewhere like deviantART and dragging it onto my document like so:
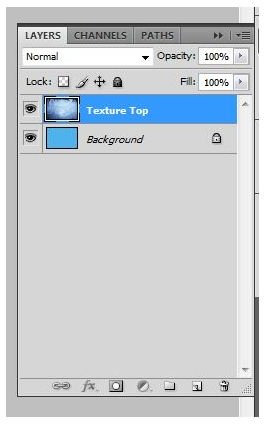
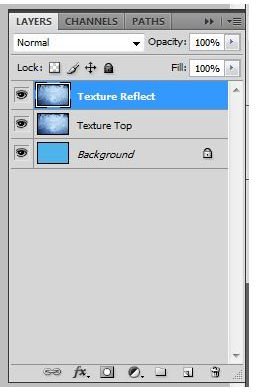
Name this layer “Texture Top”
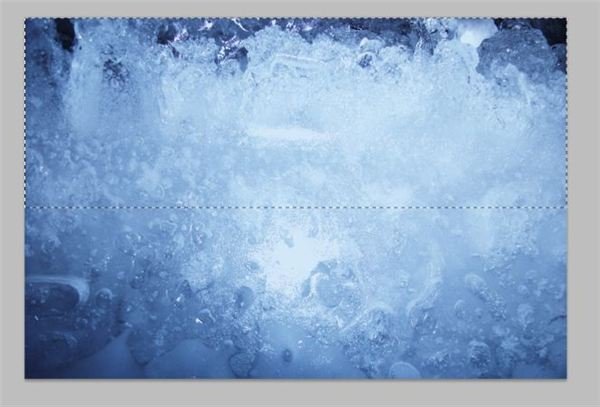
Duplicate your texture layer again, because we have to make sure this part is reflected as well, of course! Make sure to name this layer “Texture Reflect.”
Now grab your rectangular marquee tool and select the top half of the texture as I’ve done:
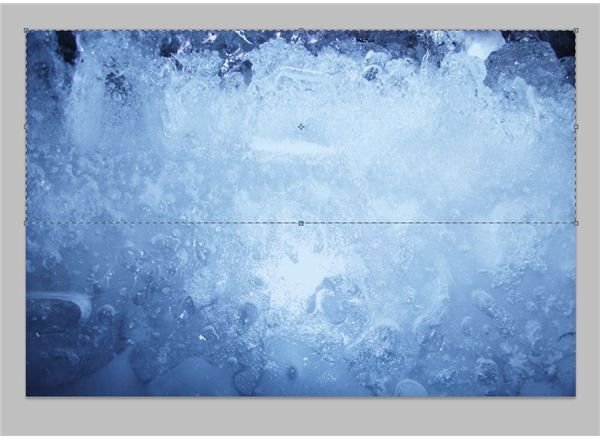
Press CTRL+T (Mac user? Press CMD+T!), which brings up the free transform box:
Now, grab the little crosshair in the center and pull it to the bottom center square. Be sure to check out this image to see what I mean:
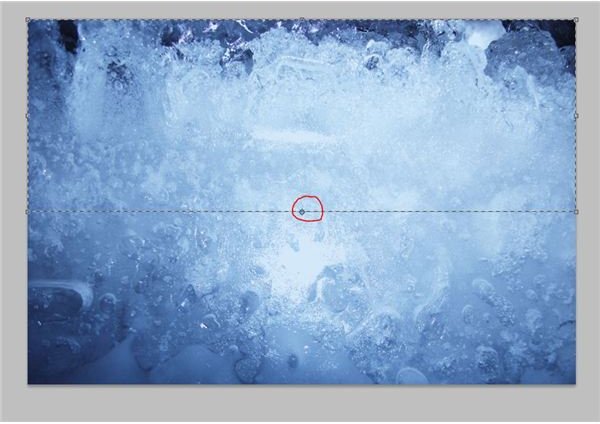
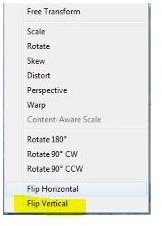
Now right click and select “Flip Verticle”
You’ll now have a reflected lower half of the texture that should look similar to this:
Now go back to the layer named “Texture Top” and delete the lower half under the “Texture Reflect” layer.
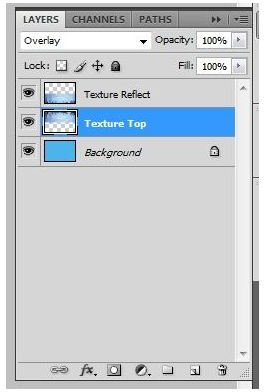
Set both texture layer modes to “Overlay” or “Soft Light”, whichever happens to give a nice subtle effect.
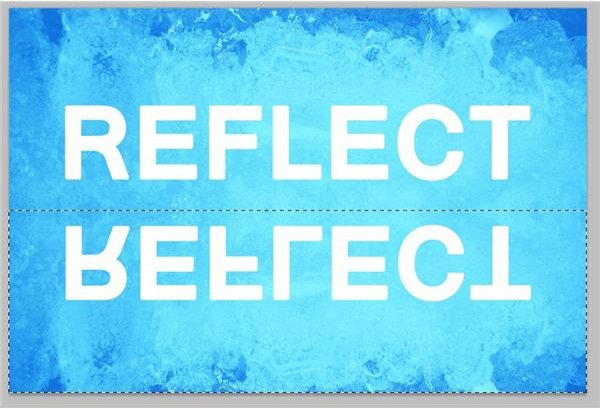
Now, create your text on the top half of the canvas. This can say whatever you want, but I’m going to go with the obvious “REFLECT” - feel free to use whatever font you’d like, but I personally think that nice sans-serif fonts look the best. Now, I’m just going to use the text as-is, but you could always create a 3D text for this project to give it a huge boost to it’s visual interest! I’m going to use the font color in white, just because it stands out nicely from the background.

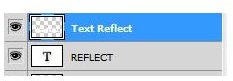
Following the same steps as before, duplicate your text layer and name it “Text Reflect.”
Select the top half of the canvas as you did before, and press CTRL+T. Following the same steps, create the reflected image of your text by flipping it vertically. When finished, press enter.

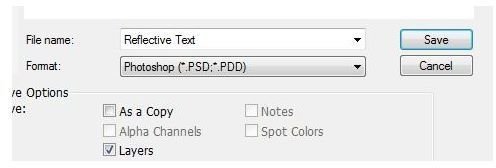
Now, save your current work as “Reflective Text”.
Creating a Displace Map
Now to create a cool ripple effect, we’ll have to create a displace map. This is incredibly easy for this project and can be done in mere moments. Open a new Photoshop document that is 900x600 pixels.
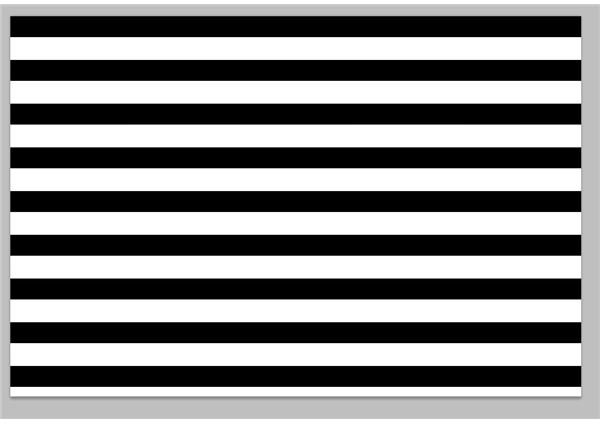
Start drawing lines on your canvas that look like this, making sure that they’re black and white. They don’t have to be perfectly spaced, but you still want to fit a lot of them on the document.
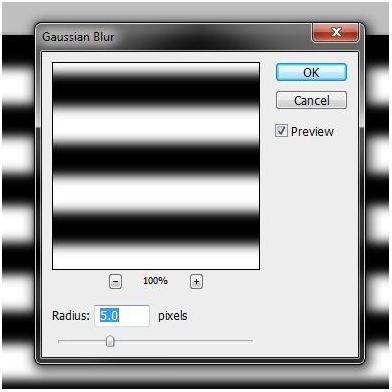
Now, go to Filter > Gaussian Blur, and set it to around 5.0 pixels. Press OK when finished.
Save the file as “Dsiplace Ripples” and go back to your original document. Make sure that you save this file as a .PSD!

Finishing Up
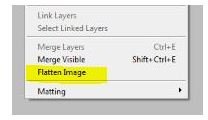
Now time to put it all together! Flatten your original document by going to Layer > Flatten Image.
Select the lower half of your document like so:
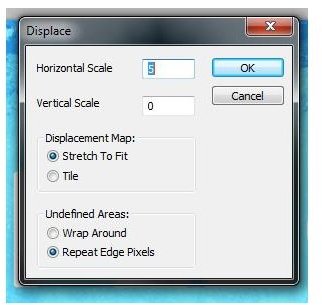
Go to Filter > Displace and enter the following settings
Horizontal Scale: 5px
Vertical Scale: 0px
Displacement Map: Stretch to Fit
Undefined Areas: Repeat Edge Pixels
Press OK.
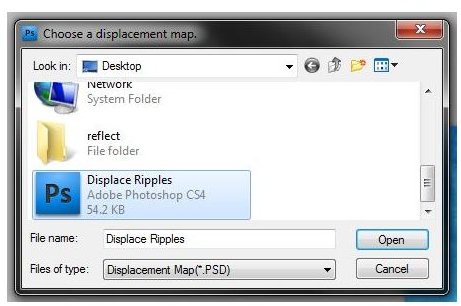
When prompted, select your Displace Map.
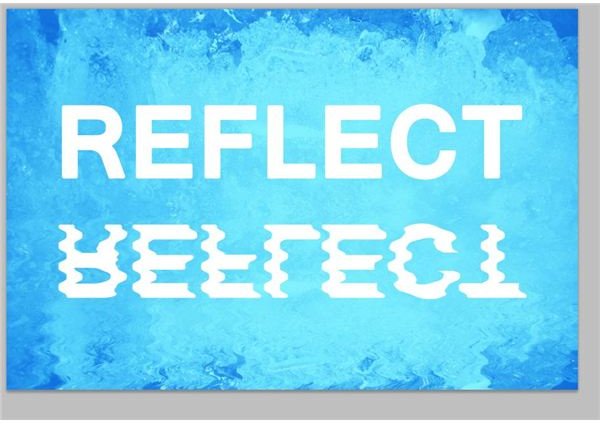
And here’s the finished, reflected effect!
References
All tutorial information and images provided by Amber Neely.
Outside Credit:
Reflecting Pond by xxmidnightxrainexx
Iced IV by DanHeffer-Stock


