Designing Foldover Business Cards at Home
Why Would You Want Foldover Business Cards?
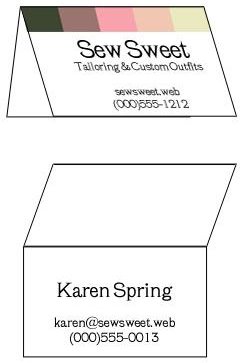
Why are foldover business cards desirable anyway? Putting aside the fact that they stand out compared to other business cards, let’s take a look at the benefits of a foldover business card. Not only does it provide extra surfaces to work with (four surfaces as opposed to two on a traditional card - usually this means one usable surface for a regular card, two for a foldover card), it allows for separation of information. The example to the left shows how the front of a business card can showcase a company name or logo, while the inside can provide specific contact information.
It also eliminates the need for information to compete over a small 3.5 by 2 inch rectangle of space. Your company logo, slogan, and basic contact information can be placed on the front, while more detailed information can go in the inside. A great example of additional information that can be placed on the inside of the card is a map detailing how to get to your storefront location.
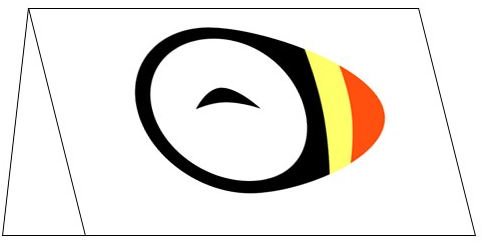
And let’s not overlook the artistic aspect of this design. With foldover business cards, you have the option of treating the “front cover” of the card as a canvas—a fantastic option for designers of all kinds. You could easily treat it as a mini-portfolio that displays your proudest piece of work right on the front for everyone to see. The rest of your information, such as your name, phone number, website, e-mail, and experience can go on the inside.
Laying Out Your Design
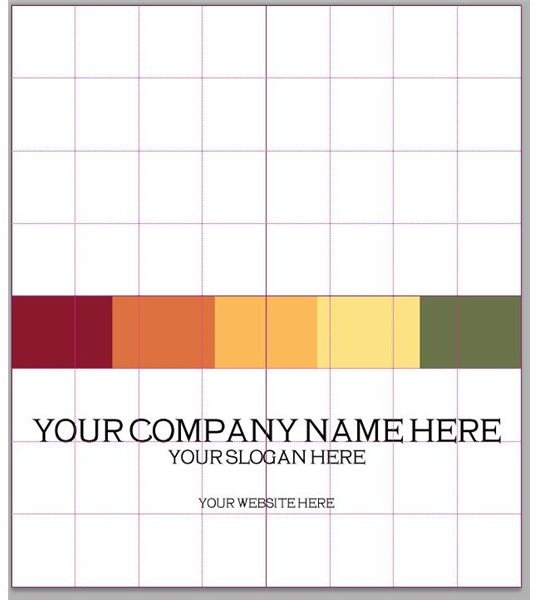
When designing your card, remember that the height of the card is now doubled—making the dimension of the cards three and one-half inches wide, by four inches tall. Just remember that when designing for the front of the card, that means you will design on the lower half of your business card, and when designing the inside, you will design on the lower half again.
Using Photoshop to print your business cards will help you easily manage this, but other programs like The Gimp or Paint Shop Pro can make quick work of the task as well. All you have to remember to do is to keep the front and inside designs on separate layers, and then hide them as needed when printed. Confused? Don’t worry, I’ve created a free customizable template that you can use to create a foldover business card, and it should get everything all sorted out for you.
Printing and Cutting Out Your Business Cards
While there aren’t a lot of changes from printing regular business cards at home, there are a few key things that you need to be aware of.
-
Don’t use pre-cut business card paper. While this might sound like a great way to avoid dragging out the old paper cutter and cutting the cards out yourself, it will result in flimsy cards as the perforations will separate too easily.
-
You’re going to have to flip your paper after you print the front of your business cards. How do you do that correctly? This part assumes that you are using my template. After your printer is done printing your sheet of business cards, pick up your design with the blank side facing you. Do not flip or turn your paper, simply place it back in the printer with the blank side facing outward.
-
Use a ruler to mark every two inches in rows very lightly on the sheets of business cards. This will make it much easier when it comes to cutting them out and folding them.
-
Do yourself a favor and get a paper cutter to cut out the cards. If you don’t own one, some craft stores allow you to rent them for a reasonable price. If you are opposed to that idea entirely, get yourself a utility knife, a sturdy ruler (preferably metal), and a suitable cutting surface. Do not attempt this with scissors as you will not get a straight line, no matter how hard you try.
-
To make your business cards even easier to fold, try scoring the horizontal line between the front and back design with a utility knife. To score something, you lightly press down with the utility knife, taking care to not cut the whole way through the card. This makes folding incredibly easy, and is a great trick to learn.
Resources and Images
Information based on author’s personal experience in design and all images are provided directly by the author.