You might love using Photoshop, but you might not love the amount of time and effort that goes into seemingly simple things. What if there were a way to take the little things that you do in Photoshop and make them faster and easier? This collection of mini Photoshop free tutorials can show you how!
Save Time With Actions
Record actions for things you repeatedly use. This is especially great for resizing photos for posting to the Internet, blogs, or websites. For example, your camera takes pictures that are 2000 pixels wide, but you know for a fact that you are going to have to resize them to be 800 pixels wide. Rather than manually entering this every time, you can easily record an action to do so, and here’s how you do it.
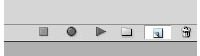
With your image open in Photoshop, open your action panel, which you can find by going to Window > Actions.
Press the New Action button:
Name your action something memorable, such as “800px.”
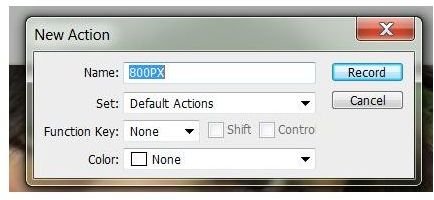
Press the record button.

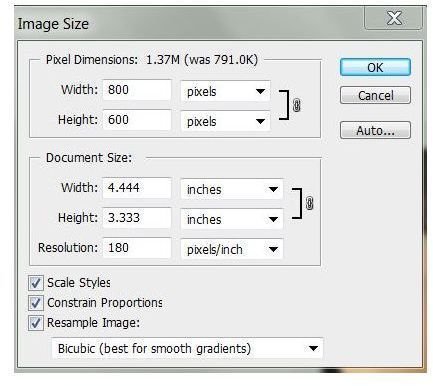
Open Image > Resize Image and type in your new values and hit “OK.”
Then press the stop button when you are finished. To use it again later, simply select it from the list, and press the play button.
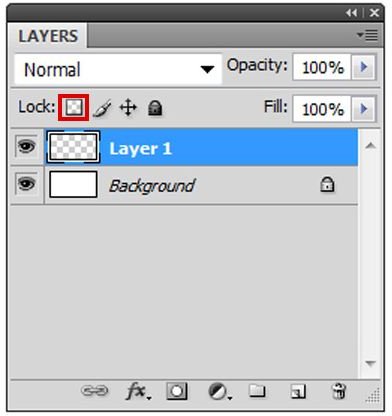
Locking Layers
If you’re anything like me, you probably end up accidentally moving layers or editing parts of layers that you don’t want to. Layer locks are a fantastic way to prevent these accidents from happening.
First and foremost, you can lock a layer and prevent it from being edited entirely. This is great for layers that you’ve finished working on, sketch layers, or layers that you plan on working on later.
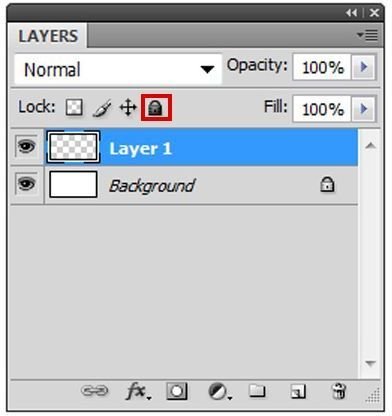
You can also lock a layer from being moved, which is great if you’re like me and occasionally bump the move tool . This leaves the layer open for full editing, but prevents you from accidentally moving it while working on it.
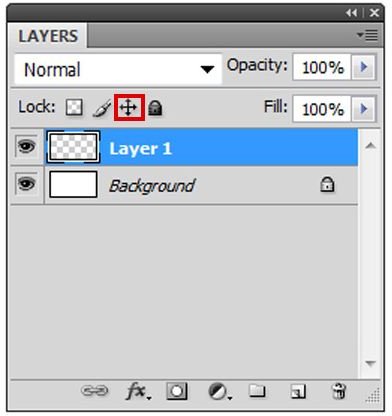
Another neat thing you can do is lock a layer’s transparent pixels, meaning that you can easily alter things you’ve already drawn on, but any transparent pixels won’t be edited. This makes for a fantastic way to recolor graphics with no hassle at all.
Keyboard Shortcuts
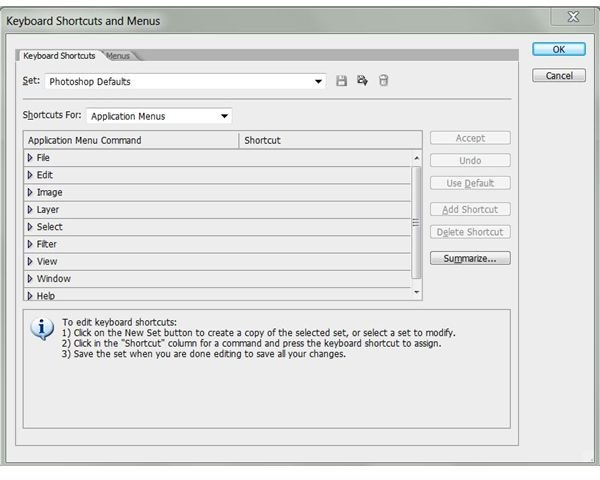
If you’re not using keyboard shortcuts, you’re probably wasting a lot of time in Photoshop. Keyboard shortcuts allow you to easily perform actions and switch tools without constantly having to browse menus. If you’re looking to learn about keyboard shortcuts, you should check out this article: Photoshop Keyboard Shortcut Cheat Sheet
Batch Processing
Batch processing is something that will save you a lot of time if you’re someone who has to work with a large amount of imported data a lot of the time, such as a bunch of images you’ve scanned or a bunch of pictures you’ve imported. For example, say you imported twenty pictures off your camera onto your computer, but they all need to be rotated counter clockwise once. Nothing too extreme, but it would still take quite a bit of time to fix. That is, until you use batch processing.
First and foremost, save all of your images into the same folder. This will just make everything infinitely easier when it comes time to apply the batch processing.
Now, open one of your images, and following the steps in the action article above, make an action that does whatever you need. This includes rotating, resizing, changing color or contrast, and then stop recording. Be sure to save it with a good name.
Close the image, but don’t save your changes, otherwise that photo will get processed twice, which is quite a bit counterproductive.
Go to File > Automate > Batch where you’ll be greeted by a new window that asks for you to select the set of actions (“Set”), and then the specific action (“action”), so go ahead and do that.

Select Source: Folder, and then choose your folder—and leave everything else unchecked and at the default settings.
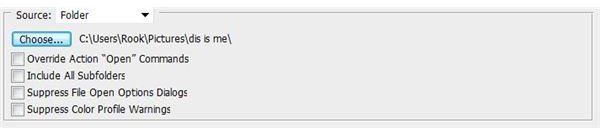
Now simply press OK and watch Photoshop work its magic! Now you have applied changes to a whole folder of images with no effort at all.
Resources
All information and images were provided directly by the author of this article.


