How to Design a Business Card in Photoshop: Design Tips, Tutorial with Screenshots
How to Design a Business Card in Photoshop - An Overview
If you wish to design your business card on your own, the knowledge of how to design a business card in Photoshop helps you accomplish your task better and faster. Gather all the elements, such as the logo and images for the card and begin your design:
- Use a tagline to convey your business core value / benefit
- Improve readability with less text and graphics
- Limit colors to three and fonts to two to create a professional appeal
- Make elements standout with the use of contrasting colors
- Print the cards on paper of at least 12-point thickness for a positive perception of your business
How to Design a Business Card in Photoshop - Step-by-Step Tutorial
**
1. Start Photoshop.
2. Create a new file: Click File > New. The New dialog appears.
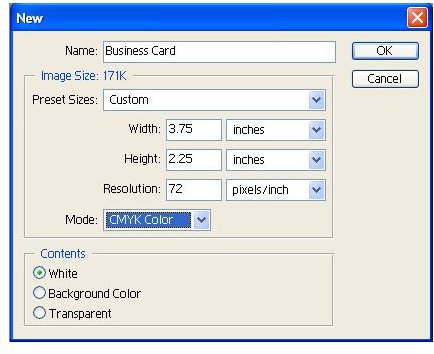
- Set the units to Inches.
- Type 3.75 for the Width.
- Type 2.25 for the Height.
- Click OK.
NOTE: The standard business card size is 3.5 X 2.0 inches. So, why give the extra space? If the background image extends beyond the conventional size, your card will be printed with the extra 0.25 inches on either side. Then, your printer trims it to the regular size of 3.5 X 2.0. What’s the advantage? The image appears from edge-to-edge, without a gap on any side. By the way, the extra space is known as the bleed area.
3. Click View > Rulers.
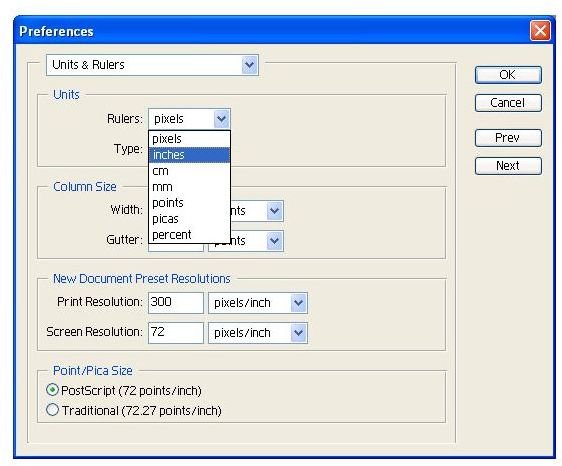
4. Set the rulers’ units to inches:
- Click Edit > Preferences > Units & Rulers. The Preferences dialog appears.
- Select Inches in the Units frame.
- Click OK.
5. Use the guides and create a 3.50 X 2.00 inch “rectangular block”. This is your card size.

TIP: To use a horizontal guide, click and hold the mouse inside the horizontal ruler. Drag the mouse toward the canvas. Position the guide at a desired tick on the vertical ruler and release the mouse. Follow the same steps for the vertical guides, except you’ve to first click inside the vertical ruler.
6. Use the guides again and create a 3.25 X 1.75 inch “content block”. This is the safe block for your content. In case of minute cutting variation, if at all, your information will remain safe and will not go under the blade of the cutting machine.
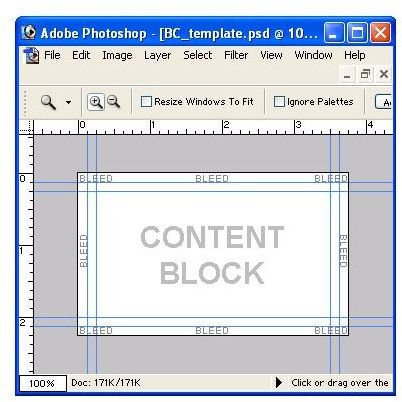
NOTE: Place all your content within the safe block. The exception is the background. It can extend beyond the safe boundaries.
7. Set the color mode to CMYK: Click Image > Mode > CMYK Color.
8. Create the content: Photoshop gives you multitude of ways to design your business card content: the key to success is a simple and an effective design.
TIP: The color scheme you use for the text and the images should be consistent. It should also match with of the marketing collaterals, such as the letterhead and brochures. Further, the design of the business card should match with the design of the letterhead and others.
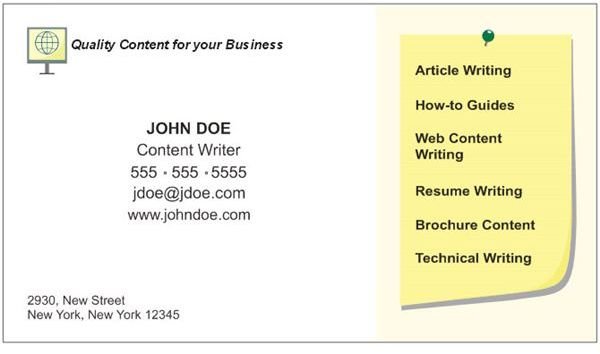
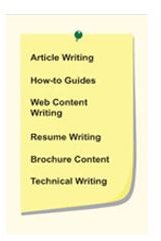
For this tutorial, let’s create a business card for a freelance content writer. To give more emphasis to the services of the writer, the genres of writing appear on the right. For this tutorial, I have used a post-it notes type image, created with the pen tool.
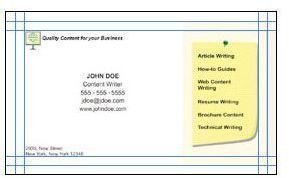
9. Place your logo inside the top-left margin of the safe block.
10. Type your name, title, telephone number, e-mail ID and website address. Center this block of text to the first part of the rectangle. Note the second part is the image.
11. Type your address and position it inside the bottom-left margin of the safe block.
12. Print your business card on a color printer to review the card at the actual size.
13. Proofread your card twice, if not thrice.
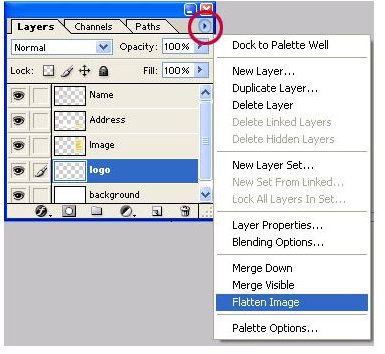
14. Flatten your PSD file: Click the small right-arrow on the Layers window. From the menu select Flatten Image.
- Photoshop combines all the layers into one layer. The file size also reduces to a great extent.
15. Check with your printer service on what format they prefer for printing the business cards. If they need the TIFF file, follow the steps below to save your PSD as TIFF:
16. Click File > Save As. The Save As dialog appears.
17. Select TIFF from the Format pull-down menu.
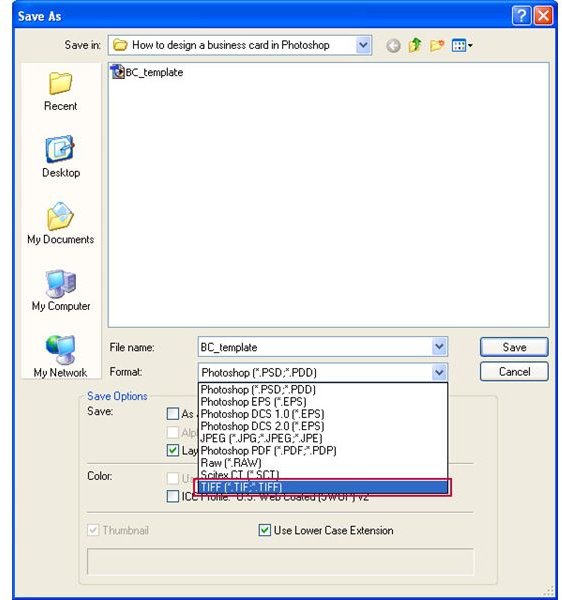
18. Click Save.
19. E-mail or upload your business card PSD / TIFF file to your printer.