Learn How to Master B&W Wildlife Photography
General Wildlife Photography Techniques
B&W wildlife photography uses many of the same techniques as standard black and white photography, except that you are working with animals. And, animals can be very unpredictable. You also need to do some preparation before you ever leave your house. To learn more about general black and white photography techniques, read Black and White Portrait Photography.
Before you can take pictures in black and white, you need the proper equipment for wildlife photography. Generally, that means a tripod and a lens with a long focal length (as much as 500mm). If you can’t afford a lens like this, then consider buying a tele-converter, which increases your overall focal length. Some point-and-shoot cameras also come with a 500mm lens.
Figure out the schedule of the animal you wish to photograph and try to stay local. While you can spend thousands of dollars touring Africa or Costa Rica, you can capture some pretty amazing shots right in your own backyard. Go to your local zoo, or take a hike on a trail known to attract animals. Just be sure to stay hidden from the animal, or it may not come out of its hiding place.
Shoot Animals Like Portraits
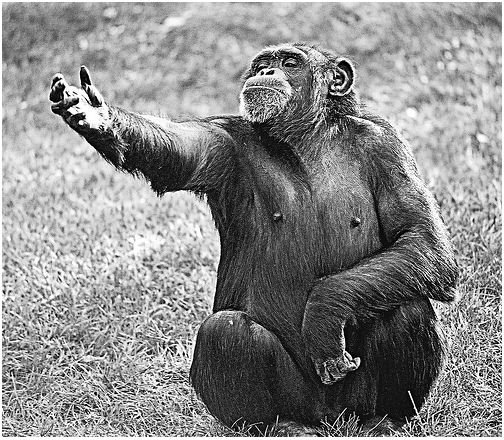
Wildlife photography is similar to portrait photography in that you focus on the facial features. If you can safely do it, try to get the animal
to pay attention to you. Just have a little patience with your subject; it doesn’t know that it’s getting photographed.
Increase your shutter speed. Animals won’t wait around forever for you to snap the shot so you have to be fast – very fast. Don’t use a shutter speed that is slower than your lens’ focal length, or it will increase the chances that your pictures will be blurry. To change your shutter speed, look for the sports mode or action mode on most point-and-shoot digital cameras, or go into the manual settings on your camera.
The faster the shutter speed, the quicker the camera will take a picture. If you use a slower shutter speed, then you may get blurry pictures. However, you may want to add blur if you’re looking for motion shots. Check out these action photography tips to learn more.
Shooting Modes
Now, it’s onto taking B&W wildlife photography. When it actually comes to capturing the pictures, you have three options: shoot in color, shoot in black and white mode, or shoot in RAW. If you shoot in color, you can always remove the color in post-processing. Simply use a
good photo editing program to convert the image to black and white, and then fix the contrast and brightness based on your preference.
The next option is to shoot with your camera’s black and white mode. Many cameras come with this feature, but it’s inconsistent. Your pictures usually come out either too bright or too dark, or they’re oversaturated. Your better option would be to remove the color in post-processing.
The final option is shooting in RAW format along with the black and white mode. Unlike the previous setting, the RAW option keeps both the color and black and white image. So, if the black and white image doesn’t look right, you can easily manipulate the color image with your photo editing software.
Focus on Composition
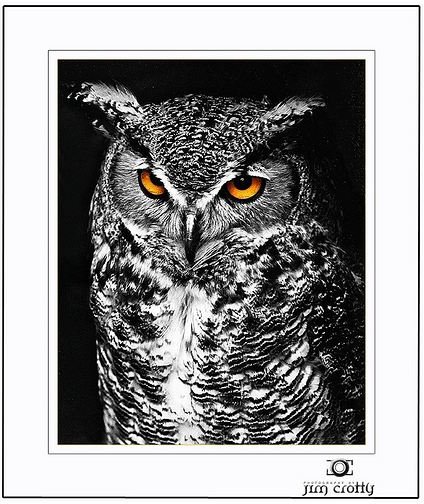
The most important part of good black & white wildlife photography is paying attention to the composition. Unlike color photography, the blacks and lighter textures and tones become the main focus of your image.
So, for black & white images, look for low-contrast subjects. Low-light situations actually work quite well for B&W wildlife photography. Lower the ISO to reduce noise - which is very obvious in black & white photographs - and be sure to use a tripod.
Other Settings
Always try to eliminate distracting backgrounds and only focus on the animal itself. Fill the frame with the animal’s face and features by zooming in. Get down to the animal’s level, or even shoot from overhead for a different perspective for smaller animals.
For outside photography, use the sunshine setting on your camera to compensate for bright sunlight, and use the cloudy setting for morning, afternoon or cloudy days. These are the standard preset white balance settings on most point-and-shoot cameras. If you have experience adjusting the white balance, then you may want to experiment with the manual settings.
If you have time to set up additional lighting, set up a fill light behind and in front of the animal to reduce harsh shadows from bright lights. If you are photographing at a zoo, get permission from the zoo staff before taking pictures.