Put Your Photo on Canvas with This DIY Photography Project
Supplies
This is a tutorial on how to put a photo on canvas for a fraction of the cost most companies will charge you. It creates an artistic and professional look and can be repeated as many times as you wish with almost any photo you’d like. Makes a great gift for a family member or loved one.
Supplies you’ll need:
- Photo you wish to use (Needs to be on your computer)
- Graphic software of any kind, I am using GIMP for this tutorial
- Tissue paper (Preferably artist’s tissue)
- Regular printer paper
- Sealant or fixatative
- Adhesive of some kind (Stick glue works well, as does spray adhesive)
- Canvas
- An ink jet printer
Step 1: Getting Set Up
Most canvas sizes are larger than a piece of paper, so you can run into trouble trying to get your photo to cover the whole canvas. This is fine if you want room for a border, or are using a canvas smaller or equal to the size of a sheet of paper.
To deal with this obstacle, I use a variation of the artist’s grid method. With a ruler or tape measure, find the center of the top of your canvas and mark it with a pencil using a small line or a dot. Make sure the mark is very light. Then measure the side and mark the center, and do the same for the bottom and the other side.
Step 2: Make a Grid
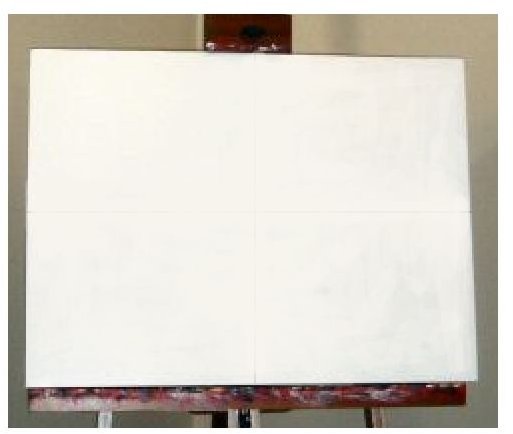
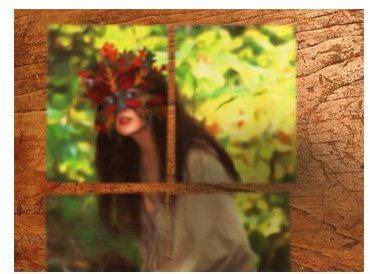
Now line your measuring tape straight across your canvas to connect the marks and draw a light line for top to bottom and side to side. Your canvas should now be divided into a grid of four squares. Measure the horizontal and vertical length of your squares and write the measurements down.
For example, I am using a 14"X10" canvas. After making my grid, each square is 7"x5", which is small enough to cover with one sheet of paper.
Step 3: Preparing Your Photo
In GIMP, open the picture you wish to use. If you’d like to alter any colors or textures in the photo, do so now. The image I am using has already been edited for my Photo to Oil Painting tutorial. If you’d like some pointers in editing your photo before printing, see the “Additional Tip and Tricks” section of this tutorial.
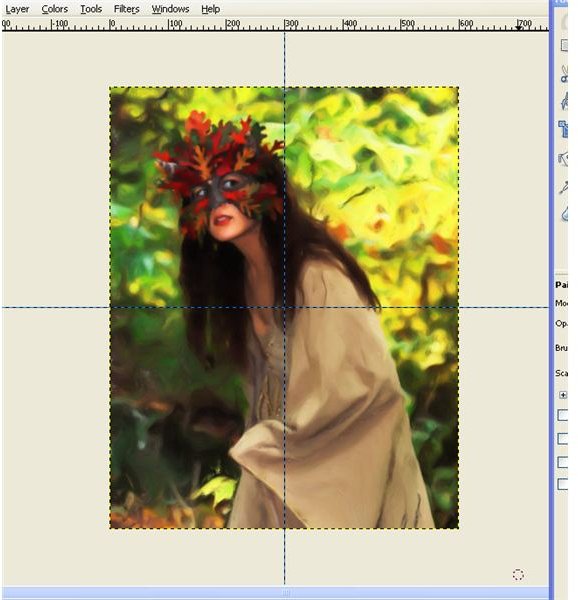
Go to Image–>New Guide by Percent and set the guidelines to Horizontal and 50%. This will create a line across the center of the image. Do the same thing for a vertical line and you now have a four square grid.
Step 4: Split Your Photo Into Sections
Select the Rectangle selection Tool, and use it to draw a box around the top left portion of your images. Stay within the lines, but be sure you get all of the photo in this part of your grid. Then copy the selection by either hitting Crtl+c, or going to Edit–>Copy.
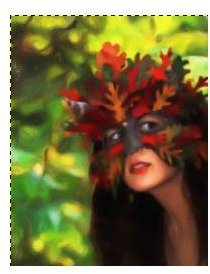
Now go to File–>Create from Clipboard. You should now be looking at a new image consisting of just the top left corner of your original picture. Now you can size it by selecting Image–>Scale. Be sure the size is in inches, not pixels, by using the drop down menu. Then use the numbers you wrote down for your canvas grid and hit Scale.
Step 5: Adhere the Tissue to the Paper
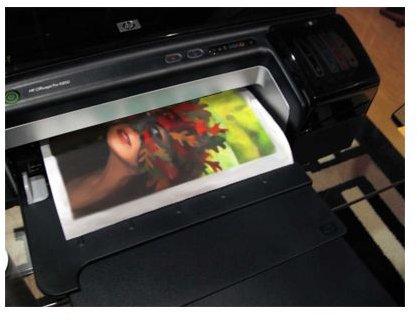
Grab a piece of printer paper and a sheet of your tissue paper. You will need to adhere the tissue to the paper. I find the easiest way to do this is use stick glue around all the edges of your paper. You will not need to use very much. Then lay the tissue down on a flat surface and make sure it is completely smoothed out and lay the paper out on top of it and press around the edges once it is lined up. If you have tissue larger than your paper, trim it down to the edges of the paper. You can now put this in your printer and print just as you normally would.
Step 6: Remove and Repeat
When the image is printed, spray a very light layer of sealant or fixative over the tissue. This will lock in the ink so it doesn’t run or smudge. Wait just a few seconds to let the sealant dry, and then remove the tissue from the paper. Be very careful not to tear it! Trim any white edges on the tissue away.
You can now return to your image and repeat steps 4 – 7 on all the other portions of your image. One sheet of printer paper can be used for all four pieces if you do not use too much glue, but after that many uses, you should toss it.
Step 7: Apply All Pieces to Your Canvas
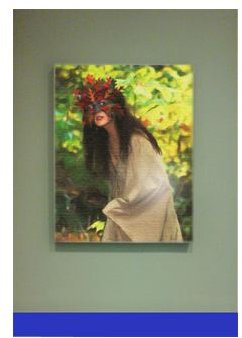
Once all the parts of your photo are printed and cut out, you are ready to apply them to your canvas. For this I definitely recommend spray adhesive instead of a glue stick or liquid glue to avoid crinkles or tearing in the tissue. I also generally like to use help to be sure everything gets lined up well. You will need to spray the entire surface of the canvas with the adhesive. Then take one corner and lay it out to line up with the edge of your canvas and the guidelines you drew previously. Once lined, you can press down to secure it in place. Do the same with all the other tissues and be sure there are no gaps between them.
Now you have a unique canvas version of your photo! I like to spray a layer of matte fixative over the whole finished piece. This will prevent lifting or damage to your art. You can do many things with this method like gallery style printing, or even tile printing for a very modern and stylish appeal. Have some fun with the possibilities and enjoy!
Additional Tips and Tricks
Here are some additional tips and tricks I have learned from this technique.
-
Tissue, as most of us know, is very thin and can be seen through. Even artist’s tissue is not completely opaque, although it is a bit thicker. This means the white of your canvas can be seen through the paper, so if you want to avoid your photo looking washed out, raise the Saturation of the colors and lower the Value or Brightness a little before printing.
-
Another artistic approach is to paint the canvas in one solid color or a gradient. This will create a soft undertone for the whole picture.
-
Do not use too much sealant! One or two even, light layers is plenty. To do this, hold the can of sealant or fixative about 7 inches away from the picture and then spray over the whole thing using slow and steady movements. It’s best to do this outside.
-
This method of printing on tissue and adding it to canvas works well for other surfaces, too. Tile and wood are two I have had great success with, but it can also be used to make personalized greeting cards and scrapbooks as well as a lot more I have not even thought of yet.