Tips & Techniques on Photographing the Grand Canyon

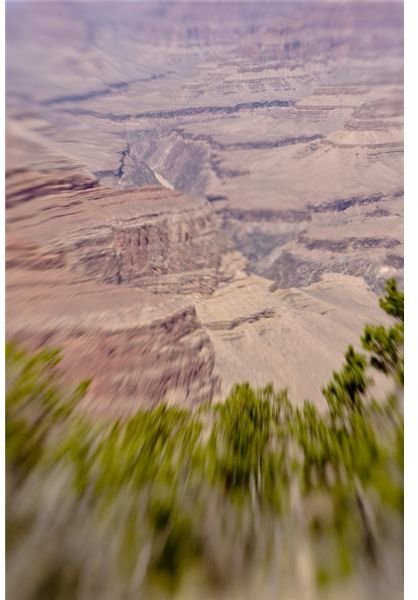
Photographing the Grand Canyon can be a challenging proposition for many photographers. For one thing, the canyon is so immense (more than a million acres of land over 1,904 square miles according to the National Park’s Service web site) it can be impossible to capture its huge size and depth with the small two-dimensional view the camera affords.
Images

About the canyon
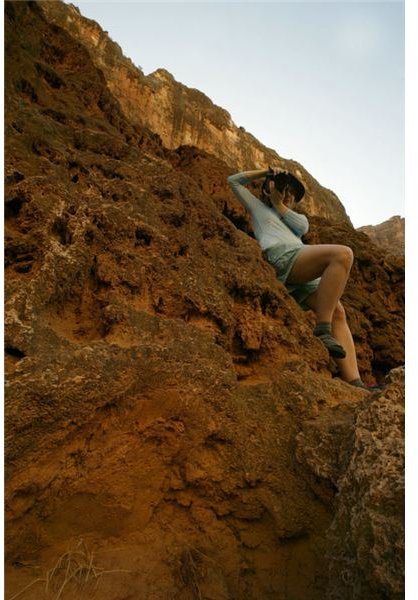
Even the decision as to which part of the canyon is daunting. While most people visit the South Rim (about 4 million visitors a year), less visited and more remote areas such as the North Rim (about a quarter of a million visitors) and the Western Rim (Supai Village and Havasu Falls receive about 25,000 visitors annually) present spectacular opportunities as well. Even narrowing it down to one of these destinations still presents the photographer with many miles of shooting locations. It also presents the question of philosophy, should you plan car based photography driving from one point to another (no small task itself) or do you want to hike one of the many spectacular trails in order to enjoy the more intimate experience and more thoroughly explore the canyon itself. Keep in mind, canyon trails can range from easy hiking to experts only. Canyon hiking is deceptively difficult as the inexperienced hiker finds the first half of the hike easy going (cooler temperatures, great scenery and gravity is your friend) and it isn’t until the hike back up that they discover the trap a canyon has set for them (hotter part of the day, staring at the tops of your hiking boots every step and gravity is now a mortal enemy). “Death in the Canyon” a book detailing every recorded death in the Grand Canyon is recommended reading for anyone planning a hike on one of the trails that head down into the Grand Canyon.
Planning your trip
Located about four hours from Phoenix, the South Rim is one of America’s most popular National Parks. During the summer tourists flock to rim hotels such as the El Tovar and Bright Angel Lodges and others, or camp in one of several campgrounds located in the national park. A few miles away is Tusayan, a small community that also offers lodging, camping, restaurants and other services. My preference is to stay in the Grand Canyon Village in the National Park both for convenience and because it’s frequently less expensive to stay there than it is in the village.
Entry into the National Park is $25 per vehicle. Photographers with disabilities can get a free National Parks pass useable in any National Park.
An alternative to driving up to the canyon is to use the Grand Canyon Railway out of Williams, Ariz. This route provides numerous photo opportunities from both the antique train, and also from surrounding scenery on the ride to and from the canyon. Tours and lodging packages are also available through the railway.
One of the first places visitors to the South Rim go is the rim trail between the El Tovar and Bright Angel Lodges. It’s hard to imagine just how many snapshots of the Grand Canyon have been taken from this spot, but odds are few did more than just provide a record of the individual’s visit. While there’s nothing wrong with this viewpoint as a photo location, it’s nowhere near the best place for canyon photography. Making the challenge worse is that unless you’re there at sunrise, the view is often washed out and shots made there suffer from the haze that covers the canyon many days of the year. (The haze is a result of pollution from the Navajo Power Plant in Page, Ariz. This coal burning plant has not helped canyon photographers.)
More remote is the North Rim, which is also several thousand feet higher in elevation. This makes the North Rim much less visited, in part because the park is closed from October through April, in part because of the heavy snowpack. Popular shooting locations are the rim from the Grand Canyon lodge (a spectacular building built right into the side of the canyon) Cape Royal (for great shots of Wotan’s Throne) and Cape Sublime (the road is not well maintained and can be very treacherous).
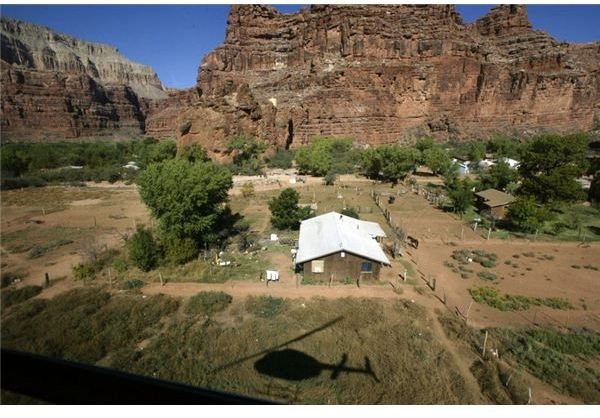
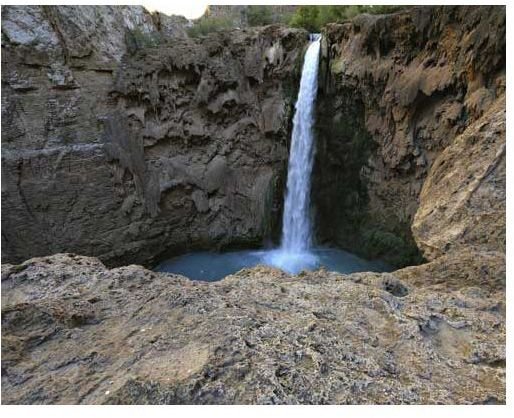
Just as remote is the area known as the Western Rim. This is the gateway to Supai Village and the four waterfalls that are popular destinations. Navajo Falls, Havasu Falls, Mooney Falls and Beaver Falls are well worth the effort to visit them, but it is an effort. The Supai indians own the land and control access. Permits are required to hike in and you need to reserve campsites as much as six months in advance or more. There is also a lodge in the village, but make your reservations at least a year in advance (longer is better). It’s a brutal 8-mile hike to Supai Village and another 2 miles to the campground and Havasu Falls. It’s possible to hire a horse and pack mule with local guide. Some helicopter service is also available, but there are no guarantees you’ll be able to get a flight in or out.
Please continue on to page two, where you will discover some excellent places to take pictures from at the Grand Canyon, suggested camera equipment you should have, when you should capture the Grand Canyon, and more.
Shooting Locations
There are many great places to take pictures from at the Grand Canyon. Here are some ideas:
Rim Trail – This is an easy, beginner level trail that follows the rim of the canyon, but offers some nice vantage points for excellent photography. The easiest way to handle the trail is by heading downhill from either the El Tovar or Bright Angel Lodges and hiking down to Hermit’s Rest less than 4 miles away. One of the nicest things about this hike is that it parallels the road. If you get tired you can just hike to the next shuttle bus stop and get a ride the rest of the way to Hermit’s Rest or back to the Grand Canyon Village.
(You can download a pdf map of the trail here)
Mather Point – This is one of the most popular shooting locations at the South Rim, mainly because it’s so close to the park’s entrance and has a reasonably sized parking area right near the observation area. The problem is this parking area often fills quickly and cars are then forced to park on the road. Mather Point is a good choice for sunrise photography.
Yavapai Point – This is another popular observation point and provides more good photographic opportunities and a nice panoramic view of the canyon.
Shoshone Point - While it’s not well marked, Shoshone Point offers great views of the canyon, plus something quite rare for the South Rim – solitude. Since it’s not well known, you won’t find many people there.
Desert View - About 25 miles away from El Tovar, this is the Easter edge of the canyon. Here you’ll find the Watchtower, a Susan Coulter building that is beautifully photogenic itself. This viewpoint offers multiple great spots for canyon photos and is a popular location for sunset photography.
Cape Royal at the North Rim provides a great location for photographing Wotan’s Throne at sunset, a truly magnificent sight.
Havasu Falls in the Western edge offers many great possibilities.
Lens/equipment choices
Photographers planning a visit to the Grand Canyon should try to bring at least a wide angle and a telephoto zoom. A good tripod is also vital. A polarizing filter can help make skies bluer and improve the colors of the canyon too and a graduated neutral density filter can also be useful for holding back the sky at sunrise or sunset. One important consideration depends on your method of locomotion. Photographers who plan on day hiking or working from their cars can get away with carrying more gear than those thinking about hiking into the canyon where weight becomes an issue. If you’re hiking into the canyon, it’s better to take one all purpose zoom lens and a small, carbon fiber tripod (if you have one) or a versatile point and shoot camera to help keep the weight in your pack down. Another reason for keeping it simple lenswise is because it’s easy to get the canyon’s fine red, clay dust inside your camera’s lens well and onto your imaging sensor. Anything you can do to minimize lens changes is a good idea.
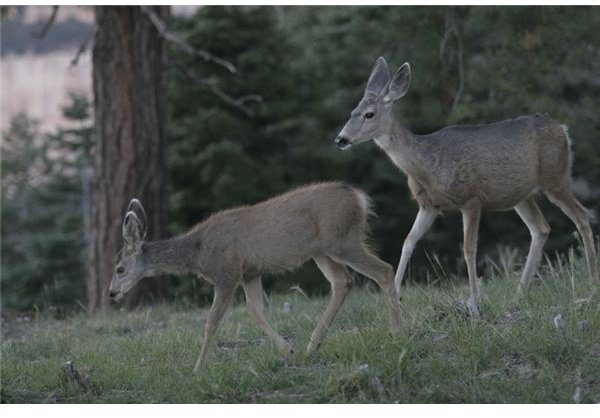
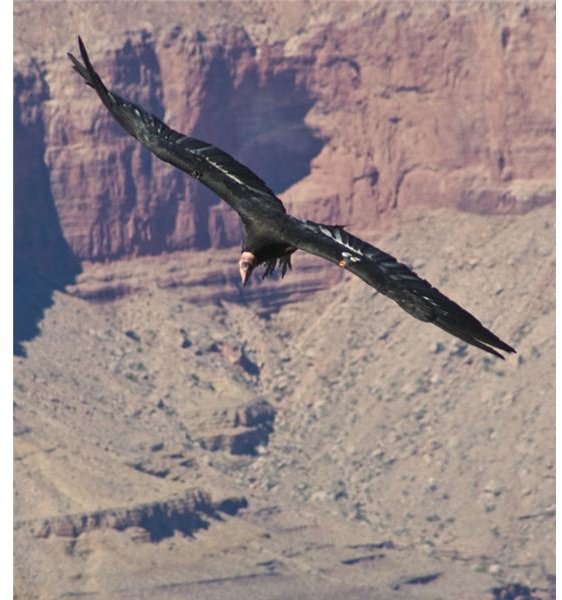
If you’re interested in photographing wildlife, a longer telephoto lens will also be a good choice. Spotting wildlife at the canyon can be easier than you think. During a brief recent visit I spotted California Condors, elk, trophy deer, lizards and rim squirrels. Even the condors where within reach thanks to a Sigma 28-300 zoom.
Best times of day for photography
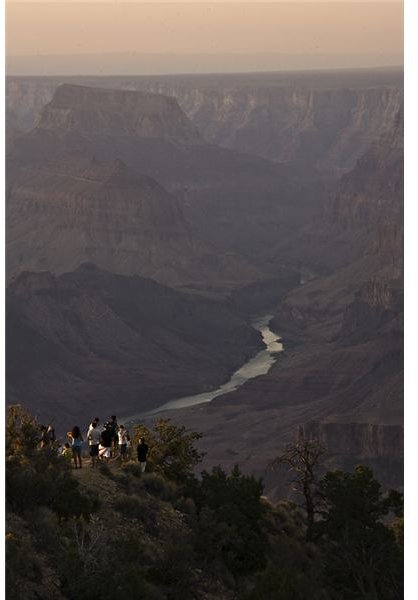
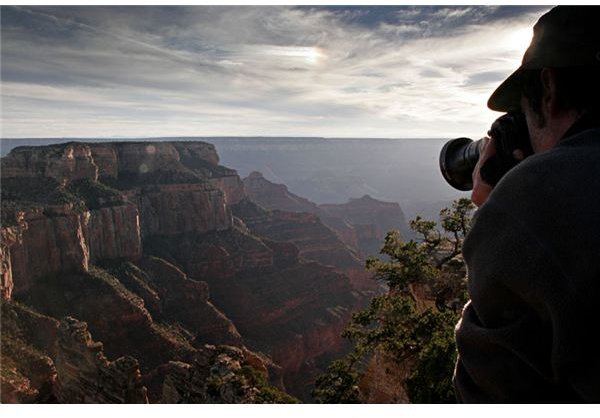
Best time of day for photography: sunrise and sunset are far and away the best choices for photography. When the sun is low in the sky the canyon’s colors come out and shadows help define the contours and shapes of the gorge.
Look for geographical features such as Wotan’s Throne to single out in addition to wider canyon views. Also consider manmade features especially classic structures such as Desert View, Hopi House and Hermit’s Rest, three buildings designed by legendary canyon architect Susan Coulter. These structures are designed to blend into the canyon and make great subjects for photography.
Best time to visit
My favorite time of year to visit the canyon is in February or March when it’s not as crowded and the air is a bit clearer. At the rim it will be cold and you run the risk of snowstorms though. The drive from the South Rim to Phoenix during a snowstorm is a white knuckle one, if it is even manageable. The roads don’t become consistently clear until you get below the 4,000-foot elevation range.
The canyon is usually most crowded during July and August. September is another good time to visit, particularly after school is in session and crowds have thinned a bit. Evenings will be chilly, so come prepared.
Other notes:
Canyon Colors: most of the time the canyon’s colors are muted, running to pale reds, browns and greens. Using a warming filter will help add some richness to your images as will tweaking the image in Photoshop afterwards. A better approach is to shoot when the sun is low in the sky.
Using a Geotagger to record photo locations is worth considering if you’re hiking the canyon and taking pictures, but be sure to use one that can tell where it is without using cell phone towers. While you can get cell phone service at the South Rim when you’re near the El Tovar and Bright Angel Lodges, it’s not available in most other areas.
References
National Park Service: https://www.nps.gov/GRCA/index.htm
Supai Indian Tribe: https://www.havasupaitribe.com/index.html
Grand Canyon Association: https://www.grandcanyon.org/privacy.asp