Learn to lighten or darken areas of an image using the Paintbrush tool and layers. The Fill and Opacity options with the paintbrush give more control and subtler effects. Another way to burn and dodge using Photoshop.
A Burn and dodge alternative in Photoshop: Get more control using layers and the paintbrush
Lighten and darken areas of a photo using the layers palette and the paintbrush tool. This gives a softer touch and bit more control over just how dark or light you need the image. This method achieves more subtle exposure control that not only looks more natural, but also does not look burnt or faded. The following tutorial will lead you through this process in a few easy to follow steps.
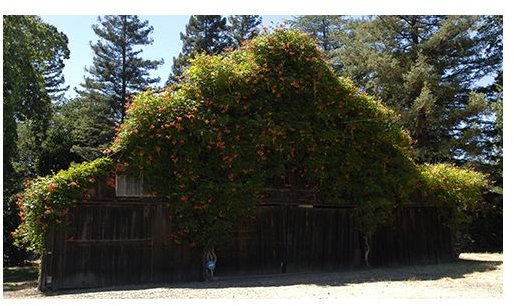
Step 1: Open Sample Image_1.jpg in Photoshop, and then open the Layers palette. In Sample-Image_1, there are parts that need to be lightened on the front of the barn and areas of the sky that need to be toned down.
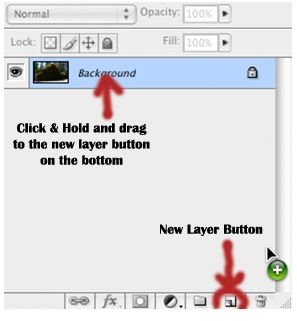
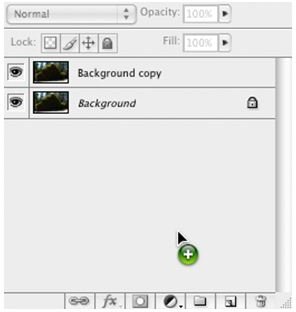
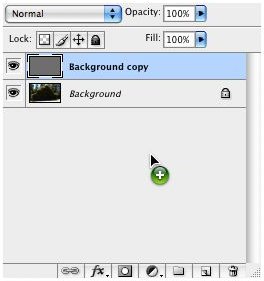
Step 2: Make a copy of the image from the Layers palette. To do this:
- Click the background layer.
- Drag the Background layer to the Create New Layer button at the bottom of the Layers palette as shown in Figures 1 and 2.
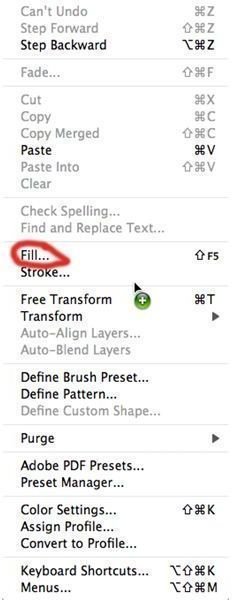
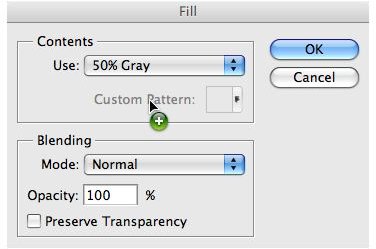
Step 3: Open the Fill dialog box by pressing <Shift> +
-
Make sure in the Fill dialog box that contents is set to 50% gray and blending mode is normal at 100% opacity, and click ok. (Figure 4)
Advertisement -
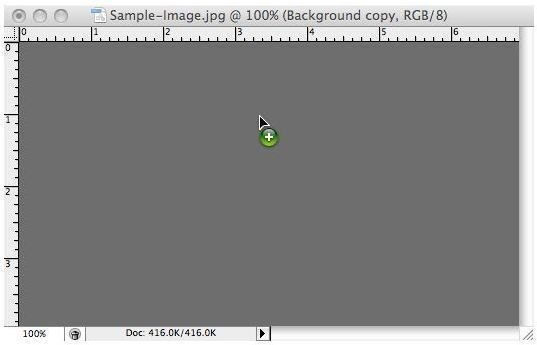
The Layers palette should look like Figure 5 and your photo should be grayed out as in Figure 6.
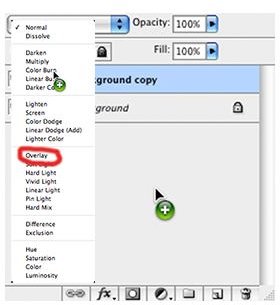
Step 4: In the Layers palette, change the Blending mode to overlay. (Figure 7) Now your picture should look like the original photo.


Step 5: In the Tools palette, select the Paintbrush. (Figure 8)
-
Make sure the Foreground and Background colors are set to black and white. (Figure 9)
Advertisement -
Using the Paintbrush set the F****low and O****pacity to 25%. You can increase or decrease the amount of opacity and flow to suit your needs. (Figure 10)

Now, you are ready to work with the image.
Step 6: With the foreground color set to white (lighten), take the paintbrush and move over the dark areas that you want to lighten.
- After you are finished with the areas you want to lighten, set the foreground color to black (darken) and use the same technique with the light areas that need to be toned down.
Step 7: Open Sample-Image-Done.jpg. There you can see the difference in the two areas that needed correction.
This method gives more subtle control and doesn’t gray out the image.


