Learn How to Move Vector Shapes with this Photoshop Tutorial
What are vector shapes?
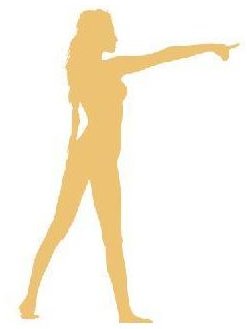
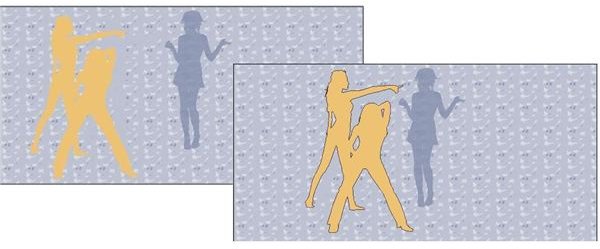
Perhaps you’ve seen an image like the one on the left (click on any image to enlarge). This picture of a woman is actually called a vector shape and this is created through vector tools in Photoshop. Unlike images, vector shapes are not based on pixels so they can very easily be resized without becoming jagged or pixelated. When a vector image is changed in any way, Photoshop redraws the image and fills in the pixels as necessary. Through this process, no quality is lost.
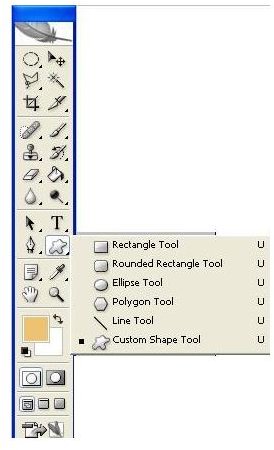
Vector shape tools are found on the tools palette and there are six preset shapes available. If you browse through the internet, you can also download free vector shapes so you won’t have to create one. Vector shapes can be used on their own or you can place them on your images.
Sample of Vector Shapes
Moving vector shapes
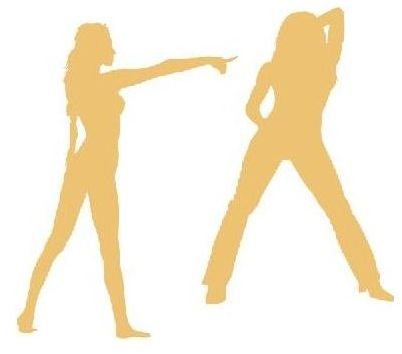
Say you’ve already downloaded custom shapes and you’d like to create a design like the second image shown above, but what you have in Photoshop is like the first image. What do you do?
If these two images were in two separate layers, then you can very easily move them in position using the move tool. However, if they are in a single layer, then you’ll need to select the paths independently. For this task, we will need to activate the path selection tool, which is located in the eighth row of the toolbar (it looks like an arrow head). If you right click on the tool, you will see two options; path selection and direct selection tool.
With the path selection tool, you can’t select anchor points; you can only drag the entire path. If you want to work with the anchor points which make up the path (to reshape it), then you’ll need to use the direct selection tool.
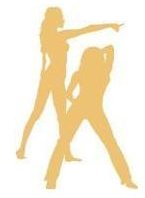
If you wanted to move the two images together, then you need to make sure that the bounding box is turned off and you SHIFT+click on the two paths to select them and drag them wherever you please. There’s also a “combine” button on the options toolbar. Clicking this will merge the two paths into one and you won’t have to reselect again. See the resulting image above. To create the background, I created another from the background and used the bucket tool to paint the pattern.
Using the direct selection tool
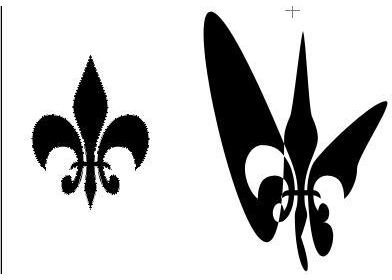
Look at the image on the right. The first one is the original vector shape. Using the direct selection tool, I dragged the anchor points to produce the second image. For this, I used single anchor points, hence the resulting image is not symmetrical.
If you wanted to select multiple points on the path and move them as one, you can still use the usual SHIFT+click to add points.
Sometimes, when you click on a “smooth” anchor point in the image, you will see small rods with dots on the end. These are called Bezler handles and will allow you to modify the shape of the curve. If an anchor point has no handles, you can use CTRL+ALT to change to the cusp tool.
This post is part of the series: Using the Navigation Tools while Editing Images in Adode Photoshop
If you want to create exact selections in Photoshop, you will need to know the easiest ways you can navigate your photos. In this series, you will learn about the different navigation tools and shortcuts and how you can use them to manage your workspace more efficiently!