Learn How to Create Photo Frames with GIMP - Software Tutorial
Adding a frame to a photo is an easy way to add a little polish to an image that might otherwise feel unfinished. While there are quicker ways to create such frames in GIMP, most of them are imprecise and will often result in strips of transparencies and other problems that, though subtle, may detract from the effectiveness of the frame and thus from the quality of the image as a complete whole.
Arguably the easiest way is to just use a script, a plugin that essentially adding another function to GIMP. If you are unfamiliar with scripts, here is a great tutorial for getting started with scripts in general, while here is a free frame script and tutorial for using it.
Without further ado, here’s how to make easy quality frames using a standard version GIMP:
Making The Frame
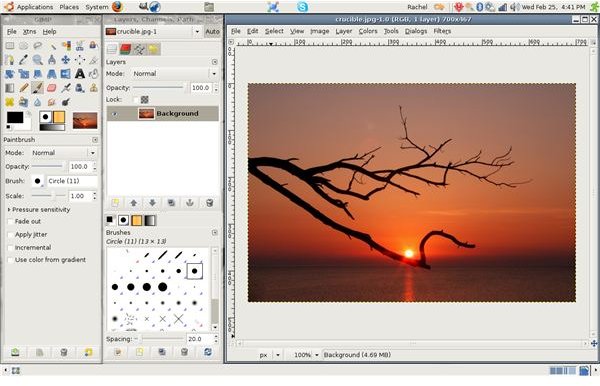
First, open the photo in GIMP and crop it to whatever size you wish. Once you’ve started making the frame, you won’t be able to go change the dimensions of the photo without redoing the entire process, so make sure you’re satisfied with the dimensions before beginning.
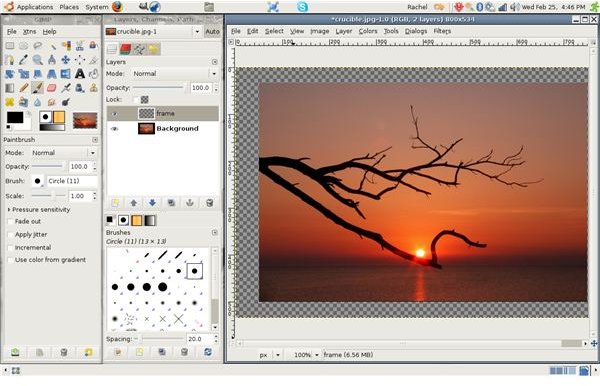
The next step is to increase the canvas size to whatever dimension you would like the frame to be. The proportions and size of the frame are entirely a matter of personal preference and style: this is something to experiment with for yourself and see what you prefer. For the purposes of the tutorial, I will keep things at the standard 4:6 ratio.
GIMP has some useful controls in the canvas module for this, including the “chain” that will keep the canvas true to its original proportions or, if deactivated, allow different proportions. There is also a function that allows you to center the current image within the new canvas, or manually type in where you would like it placed relative to any side.
After you’ve found a canvas size that satisfies you, go ahead and create a new layer. If you’re going to be using multiple layers, it’s a good idea to label it.
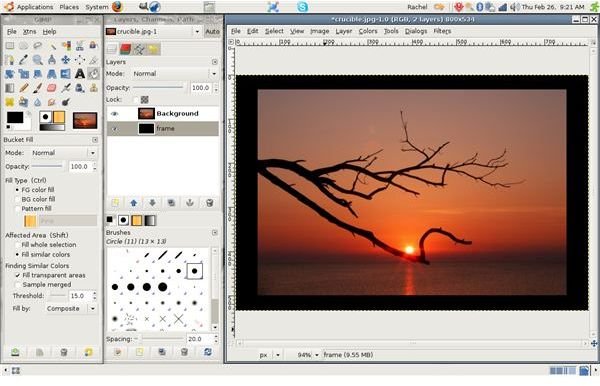
The next bit is two steps: first, switch the order of the frame layer and the original picture layer so the frame layer is now in background. Then select the color that you would like your background to be – again, up to personal preference, though it’s pretty hard to go wrong with black – and, making sure you have the frame layer selected, use the paint bucket to paint the frame.
Variations
Once you’ve got this basic process down, there are few things you can do. The most popular one is to add multiple frames of different sizes and colors, creating a matting effect. Adding in thin, strip-like frames between thicker frames can bring out colors that otherwise the eye might pass over. The colors and proportions you use interrelate in powerful ways to your picture, and exploring the subtleties of this relation can be almost as fun as taking the photo itself.
Alternatively, in the painting phase, you can add different textures and even other images to complement your photo in a unique and creative way—though be careful not to add so much that it distracts! Experiment with making translucent frames, or having rounded or angled corners. Try using wood or concrete textures for something more atmospheric. Creating that perfect frame for your photo is merely a matter of experimentation – so try it!