Look Thinner in Photos with Paint Shop Pro’s Thinify Tool – Photo Editing Tutorial

Look Thinner in Photos
The Thinify Tool is another member of the makeover collection found in Corel Paint Shop Pro Photo X2 that can be used to retouch digital photographs. The primary purpose of this tool is to make subjects in these photos look a few pounds thinner.
In actuality, the Thinify Tool is a special type of warp brush that compresses the pixels of an image in the vicinity of the area to which it is applied. This compression results in the area looking somewhat narrower, or thinner, without losing any of its other details.
Just as in other parts of this series, we’ll demonstrate the usage of the Thinify Tool on this photograph of Sara Groves (not that Ms. Groves needs this adjustment or any of the others we’ve made – this is just a nice, clean photo that works well for explaining Paint Shop Pro’s makeover tools).
(Click any image for a larger view.)
Using the Thinify Tool
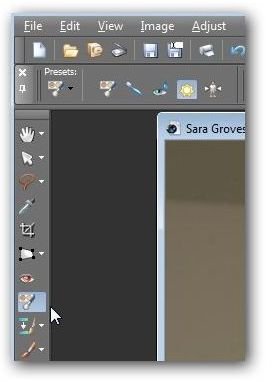
Step 1: Click on the Makeover button on Paint Shop Pro’s side toolbar.
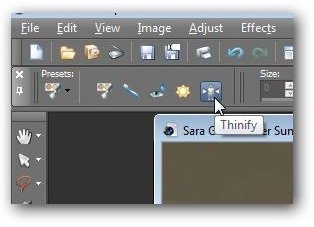
Step 2: Select the Thinify Tool from the Makeover toolbar that can now be seen under Paint Shop Pro’s main toolbar.
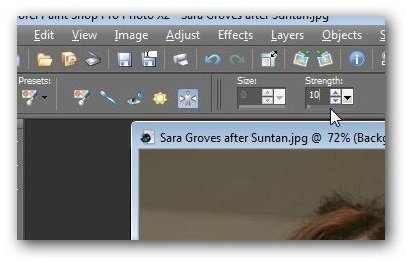
Step 3: Adjust the Strength setting. Note that higher Strength settings will compress more pixels. You might have to play around with this setting to get the results you want, but smaller values tend to work best. Larger Strength values tend to cause very unnatural-looking results and give too much of a “squished” look.
Step 4: Position the cursor over the person in the photo whom you want to make thinner, and click the mouse button to apply.

If the single click doesn’t provide enough of an effect, you may want to try clicking several times at low Strength settings rather than a single time at higher settings. The results in the image below were achieved by setting the Strength at 10 and clicking twice.

Although application of this tool is easy (all you have to do is click), it can take some practice learning how to use it to get desired results. In addition to experimenting with Strength settings and number of clicks, you may also want to try applying the tool to different areas of the photo and see how the results differ.
For more tips and tricks, be sure to check out the other items in Bright Hub’s collection of Paint Shop Pro tutorials and user guides found here on the Digital Photography Channel. Also see our list of the top free Paint Shop Pro plugins that can be used to spice up your digital photos.
This post is part of the series: The Makeover Tools in Paint Shop Pro
With the collection of Makeover Tools found in Corel Paint Shop Pro Photo X2, you can quickly and easily improve the appearance of subjects in your digital photographs. In this series, we’ll take a look at how to use these powerful and fun tools.