How to Use Layers to Edit a Digital Photo in Corel Paint Shop Pro Photo X2 Ultimate
How to Use Layers in Paint Shop Pro
Sometimes, the best way to learn how to do something is to work through an example or project that uses the technique you’re trying to master. That’s what we’ll do here when explaining how to use layers in Paint Shop Pro.
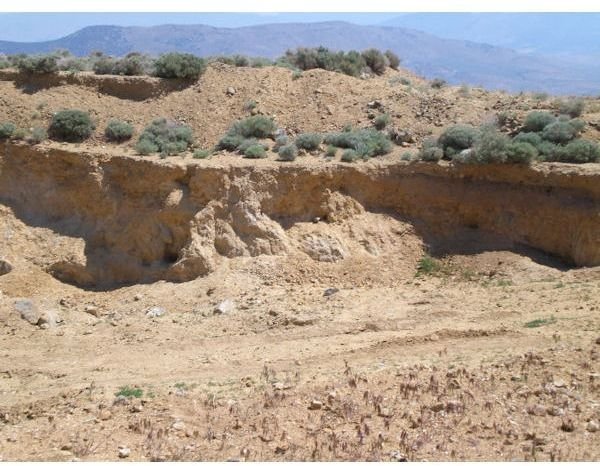
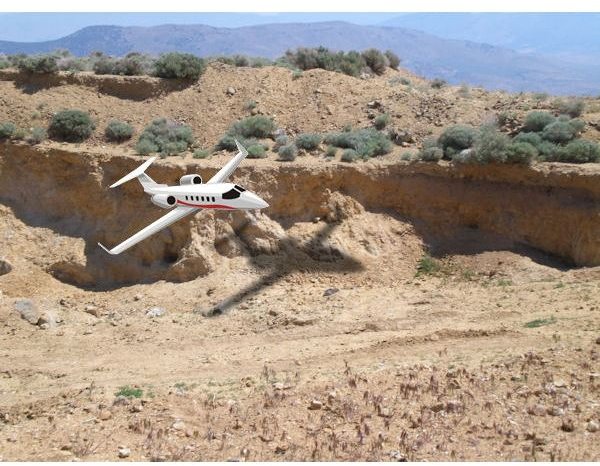
In this project, we’ll start with a digital photo of a desert mountain top. Next, we’ll cover what steps are needed to add in an image of an airplane so that it appears to be flying over the area. The screenshots below show the “before” and “after” of the digital photo editing process. (Click on images for a larger view.)
First, make sure the Layers palette is visible in your workspace. If it’s not and you’re not sure how to access it, see Part 1 of this series.
Step 1: Begin by opening the photo in Paint Shop Pro. Before doing any editing there are a couple of other steps to take. These steps won’t be necessary in every editing project, but it doesn’t hurt to perform them anyway.
First, if your photo is currently a background layer, promote it to a full layer. To do this, right click on the layer in the Layers palette and select Promote Background Layer.
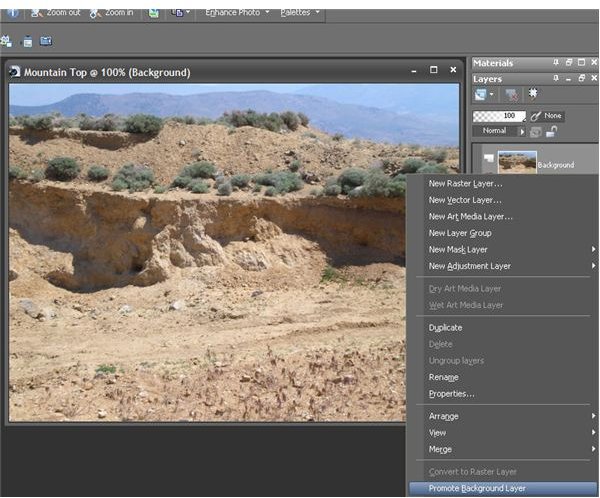
After performing this operation, the single layer of the photo will now be a full raster layer that can be moved above and below other layers.
Next, go ahead and save the photo as a PSPIMAGE file if it’s not already in that format. The PSPIMAGE format will preserve all of the layers that we’ll be creating so they can be individually modified at a later date. If you want to use the finished image in another application, you’ll need to save a copy of the file as a JPEG or other compatible format, but make sure to keep the PSPIMAGE file as well.
To save the photo in this manner, choose Save As from the File menu and then pick PSPIMAGE from the dropdown box next to Save as type.

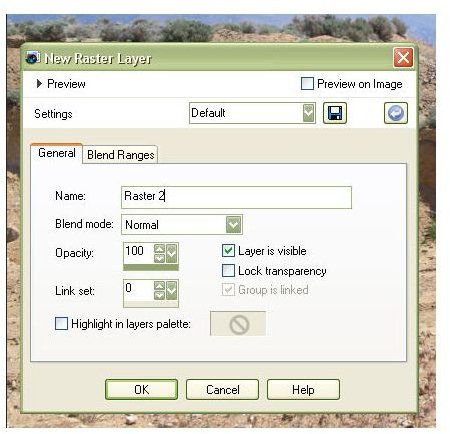
Step 2: Now, we want to add a new raster layer. Right-click anywhere in the Layers palette, and select New Raster Layer.
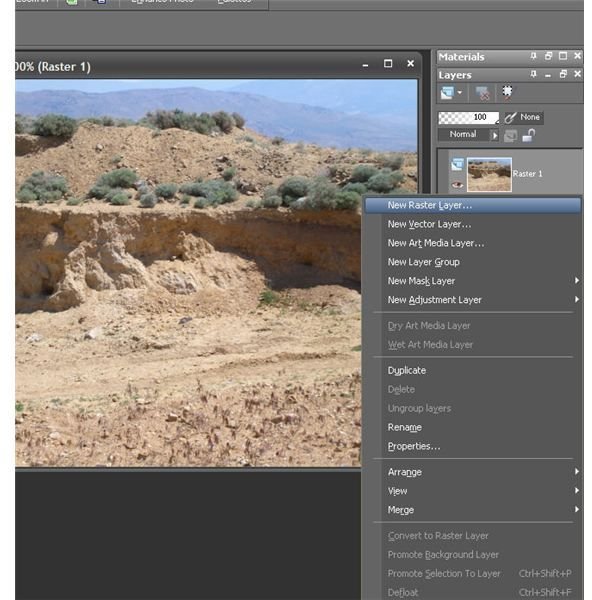
In the New Raster Layer dialog box, just keep the default settings. You can choose to give the new layer a name if you like, but I usually add and delete layers so often that I don’t bother with naming them until I’m sure that I’m going to keep them. Besides, Raster 2 isn’t that bad of a description, right?
Step 3: Click on the Picture Tube Tool. From the Picture Tubes toolbar, select the Airplanes tube. For more information on working with picture tubes, see the article Paint Shop Pro Picture Tubes – The Basics.
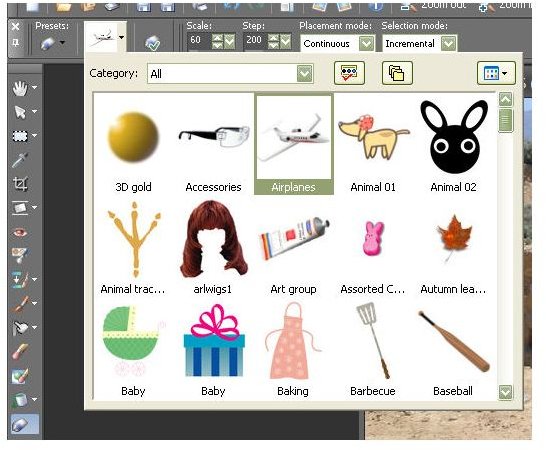
Adjust the scale and other picture tube options as needed.
Step 4: After making sure that the empty raster layer is selected, click on the image to add an airplane from the picture tube. If you don’t like the one that appears or if you want to adjust the size, click Undo and try again. Don’t worry so much about the position of the picture tube image at this time – we’re going to show how to change that in a moment.
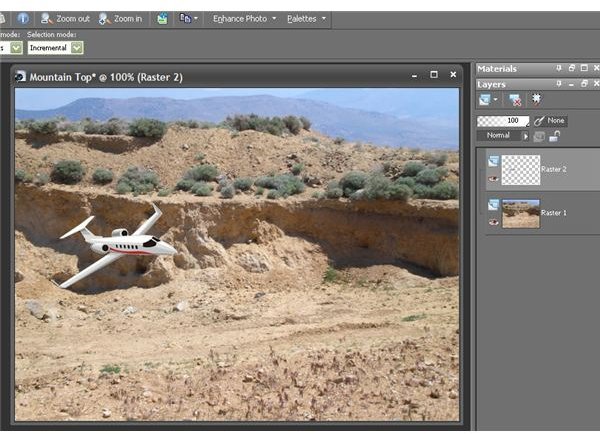
Notice in the Layers palette that the airplane is only visible in the new layer created and not in the layer containing the original photo.
Next: Continue to Page 2 of this article to see how to use other types of layers in this editing project.
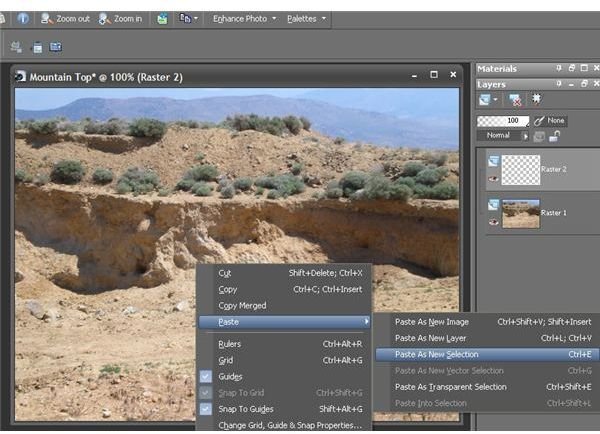
Step 5: Now we want to move the airplane image to a different part of the photo. Right-click on the airplane and select Cut to move the airplane picture to the clipboard.
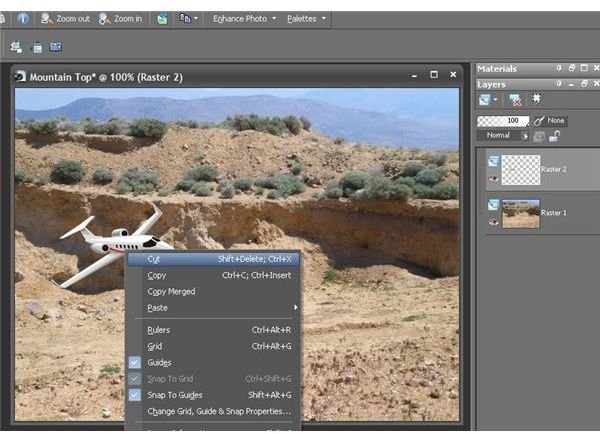
Right-click again anywhere on the image and choose Paste As New Selection.
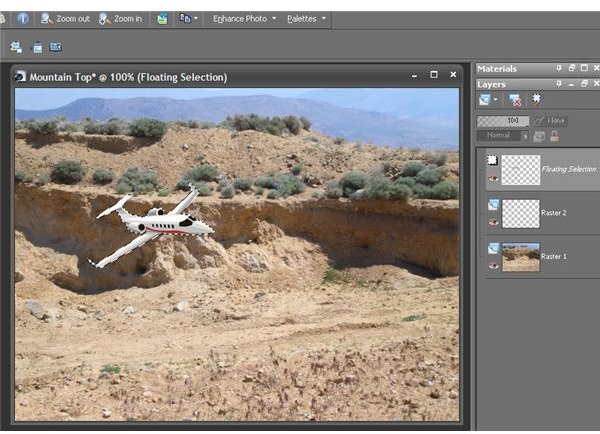
When you do this, the airplane image will turn into a floating selection and you can move it around the layer until you find exactly where you want to position it. When you’ve decided on a location, click the mouse button. Notice how this layer is labeled in the Layers palette.
When done here, choose Select None from the Selections menu on the Paint Shop Pro main toolbar.
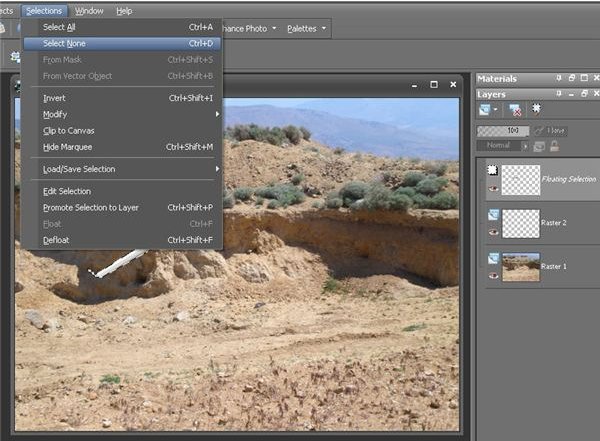
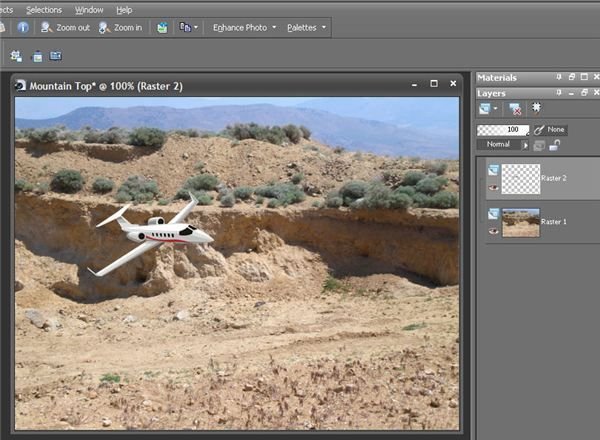
This will lock the image in place on the Raster 2 layer, and the Floating Selection layer will no longer be present.
Step 6: In looking at the image we have created so far, there is one thing noticeably missing. If there were really an airplane flying over the desert mountain on that bright sunny day, it would definitely be casting a shadow of some sort. We can use the Drop Shadow effect of Paint Shop Pro to simulate this. If you’re not familiar with the process of creating a shadow for an object, see the article Give Objects a Drop Shadow in Paint Shop Pro.
We will do something a little different here than in the article where we showed how to create a drop shadow. After choosing all of the options for the shadow, put a check in the box next to Shadow on new layer.
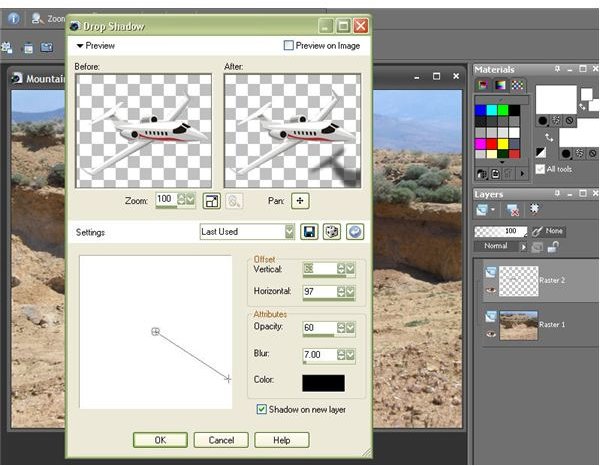
This way, we can always go back later and insert some other object or editing effect between the airplane and its shadow if we want.
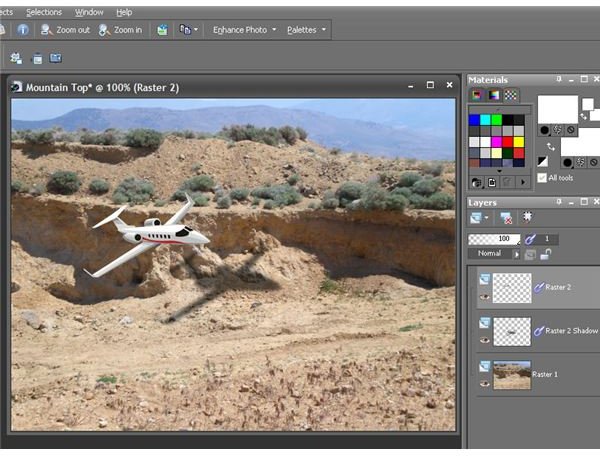
Take a look at the Layers palette now, and notice how Raster 2 and Raster 2 Shadow have a small “chain” symbol in their description. This indicates that the two layers are linked. We’ll talk more about linked layers in a later article in this series, but for now just note that you can unlink them at any time by clicking on the Layer Link Toggle in the Layers palette.
Now, the only thing left to do is save the finished image. As mentioned earlier, it’s a good idea to save this project in two ways. First, save it as a PSPIMAGE so you can retain the individual layers and edit them at a later date if needed. However, if you want to email or publish your final image, you’ll also need a JPEG file.
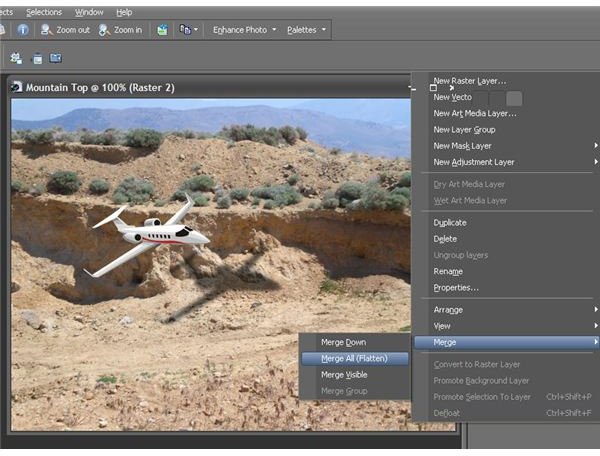
Before saving as a JPEG, go ahead and merge the layers. To do this, right-click anywhere on the Layers palette, select Merge, and then choose Merge All (Flatten).
After doing this, only one Background layer will be visible in the Layers palette.
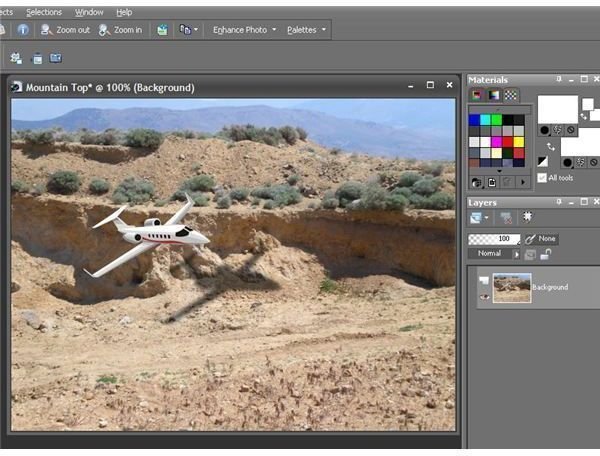
Now, you can save this image as a JPEG or in any other standard format to make it compatible with other software applications.
Don’t forget to take a look at the other Paint Shop Pro user guides available on Bright Hub’s Digital Photography Channel!
This post is part of the series: Working with Layers in Corel Paint Shop Pro Photo X2 Ultimate
What are layers and how can they be used to enhance your Paint Shop Pro digital photo editing projects? We’ll investigate these questions and more.