Home Photo Studio: How to Make a Home Based Photography Studio
Studio Basics
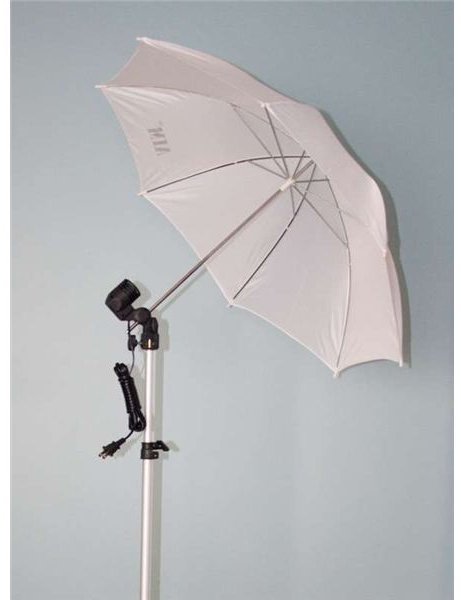
When it comes to studios, it can be easy to get lost in the myriad of features and equipment that can be included. However, at its most basic level, a studio is about just one thing: light. A studio allows the photographer to control the lighting of the subject which allows the photographer to get the best possible shot. Everything else, from props, to backdrops, is “extra,” something that a photographer might like to have, but not something that will stand in the way of a great photograph.
Controlling light comes down to just two things: blocking out unwanted light and adding in desired lighting.
Blocking Out Unwanted Light
The first step in creating your home based studio is to evaluate potential sources of light. Assuming a standard room, this will be the windows, and potentially the door. However, this may also include a skylight, or other light feature.
Depending upon the source and quality of the light, there may be occasions when using the light is warranted. This is particularly true in the case of a window that receives indirect sunlight. Many photography resources mention a north facing window for this purpose, but here in the northern hemisphere, most windows spend at least part of the day receiving indirect sunlight (western windows in the morning for example). However, we want using that light to be a choice, not a requirement, so it is necessary to have a way to block out the light coming from the windows and doors.
If possible, consider installing light blocking shades to eliminate undesirable light sources. Closing the door should be sufficient for most doorways. Keep in mind that there is no need to make the room pitch black. As long as no significantly bright light is cascading in, the man made lights installed in the studio should overwhelm any diffuse light entering the room.
Once we have eliminated all the unwanted light, it is time to setup our studio to provide all the light we do want for our home-based photography studio.
Choosing the Right Room
Rooms with smaller windows will require less extreme measures to block out undesirable light. In some homes, a basement room may be the best option if it has small windows. Likewise, an attic room may have small windows that are easily blocked. However, if you are going to be using studio lighting the attic may not be a wise choice, especially in summer time. Even a simplified portrait lighting setup can generate a lot of heat over the time of an average photo session.
Finally, consider that setting up a home photo studio takes time and the placement of equipment may not be conducive to the traffic patterns and usage of all rooms. Be sure to choose a room that is seldom used or that can be shut off for extended periods of time.
References
Grey, Christopher. Master Lighting Guide for Portrait Photographers. Amherst Media, Inc., 2004.
This post is part of the series: Home Based Photography Studio
Setting up a simple and inexpensive photography studio in your home can help take your photography to the next level. Here is what you need to know.