Learn How to Make Website Banners with this Paint Shop Pro Tutorial
It’s pretty easy nowadays to start a website or blog using a generic template, but it can be a little harder to turn that template into something that doesn’t look so… common. However, if you have your own personal digital photos, you can easily make a custom page banner with Corel Paint Shop Pro Photo X2 Ultimate. Even this tiny change can make your web creation stand out in a crowd.
How to Create a Page Banner
Step 1: Before we actually get to the photo editing, it’s important to figure out what dimensions you want to use for your page banner. If you’re creating a website or blog template from scratch, you’ve got a little leeway here. However, if you’re planning to substitute this banner for a pre-existing one and you don’t want to make any other changes to the page, you’ll need to create something that has the exact same dimensions as the current banner.
For the purposes of this tutorial, we’ll assume we want to create a page banner that’s 850 pixels wide by 130 pixels high.
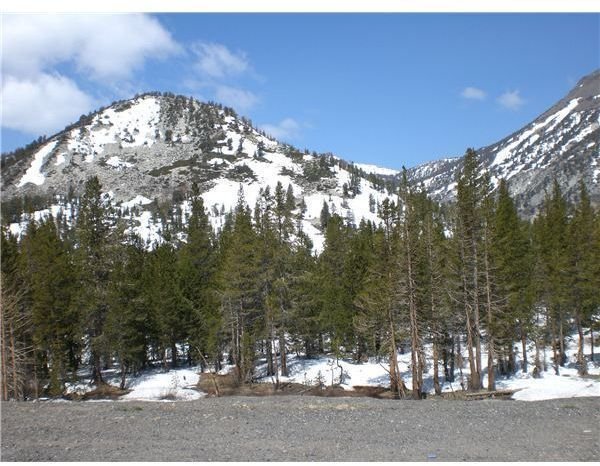
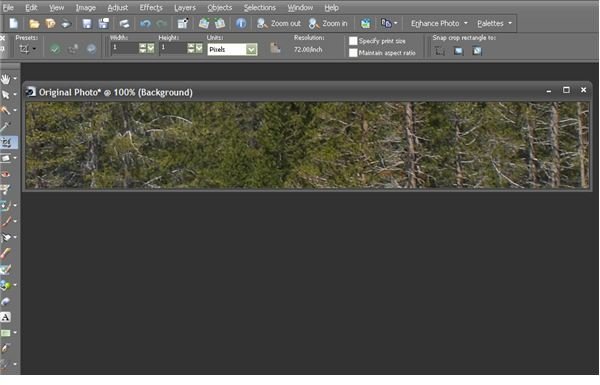
Step 2: Open the digital photo that you want to base your banner on in Paint Shop Pro. (Click the image below for a larger view.)
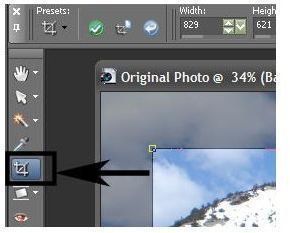
Step 3: Select the Crop Tool.
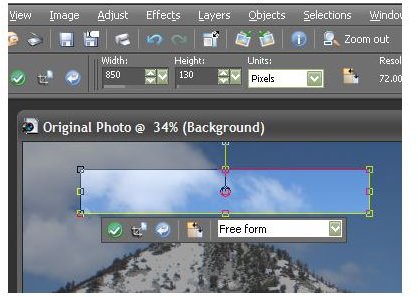
Step 4: With this tool selected, the Crop toolbar will now appear right under the main toolbar of Paint Shop Pro. Change the values for width and height so that they match those of your desired final image.
Step 5: You’ll now see an outline of the cropping box on your photograph. If you think that the box isn’t going to be big enough to hold everything you want to crop from your photo, resize the image and make it smaller. You can also try to resize the image to larger dimensions if the box looks too big, but you may end up with a poor resolution. It doesn’t hurt to try, though! You can always undo the resizing if it doesn’t turn out as you hoped.
Note: It’s important to resize the image rather than adjust the cropping so that your final creation is the exact dimensions you need it to be.
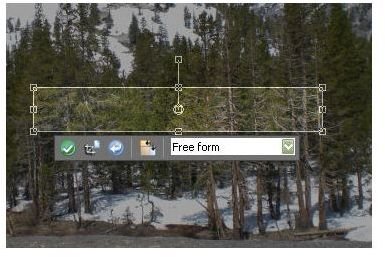
Step 6: Drag the cropping box around on the photo until you’ve covered the area you want to use as your page banner background.
Step 7: Apply the cropping. This will give us a basic page banner.
From here, you can continue to dress up your page banner by adding text or picture tube art, but it’s always a good idea to save the photo at this stage. Not only will that make it easier to start over if you have to walk away from your project for a bit, but it could save tons of trouble later when you’re revamping your blog or web site and want to keep the same background but use a different title or message.
Be sure to check out the other articles in the Digital Photography Channel’s collection of Paint Shop Pro tips and tricks.