Learn How to Remove Blemishes & Wrinkles with this Adobe Photoshop Tutorial
Removing Blemishes with Photoshop
The tools that we’ll use in this Photoshop tutorial, when removing blemishes in portraits, will be the Clone Stamp Tool and the Spot Healing Brush. These two powerful tools can do wonders when it comes to removing wrinkles, hair, moles, or any other retouching of skin imperfections. We must remember that our goal is to remove such blemishes without damaging or changing the original color of the skin. The final product must look as if we never changed anything.
Using the Clone Stamp Tool
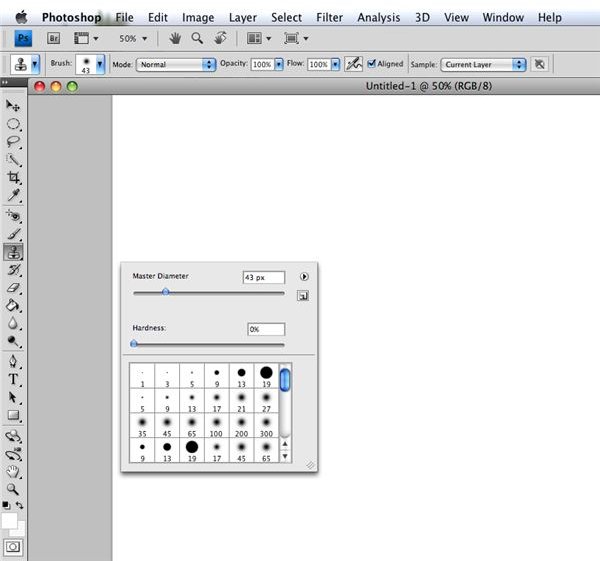
With Photoshop’s Clone Stamp Tool, you essentially choose an area that is without blemish to copy over the place that has the imperfection. Below, the Clone Stamp Tool is selected, and the box to the right allow us to choose the diameter and hardness of the tool. The size of the tool will be determined by the size of the blemish.
This tool has a myriad of uses, but when we are trying to remove skin blemishes, we want to use the blend mode labelled Lighten. Below is a picture of the drop down menu.
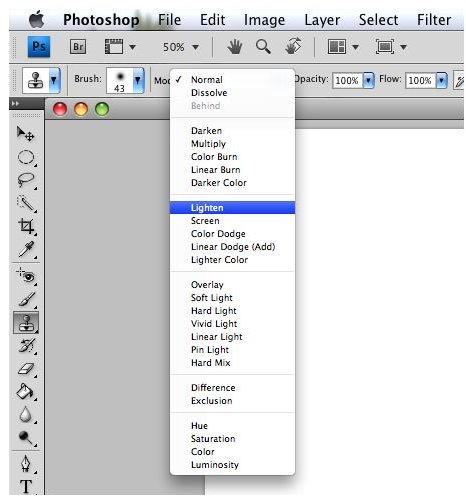
By choosing Lighten, the Clone Stamp Tool will only change and edit the blemish, which is darker than the rest of the skin. In this way, the lighter pixels will remain the same.
The next step is to choose the area to copy from. Using the tool, hold down the Option/Alt key and the tool will turn into an icon that resembles the crosshairs of a sight. Click on the chosen area that is clean, and the clone tool will use that as its template to copy over.
After that, removing the blemish is simply a matter of positioning the Clone Stamp Tool over the blemish and clicking. Instantly, the imperfection will be obliterated and replaced by the clean sample you selected.
Using the Spot Healing Brush
The Spot Healing Brush is much simpler to use than the Clone Stamp Tool because Photoshop automatically chooses what the “clean” area is that will replace the blemish. After choosing the Spot Healing Brush from the toolbox, choose a brush diameter that is just slightly larger than the blemish you want to remove. With this tool, Photoshop analyzes the pixels around the blemish, and uses that to replace the imperfection. If it’s a tricky area with different colors or dark shadows, you may run into issues with the Spot Healing Brush. In that case, you can always use the regular Healing Brush in which you will choose the area it heals from. But, the Spot Healing Brush is simple, quick, and works great for removing small blemishes from otherwise clean skin.
After selecting this tool, simply click on the blemish, and it will disappear. As long as the skin around the image is of similar colors, the imperfection should be removed and no one will ever know the difference.
This post is part of the series: Learning Photoshop - Lessons for Photographers
These articles are part of a series of tutorials in Adobe Photoshop, geared specifically for the digital photographer. These articles will include how-to lessons, tricks of the trade, and useful shortcuts. Learn to utilize the world’s most advanced, powerful photo editing software.
- How to Crop a Digital Photo Using Adobe Photoshop
- How to Convert Your Photos to Black and White in Photoshop CS3
- How to Remove Red Eye Using Adobe Photoshop CS3
- How to Remove Blemishes using Photoshop CS3 & CS4
- How to Make a Web Photo Gallery Using Photoshop CS3 & CS4
- How to Convert RAW to JPEG Using Photoshop CS3 & CS4