Digital Photography Tutorial: Tips on Posing People for Location Photography
How to Pose People On Location
Location photography involves capturing people at a particular place. This can involve capturing people at their homes, on vacation or even out in the wilds. It basically means anywhere, but the studio. But, that doesn’t mean that you can’t shoot people as if they are in a studio. So, you are probably asking yourself a question: how do you go about posing people for location photography?
Standard Posing Tips
Well, it’s very similar to portrait photography sessions. The goal is to create dramatic images using a person’s body and maybe some props. There are always some standard posing tips that work for all types of portrait photographs, including location photography:
-
Do not rest a person’s head on their fist. It gives the image a hard look, and it’s over-done. Instead, place the palms together, or have the person rest their head against a prop.
-
Have the body face one direction and the face another.
-
If you are photographing more than one person in the same frame, the clothing should be the same tone (cold or warm).
-
Try to avoid brightly-colored clothing. If you can’t, then place that person on the middle of the group.
-
Don’t make a pyramid with people’s heights. Mix up people of different heights together.
Different Posing Ideas
OK. While these are standard posing tips, you may also want to have some fun. A couple lying in the grass in front of an amazing background makes for a wonderful shot. To take this shot, place the woman in front of the man, and have each person on their side. You can either pull back far enough so you get both people and the background in the shot. Or, use a platform covered with a green material that closely matches the grass. This rises up the couple higher, and makes it easier to get the background.
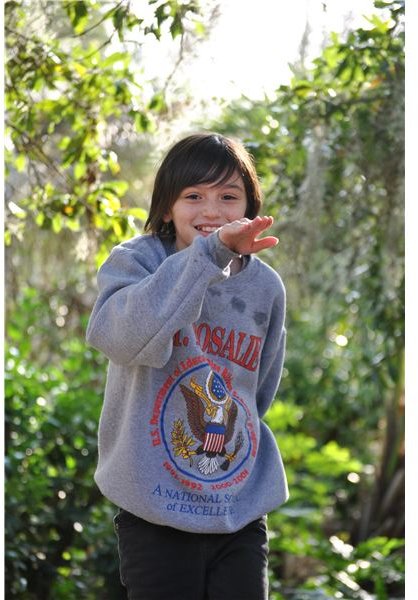
Silhouettes make wonderful portraits, especially in exotic locations. To create silhouettes, you must turn off the flash and backlight the subject. The sun behind the subject is the best way to do this. Capture a single person from the side with the arms loose at the sides and the head slightly down. Children look great with their back to the camera with their hands up or on their hips. Couples holding each other work well too.
Some of the best poses often come from un-posed shots. During a photography session, say you’re taking a break, and then keep shooting with the shutter release. These shots often come out wonderful since your subject is not self-conscious and is just relaxing or joking.
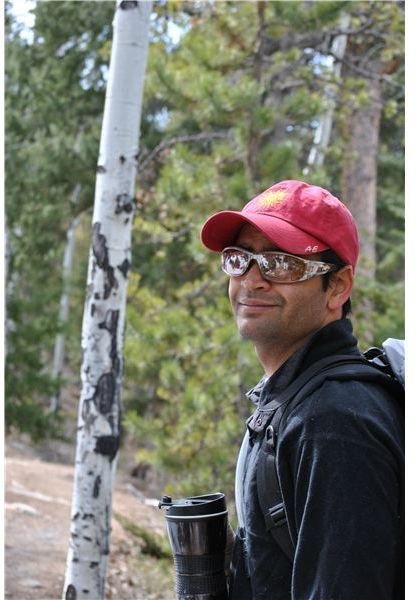
Equipment
Always setup your camera on a tripod. Use a fill flash during the day to reduce shadows. In the morning and evening hours, adjust the ISO to higher setting, and just use natural lighting. It looks best for photographs taking during these times of day.
Do Some Research
The way to find good poses is to look through every magazine that you can find, and search for great poses. Create a file of the poses. Then, experiment with them. You never know what will work for your subject, but it’s good to have a file of ideas on hand. Don’t be afraid to throw in a few props, especially with children. And, always have makeup and combs on hand to fix your subjects.
References
PhotographyTips.com, https://www.photographytips.com/page.cfm/371
Sean T. Noonan Photography, https://www.stnphotography.com/tips.html#positioning
Image Source: Author