How to Photograph Snow: Problems Encountered and Their Solutions
Snow can be a truly inspiring photo-subject and extremely rewarding if done the right way. But if one were to compile a list of the trickiest of landscapes to photograph, snow would probably rate the highest. Snow can reflect sunlight with great intensity, thereby acting as a second light source, which can throw your camera light meter off by a mile. And on overcast days, the gray skies and gray snow offers no contrast at all! Colors particularly tend to get messed up in such situations. But that’s not to say that great photos cannot be taken of the snow. Its just a matter of taking a few precautions.
The Easy Way: Use the ‘Snow’ Mode
Many modern cameras come with a ‘Snow’ or ‘Winter’ setting. Using this compensates quite a bit for the over-exposure brought about by the light-meter, and can be quite useful to get well-exposed images, especially for the beginner. But the flip-side is that one cannot control aperture and shutter speed and hence would not be able to use one’s creativity to the fullest. Again, not all cameras offer such a mode. So for those whose cameras do not offer a ‘Snow’ mode, or who seek more control over their shots and really want to learn how to photograph snow, the following tips would help accomplish the mission just as good, or maybe even better!
There are three main areas where snow will deceive your camera:
1. Contrast:
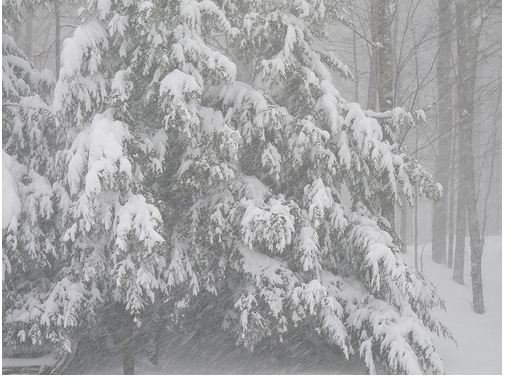
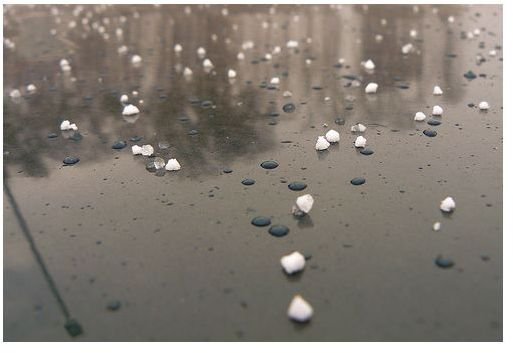
On a bright sunny day, snow can reflect a great deal of sunlight, making it very difficult to obtain contrast against other foreground subjects, especially those which are of a lighter shade. Similarly on an overcast day, the gray, dull sky and the snow too offer very little contrast.
Image courtesy: doortoriver
2. Exposure:
Exposure is an issue under both overcast as well as bright sunny conditions.
- If the day is sunny, the snow would reflect sunlight and appear 1-2 stops brighter than what a routine camera meter expects to see. It feels the frame is over-exposed, and hence, quite un-smartly, compensates by lowering exposure. The result is that the bright snowy scene in front of you transforms into a dull gray scene in your camera. Shot ruined. Similarly if the sky is overcast, the camera meter may not be smart enough to figure out that the snow you’re shooting is white snow under dimmer lighting rather than a gray object under proper lighting. And most camera meters go with the latter option and you end up getting gray snow instead of white. The cure here is to increase EV by a stop or so, to get the color of snow correct.
- Likewise, a darker object against the background of a bright snow comes out very dark or underexposed. One has to carefully meter for exposure on the darker object (preferably using spot metering) to prevent the camera from automatically metering the bright snow. Else, lowering EV compensation by around 1 stop should also work. Do take care not to under-expose, else the snow will look gray instead of white.
As a general rule, if using an SLR, use ‘spot’ or ’evaluative’ metering if your snow scene has areas of contrast - dark and bright - in it. But if its more or less evenly bright, ‘center weighted average’ metering may give you appropriate exposure.
3. Lighting:
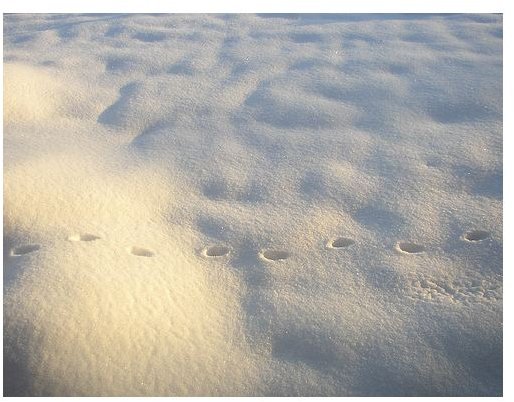
As snow can quite brightly reflect sunlight, you may end up losing surface texture and get a flat, over-exposed image. Try to place your subject at a 45-90 degree angle, to get the surface texture correct. Bright sunlight also tends to upset the white-balance and one ends up getting a bluish cast on the white snow. Manually setting the white balance while pointing to a clean white patch of snow should improve results quite a lot.
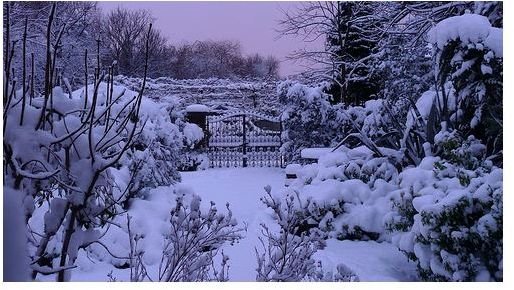
Always remember to watch your histogram while shooting snow, and if you’re getting blown highlights, reduce exposure, shutter speed or ISO. You may also bracket for exposure and use HDR software to get a truly unique snow photo.
Image courtesy:wolfiewolf
Take Care of Yourself and Your Equipment
- Wear warm clothes suitable for the climate. It really wont be much fun shooting photos if you’re battling frostbite!
- Wear a pair of warm but thin gloves so that you can handle your camera buttons and dials cleanly. Beliee me you’ll have a tough time doing the same with a pair of fluffy fur gloves on. There are fingerless gloves available with fold-back mitten tops. They may work really well, as you can keep your fingers warm in between your shots.
- Make sure the camera is secured tightly and wont fall into the wet snow. You may either wear it around your neck, fix it on a firm tripod or simply cover it with a waterproof casing. There are a range of such stuff available at camera stores.
- Due to the cold, the lens may fog up. Keep a lint-free tissue wipe ready for clearing your lenses.
- Batteries tend to die faster in the cold. Make sure you have spares and they’re kept warm, preferably in your inner pocket.
Tips on Unique Snow Subjects
- Try out macro photography. Zoom in close on a tiny object, say a flake of snow on a leaf. They make for really unique snow images
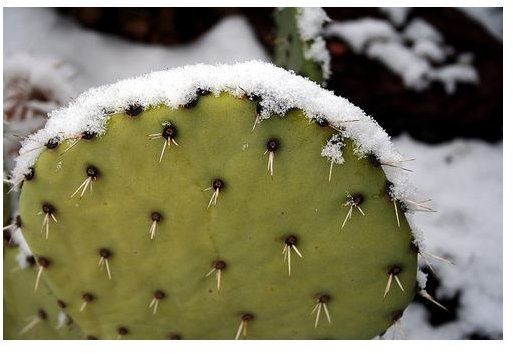
- Try to capture non-native animals/plants on snow - like your pet dog, or a cactus with snow on it.
- To capture a ‘glistening’ effect on snow, try using flash while shooting a close-up image of an object on snow.
- Try low angle shots, which would give an exaggerated effect to otherwise regular or small objects.
- Use a large aperture to shorten your depth-of-field and get the background out of focus.
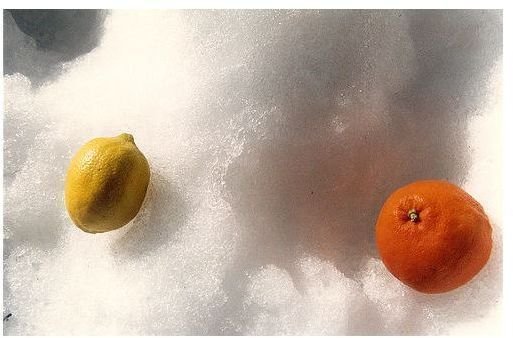
- Try shooting black and white. The effect can really be stunning. Likewise, have an object of a single, bright colour (red and blue work really well) against a fully white, snow background.
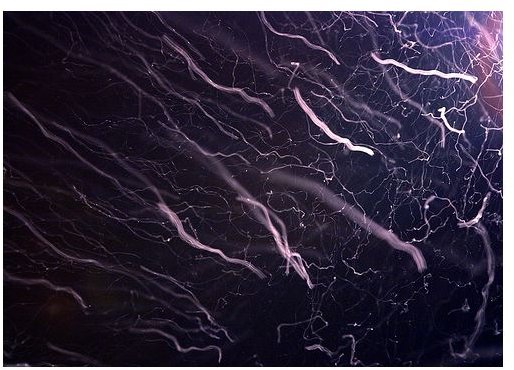
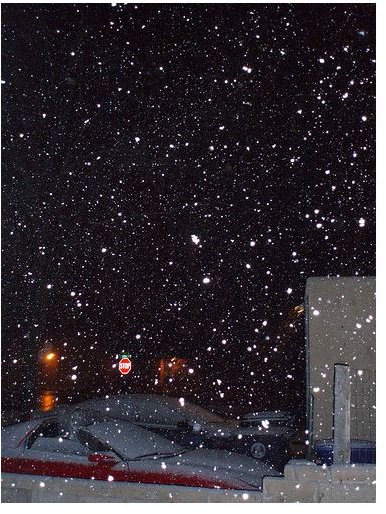
- Shutter speed: Playing around with shutter speed is fun while shooting falling snow. A slow shutter speed will help you get a streak or a flake-trail whereas a fast speed will freeze the flakes mid-air and give you an image speckled with tiny snowflakes. Both are interesting compositions to experiment with. One can also use a flash to freeze flakes mid-air.
- Use the golden hours to photograph. The golden hue of the rising or setting sun, long shadows and soft light will lend colour, contrast and texture to your photographs.
Images
Images courtesy : cogdogblog, danagraves,cursedthing,Per Ola Wiberg Powi, Andrew Morell Photography, cjc4454
There’s absolutely no dearth of opportunity that snow offers for a creative photographer. Just remember the basic precautions on how to photograph snow mentioned in this article and I’m sure you’ll be able to capture some really unique shots.