Soundtrack Pro Tutorial: Removing Noise in Soundtrack Pro With a Noise Print
Removing Noise in Soundtrack Pro
Soundtrack Pro acts as a full service audio mixing program within the Final Cut Studio in a way that will primarily act with Final Cut Pro. This allows projects within Final Cut Pro to have a natural audio workflow where audio can be cleaned up and mixed so that it will be usable for video projects. Removing noise in Soundtrack Pro is one of the main requests, as recording field audio is never an easy proposition, and background noise is almost inevitable. If you are looking for a way of removing noise in Soundtrack Pro you will usually want to use the Soundtrack Pro noise print, which identifies a specific sound for removal. Here is a quick tutorial on how to set a Soundtrack Pro noise print so that you can attempt to remove the noise.
Noise Print and Noise Reduction
Once you have sent your audio track from Final Cut Pro over to Soundtrack Pro you will see it in the Timeline, and
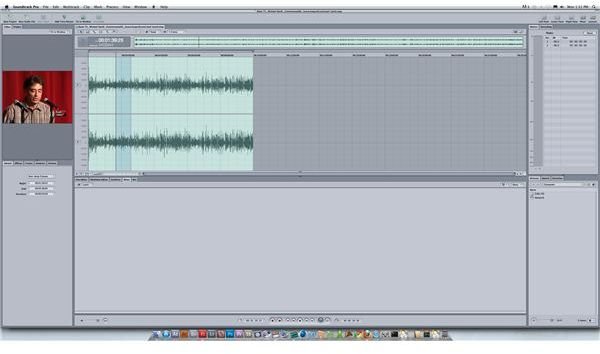
you will want to make sure you send over the largest section of the base footage so that you can alter all of it and not just select clips.
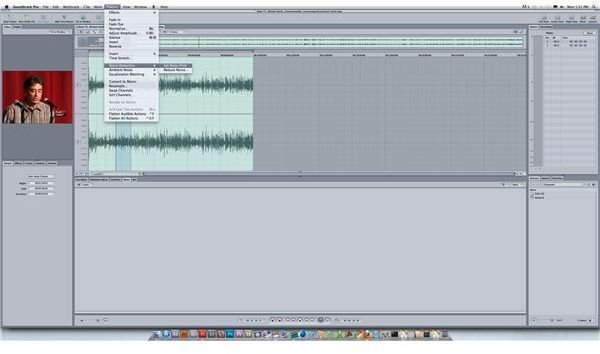
From here you will want to look for gaps in the dialogue and sound effect spots, which will be where the base background noise will be. The idea of setting a noise print means that you are going to isolate a certain waveform for that unintended background noise for removal. In between intended sounds will be the perfect segment of just the background noise, and you want to highlight that. Go to Process and then down to Reduce Noise, which is directly above Ambient Noise. When the two options come up
from there you will select Set Noise Print.
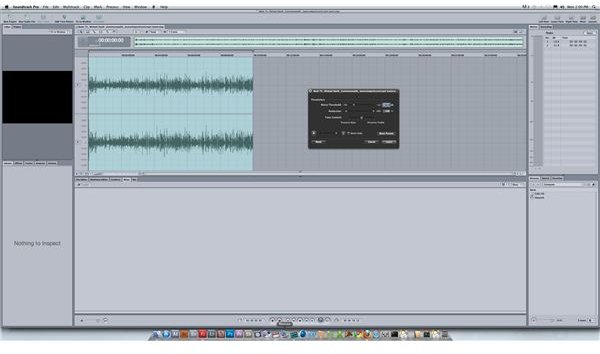
This will allow the “noise print” to be set, which identifies what the noise is exactly in your file. From here, you will then go back into Process and Reduce Noise, but now you will select Reduce Noise to adjust the sound. This will bring up a working screen where you can adjust the mix according to the elimination of that specific noise. Though you have the ability to just eliminate the sound altogether, you will likely want to work at adjusting the sound manually until you get the adequate amount of the sound from the noise print down. This can also be done with different types of EQ, such as a high pass or low pass filter.
Use the Reduce Noise over the whole audio track, employing the noise print you got just from that single segment. This will allow you to remove the select noise from all of the sound. Try not to overdo this because you are simply removing certain tones. Many of these tones will also be present in your dialogue and so removing noise in Soundtrack Pro with the noise print will affect the sound in your project and will likely make it more hollow and less natural.
References
Source: Author’s own experience.