Windows Phone 7 Wi-Fi, Bluetooth and USB Connectivity

Using Windows Phone Connectivity Options
One of the great things about smartphones is the way they allow us to remain connected while we’re on the move. They’ve come a long way since Palm Pilots and other PDA-style devices and now offer a wealth of apps, features, integration with social networks and, of course, games.
These types of phone are more like mini multi-media centers, with browsing and e-mail thrown in, and for all of this they naturally require a mobile Internet or Wi-Fi connection.
As with all sophisticated mobile platforms, Windows Phone 7 comes with various connectivity options, meaning that you can stay online and receive e-mails or browse the web whenever you like!
Windows Phone 7 Wi-Fi Connectivity
The best way to experience the web on any device is via Wi-Fi, and naturally Windows Phone 7 allows you to easily connect to wireless networks.
In order to toggle wireless networking, go to Settings > WiFi and flick the slider from Off to On. Your handset will then start scanning for available networks nearby; tap one of these to continue, and enter the password for the network on the next screen. You can also choose to Show password to ensure that you’re entering it correctly as well as check the various IP addresses before tapping Done to save the details.
On the main Wi-Fi screen you can also check a box to instruct Windows Phone to notify you when new networks are found.
In addition, using wireless networking on your phone on the same home network as a computer running the Zune software means you don’t have to plug in your USB cable to sync – just activate Wireless Sync in Zune!
Mobile Internet from Your Mobile Network
Probably the most common way to experience the Internet while you’re on the move is with the connection provided by your mobile network.
The various settings for this can be checked and altered via Settings > Mobile Network. Initially this screen will inform you what the active network is, as well as offering a switch to enable and disable your Data connection. Below this are the Data roaming options, with a choice of Roam and Don’t Roam; the first will lead to extra data charges when in a different territory, while the second will disable your data connection when you travel.
Also accessed in this screen is the 3G connection setting, which can be switched On to Use 3G connection when available. Network selection is Automatic by default although you can also Add APN to add further access point choices.
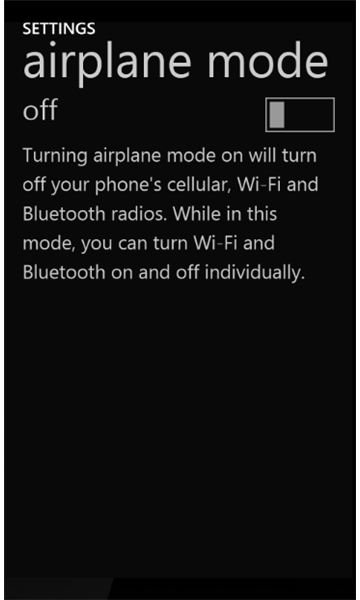
Additionally you can disable all connectivity on your phone by enabling Flight Mode. This can be done via Settings > Flight Mode, where all you need to do is flick the slider from Off to On. Disabling Flight Mode will require you to enter your SIM card PIN number if you have one set up.
Bluetooth and USB
Also available via the Settings menu is the Bluetooth configuration screen, where you can toggle Bluetooth connectivity off and on, making your phone discoverable while it searches for connections.
Bluetooth is provided in Windows Phone 7 as a means to connect a hands-free kit for voice commands and phone calls rather than as a way to share data with other similarly equipped phones, so you should have a headset that is activated and ready to use when enabling Bluetooth.
Note that you can also browse the web via your PC’s Internet connection when your Windows Phone 7 handset is connected via USB.
References
References and screenshots from Windows Phone 7.