How to Convert Videos for an iPhone
Introduction to iPhone Video
The MPEG 4 video format has been used for Apple products since the iPod video was first released. The MPEG 4 codec for iPhone is slightly different than the rest of the iPod video formats though. So if you have a movie in WMV, MPEG 1, AVI, or MOV format, you’ll have to convert those videos to the MPEG 4 format with special video converting software.
Get the Program
The program that you’ll use to convert your videos to the iPhone format can be found by clicking here. Before we continue, you should download and install it. The software is free so you don’t have to worry about paying for it. The software is known as Videora iPhone Converter and is made by a company called Red Kawa. This company specializes in making software that converts videos for playback on other devices. Once the software is installed, launch the program so you can start the conversion process.
Step 1: Getting your Video Ready
When you launch the program you’ll be greeted with a welcome screen. The first step in the process is to click on the “Video File” button under the word “Convert” on the left side of the screen.
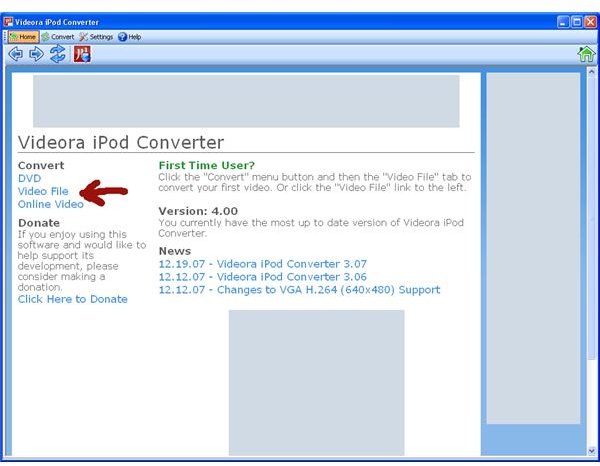
This will take you to the conversion screen where you’ll select “Normal mode.”
Step 2: Finding your Video
On the conversion screen at the bottom, you’ll see a button labeled “Select file.” Click this button, and use the window that opens to find your video you want to convert. After you’ve selected your video, you’ll need to choose the output folder or where you want your video to be saved. When you select that click on the button labeled “Next” in the middle of the screen, and the last thing you have to do after that is select a title for your video. Then, just click the “Next” button.

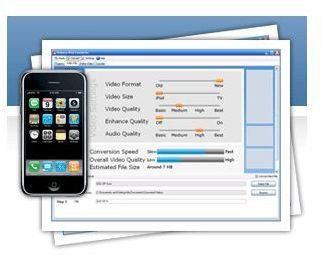
Step 3: Choosing your settings
The next screen will allow you to choose some various settings for your video conversion.
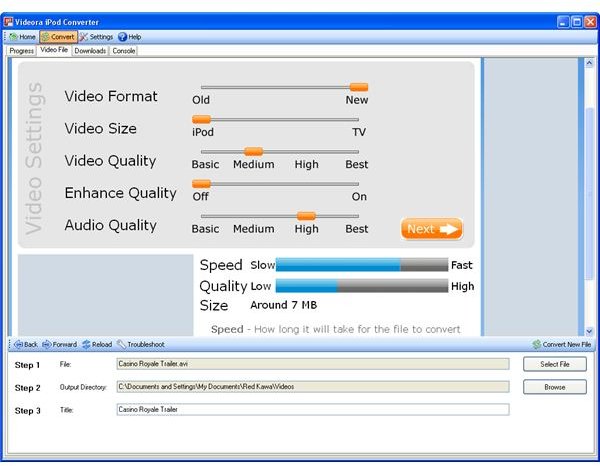
You can select what quality you want your video and audio, your video size, and finally your video format. When you’ve got your settings as you want them, click on the “Next” button.
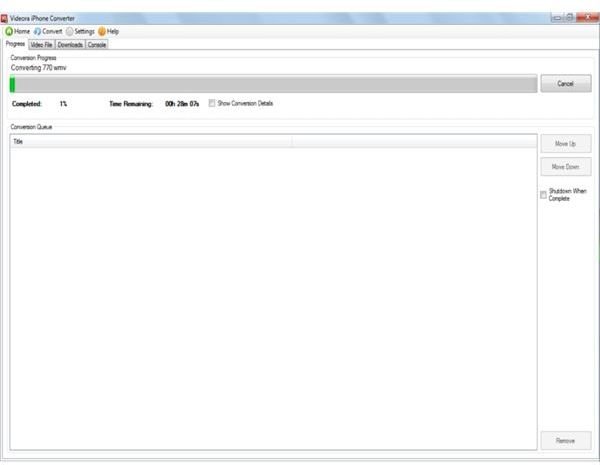
Step 4: The Conversion Process
All that’s left to do now is to click the “Start converting” button. It will take you to the conversion progress screen, where it will present you with a progress bar, and an estimated time on how long the conversion has left.
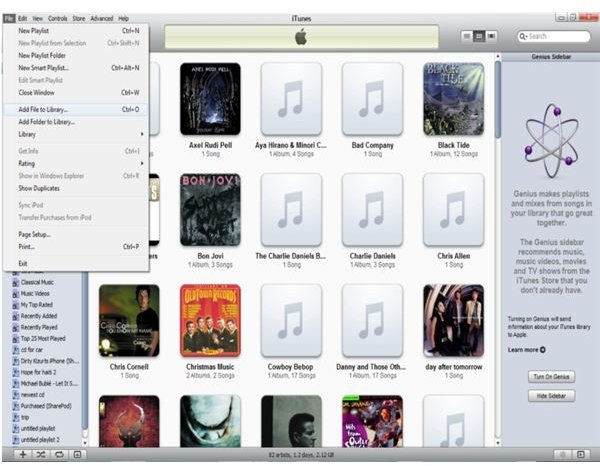
Step 5: Importing the Video into iTunes
When the video is finished converting, close out of the program and launch iTunes. This is the program Apple uses to manage the data on iPhones, and this includes video files. If you don’t have iTunes, you can download it here. In iTunes, click on “File > Add file to library.” In the window that pops up, find where you saved your converted video you made in the previous steps. It will then import your video to the iTunes library.
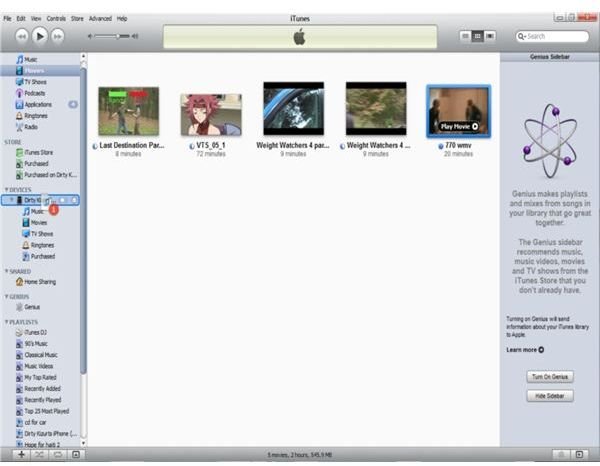
Step 6: Putting the Video on the iPhone
In iTunes, find the video you just imported into the library, and drag it to your iPhone on the left side of the iTunes screen. It will then add that video to your iPhone.
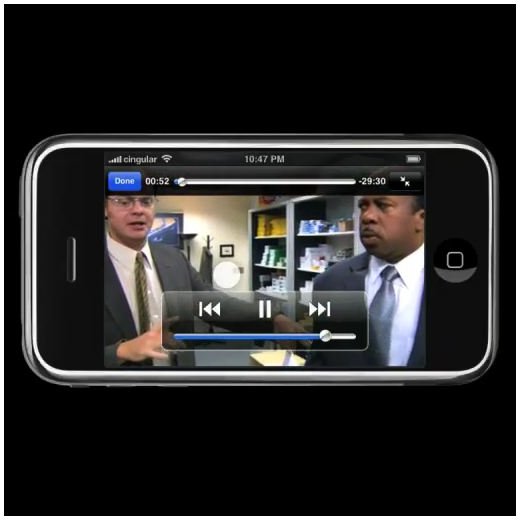
Step 7: Watching the Video on the iPhone
On your iPhone, tap “iPod > Videos.” Finally, tap the video you just added and want to play. Your iPhone will then start to play the video you’ve converted and added.
