
This article will briefly tell you how to take a screen shot from your Android powered phone. If you have an HTC Android phone you’ll find everything you need to know in this easy guide.
Why?!
Would you want to do this? Well There are a few reasons:
-
To take pictures of software that you’ve created
Advertisement -
To back up pictures on your phone to your computer
-
To show the online world a picture of your best score on a game
Advertisement -
An easy way to capture whatever your camera is currently seeing (potential for webcam?)
-
Just to show off to your friends what you can do with your Android phone
Advertisement -
To prove to a developer that certain features aren’t working on your device
This really is a handy tool that can be used in many ways. You will need to do a couple things to make this happen though. The first steps that need to be done can be found by reading this Android emulator article . To take screen shots you will need to do the first three bullets on that list which are:
- Download the Android SDK
- Download Java IDE program
- Download Java Developers kit
You can see how to download and how to install those programs in that article. Make sure you do everything that it says minus the part about installing the Droid skin. This will give you the majority of the tools you will need to take screen shots from your phone. There is one other thing that you will have to do though, and I will discuss that in the next section.
Drivers
The other thing that you need to make sure you have installed are the correct drivers for your phone or this will not work. Since this is in the HTC section, all you need to do is to download HTC Sync for your computer and it will install the proper drivers that you need for the phone. If it does not work for Windows 7 users, there is an alternative method that you can use and you’ll find it here . This is a standard install and should go easily once downloaded.
One other very important thing to do after you have installed this is to enable USB Debugging on your phone. Do this:
-
From the home screen click Menu > Settings > Applications > Development
Advertisement -
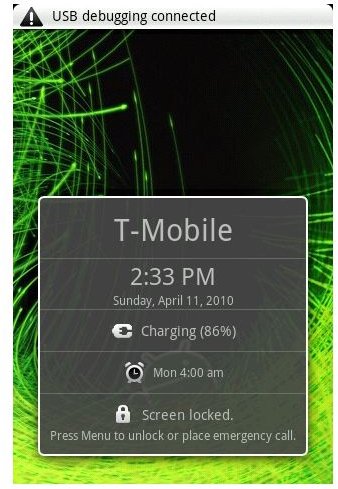
Click the Box in that screen that says USB Debugging. Now when you plug your phone in to your computer you should get an icon at the top of the screen that looks like this picture.
 Advertisement
Final Steps
Once you get everything else installed and USB Debugging enabled on your phone, then the last thing to do is to run the program and start capturing screens from your phone. So open up Eclipse or whatever Java IDE that you downloaded and click File > Open File and navigate to the path where you stored your Android SDK folder. Then open up the ’tools’ folder, look for the file named ‘ddms’ and open it. It might take a little while to load the first time. but when it does open up you should see a screen like this one.
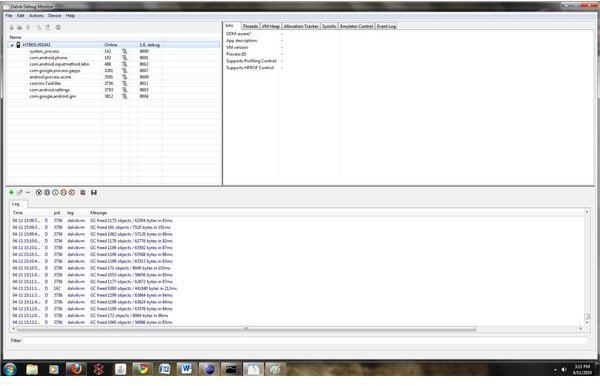
Make sure that you click on your device name to highlight it before attempting anything else. After you click on it, the bottom of the DDMS screen will start scrolling with all kinds of information. It can be interesting to watch because it is showing you what processes are running and being ended on your phone. Now to take a screenshot click on Device > Screen Capture… and a new window will open up showing whatever is currently on your phone’s screen. You can also click Ctrl and S to do the same thing. Now you can save or copy pictures of whatever you want off of your phone! Enjoy!


