WordPress Sidebar Ad Widgets - How to Select, Install, and Configure
What WordPress Sidebar Ad Widgets Are Available?
Since many webmasters demand sidebar ad widgets in order to monetize their blogs, it is hardly surprising that there are tons of such widgets. Most of the available WordPress sidebar ad widgets work for Adsense only, which might be enough for you, if you are using only Adsense in the sidebar, but which won’t be a solution, if you want to run ads from other networks. Some of the Adsense ad widgets to consider are: WP Simple Adsense Insertion, Easy Adsense, or Adsense-Delux2.
If you want to run ads from various networks, then Adsense-only WordPress widgets won’t help much. One of the viable alternatives you have is to get Advertising Mgr for WordPress. Advertising Mgr for WordPress is more universal and after you configure it, you will be able to serve ads from various ad networks.
How to Install a WordPress Sidebar Ad Widget
Installing a new WordPress sidebar ad widget isn’t different from installing any new WordPress widget.
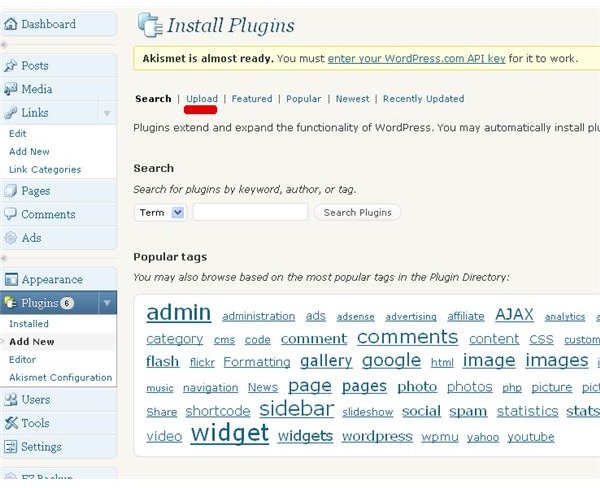
1. From the menu on the left, open Plugins and select Add New. This will open a page similar to the one below. (Click any image for a larger view.)
2. If you have the plugin file locally, click the Upload link to open the page where to upload it from.
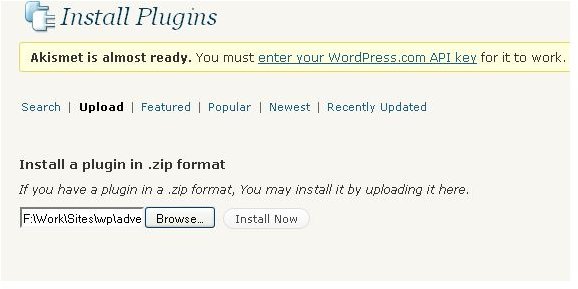
3. When you click the Install Now button, the installation of the plugin will start and if everything goes as planned, you will see the progress.
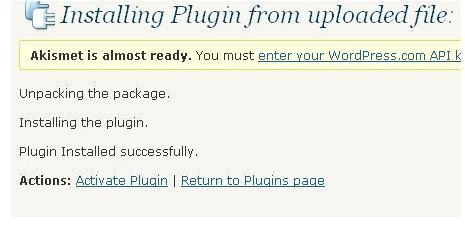
4. Click the Activate Plugin link and you are done with the installation.
How to Configure a WordPress Sidebar Ad Widget
After the plugin is installed and activated, you need to place it on the sidebar and enter your ad code. Here is what you need to do in order to place the ad widget on a sidebar:
1. In the menu on the left select Appearance and then Widgets.
2. Find the plugin in the list of available widgets and drag it to the sidebar where you want to display it. Depending on the WordPress theme you use, you might see 1 or 2 sidebars (or any other number – this all depends on your theme), so be careful that you drag it exactly to the sidebar where you want to display it.
3. When the widget is on the sidebar, click on the pale gray dropdown arrow in the right corner to see what you can configure from here. Different ad widgets have different configuration options, so you need to check what is applicable in your case.
Now, the only thing you need to do in order to finish the configuration of your sidebar ad widget is to enter your code. Depending on the ad widget you have chosen, the steps might vary. For the Advertising Mgr, the procedure is as follows:
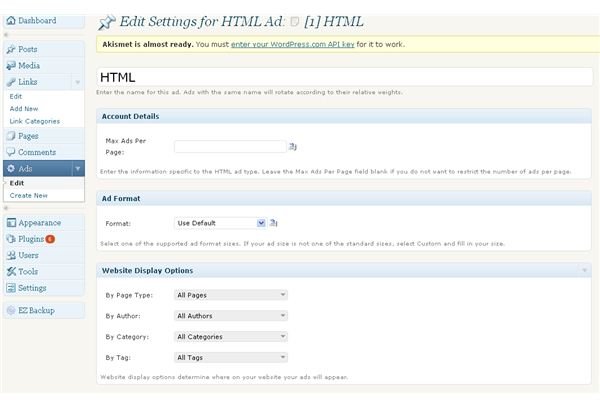
1. From the menu on the left, choose Ads (it is right under Comments and right above Appearance). This will open a page similar to the one below:
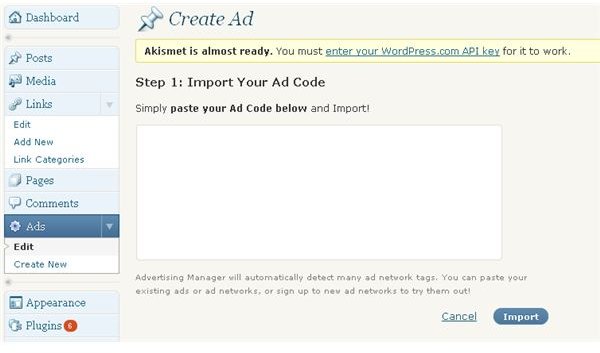
2. In the text box, paste your ad code and click the Import button. This will open a page with more settings for this particular ad:
3. After you set the basic settings, scroll down to the Advanced settings and fill them, if necessary.
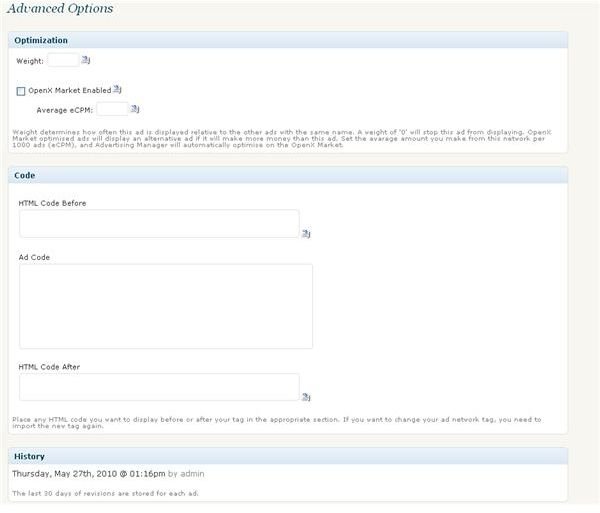
4. When done, go to the top right corner and click the Save button to apply the changes. If you want, you can preview them first (click the Preview Ad button) and this is all.
Using WordPress sidebar ad widgets isn’t difficult but the first time you try, you might encounter difficulties. The choice of the right ad plugin is the first crucial step. Then installing the plugin isn’t rocket science. Configuration of the ad plugin might be a bit tricky but with some patience, you will be able to do it.