Pages that include web forms with multiple input boxes can become confusing for users. Fieldsets draw lines around related sections to organize the content and make completing the form easier for visitors. They do not change how the form collects and transmits user data.
Introduction
In some cases, Web pages with forms have only a rudimentary logical organization of content, with at most a tab system to move from one input box to another. The design approach used may simply consist of adding boxes as the client or web designer thinks of them. Grouping related sections together makes for a cleaner page and can improve the user’s experience. A Fieldset approach, which Dreamweaver CS3 includes in the design tools, will accomplish this organization easily. It is not even necessary to lay out the individual input areas before creating the Fieldsets. Set up the Fieldset areas first, then either copy and paste the input boxes. Alternatively, set up the input fields first. Then select the ones you want, click and drag and add the Fieldset tag, which will automatically place the selected fields in the Fieldset area.
Defining a Fieldset
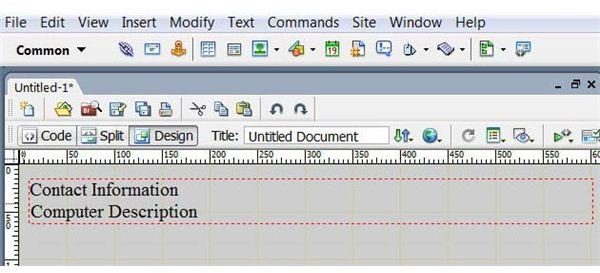
To see how this works, create a new HTML page in Dreamweaver or other Web design software. Create a form by clicking on “Insert,” “Form” and choosing “Form” from the pop up menu. Now place the cursor within the form—this is essential. Click “Insert” and “Form” again but then select “Fieldset” from the menu. This opens the Fieldset dialog box. In the “Legend” box, insert a descriptive name for the collection of input items. For this example, type “Contact Information.” If you decide to change the legend later, just edit it in the Document (Design) view. To see a more complex example, insert another Fieldset using the same process, but use “Computer Description” for the Legend. Once again, be certain the cursor is still within the form itself before inserting the additional Fieldset. Your form should look like the added image at this point.
If you preview this form in your browser, you will see how it looks to a user. At this point, the browser view shows the second Fieldset nested under the first, which you do not want. To correct this, click on the “Code” view tab. You will see the following code:


