Learn How to Easily Create a Jump Menu in Dreamweaver
This tutorial will show you how to easily create a jump menu in Dreamweaver. A jump menu is a drop down menu that can be placed on your website. Jump Menus are great if you have a lot of links that you need to add to the main menu. In this tutorial you will learn how to easily create these jump menus to add to your website. Start out by opening Dreamweaver and creating a new HTML document. Go ahead and save that document as jumpmenu.html. You can delete this document once you are finished, but you must save the document in order to create a jump menu.
Creating a Jump Menu
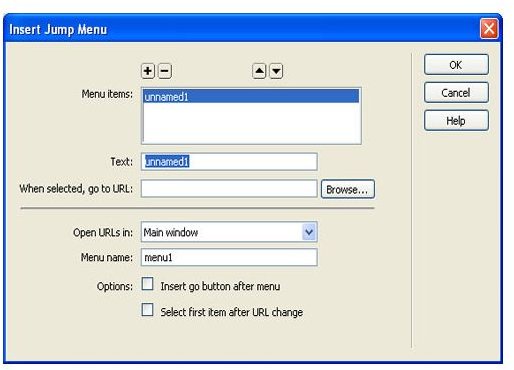
You are now looking at a blank document. Click the document so that you cursor is visible. Go to the top of your Dreamweaver window and click Insert > Form > Jump Menu. The Jump Menu box will open and you should be seeing the following box.
Adding the Menu Items to the Jump Menu
We will start out by adding the menu items to the jump menu. We will not link them just yet. We will come back and do that. In the text field, enter the name of one of your links. For this tutorial, just name the links Test Link, Test Link 2, and so one. Type a link name in the text field and click the plus sign at the top of the box. Add about five links. By default you will see the unnamed link. Click that link and click the minus sign. Now that link should be gone.
Linking the Items in the Jump Menu
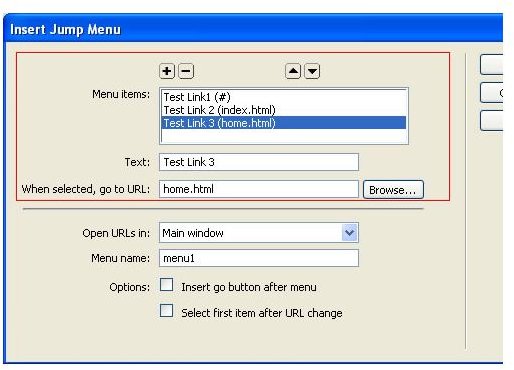
Now we will go back and link the items that are in the Jump Menu. Click the first Test Link in the top box. Go down to the URL field and type index.html (keep in mind this is just a test menu, when creating a real one, you will need to add the real links). Click the next link in the top box and enter home.html in the URL field. Continue doing this until you have them all linked. You can link them anything that you want.
Changing the Options for the Jump Menu
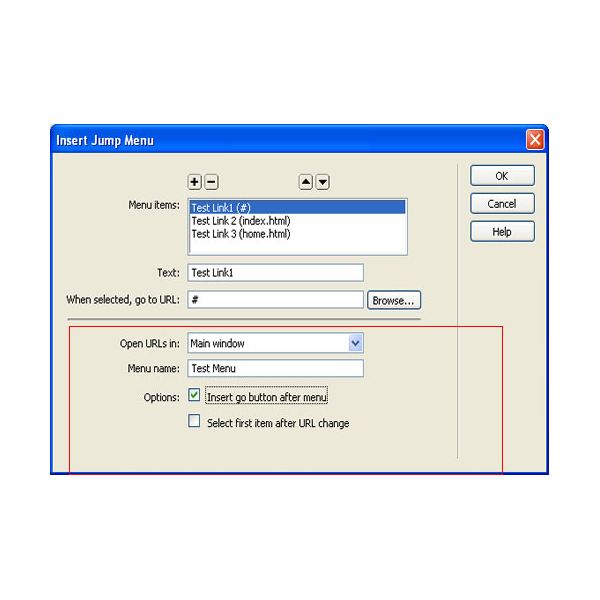
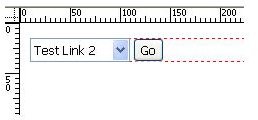
The bottom part of the box is the options for the Jump Menu. In the Menu Name field, you will need to give your menu a name. So type a name in that field. Then under the options section you have two choices. You can choose to add a Go button at the end of the jump menu or you can choose the other option. Let me explain the two options real quick. If you choose to have a Go button, that means, when you select a link in the menu, you will need to click the Go button to go to that page. The other option will allow you to select a link in the menu and once you select it, you will be carried straight to that page. So, this option is up to you. Select the option of your choice.
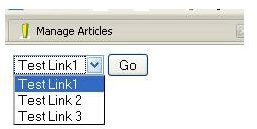
Your Jump Menu is now created. Click the OK button to close this box and create the new Jump Menu. You will now see your Jump Menu on your document. To view it in a browser, click File > Preview in Browser > and select the browser of your choice.
This post is part of the series: Dreamweaver Tutorials
This collection of articles is aimed at providing education about the software program Dreamweaver.
- Beginner’s Guide to Creating and Saving an HTML Document in Dreamweaver
- Dreamweaver Tutorial: Tips for Link Management
- Creating a New CSS Text Style in Dreamweaver
- Creating a Jump Menu in Dreamweaver
- Create a Photo Album for Your Website in Dreamweaver
- Dreamweaver Tutorial: Mapping and Linking Images
- Use CSS Styles to Create Solid Color Rollover Buttons in Dreamweaver
- Incorporating Flash Buttons Into Your Dreamweaver Designs
- Creating a Rollover Button in Dreamweaver Without Using CSS
- Dreamweaver Tutorial: Creating and Inserting Flash Text into Your Document
- Dreamweaver Tutorial: Inserting and Editing a Horizontal Line
- How to Modify Your Page Properties in Dreamweaver
- Adding Guestbook to Your Site Using Dreamweaver
- Applying Pop Up Messages to Links In Dreamweaver
- A Guide to Understanding the Properties Panel in Dreamweaver
- Create a Tab Menu in Dreamweaver
- Creating a List Menu in Dreamweaver
- How to Create HTML Email with Dreamweaver